|
|

Transformations for custom tables |

|

|

|

|
|
Transformations for custom tables |
|
|

|
|
|
|
Transformations for custom tables |
|
|
|
|
|
Transformations for custom tables |
|
|
|
|
|
|
||
Use of transformations is essential for web parts of the custom tables module. In the following example, you will learn how to modify the way data is displayed by modifying default transformation code.
We will use the Examples -> Webparts -> Custom tables -> Custom table repeater example on the sample Corporate Site. We will also use the People custom table that we have created in the Creating custom tables topic and populated with some data items in the Managing data in custom tables topic.
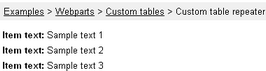
1. Go to CMS Desk, switch to Edit mode and select Examples -> Webparts -> Custom tables -> Custom table repeater. By default, the repeater is bound to the Sample table, which is a sample custom table contained in the Corporate site. It should look as in the following screenshot:
2. Switch to the Design tab and choose to Configure (![]() ) the repeater's properties. First, use the Custom table drop-down list to select the custom table from which the data will be displayed - it should be the People table in our case.
) the repeater's properties. First, use the Custom table drop-down list to select the custom table from which the data will be displayed - it should be the People table in our case.
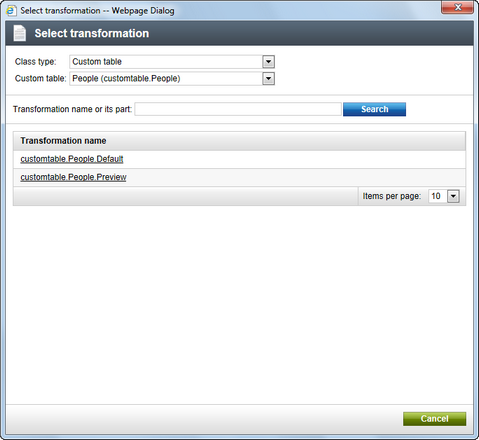
3. Now it's time to choose a transformation via the Transformation name property. If you click the Select button next to the mentioned field, you will get the pop-up window as depicted in the following screenshot. There are two default transformations generated by default for each custom table - Default and Preview. Choose the Default transformation and click OK. Click OK again to close the Web part properties window.
4. Now if you switch to the Live site mode, you should see that the repeater is displaying something like the following:
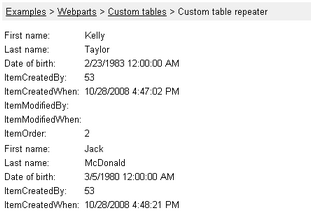
5. As you probably wouldn't want to have all the empty fields displayed and the table to be unformatted on your real website, you will need to edit the transformation code. To do it, switch to the Edit mode again, switch to the Design tab, choose to Configure (![]() ) the web part's properties and click the Edit button next to the Transformation name property. Now you can edit the transformation code according to your specific needs.
) the web part's properties and click the Edit button next to the Transformation name property. Now you can edit the transformation code according to your specific needs.
For the purpose of this tutorial, please replace the transformation code with the following code example. You can notice that it is just a modification of the former Default transformation, with the unwanted fields deleted and the highlighted tags and properties added:
<table border="1" cellpadding="4"> <tr> <td><b>First name:</b></td> <td width="180"><%# Eval("FirstName") %></td> </tr> <tr> <td><b>Last name:</b></td> <td><%# Eval("LastName") %></td> </tr> <tr> <td><b>Date of birth:</b></td> <td><%# Eval("DateOfBirth") %></td> </tr> </table> <br/> |
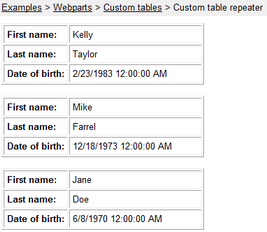
6. Click Save. Now if you go to the live site, you should see that the data is displayed in a formatted way, as depicted below.