|
Uploading images |

|

|

|

|
|
Uploading images |
|
|
|
|
We will upload some images that we will use later on. You can find the images in the images folder inside the files package attached to this guide, which can be downloaded at http://www.kentico.com/Downloads/CommunityGuide/CommunitySiteGuide_files.zip. Please extract the images from the archive into a separate folder on your local disk before you start with the following steps.
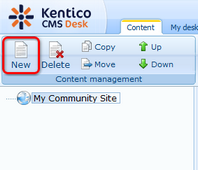
1. Go to CMS Desk, select the root of the content tree and click New.
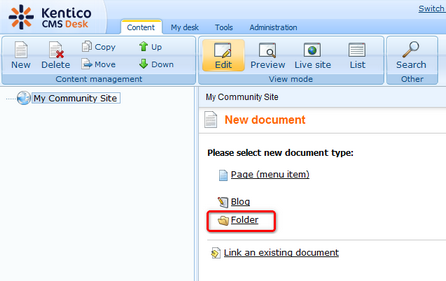
2. As the document type, choose Folder.
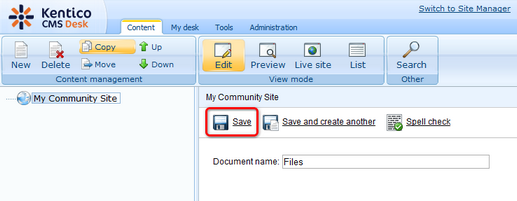
3. Enter Files as the Document name and click Save.
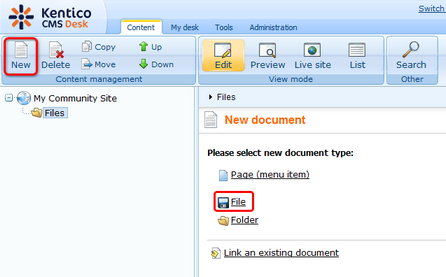
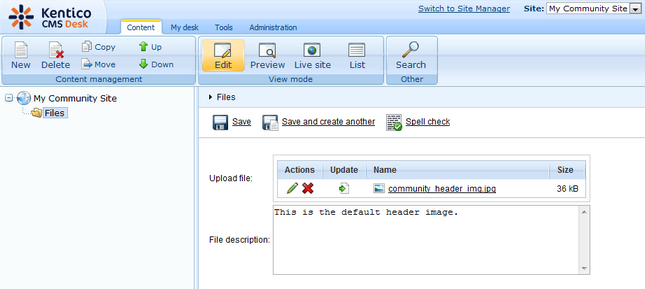
4. Now you have the folder ready in the content tree. Select it and click New. Choose the File document type.
5. Browse into the folder with the images, choose one of them, enter some text describing of the image and click Save.
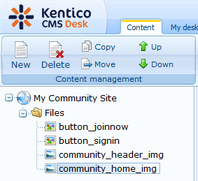
6. Repeat the same procedure for the rest of the images in the folder. The result should look as in the following screenshot.
Page url: http://devnet.kentico.com/docs/5_5r2/communitysiteguide/index.html?uploading_images.htm

