|
Creating the site |

|

|

|

|
|
Creating the site |
|
|
|
|
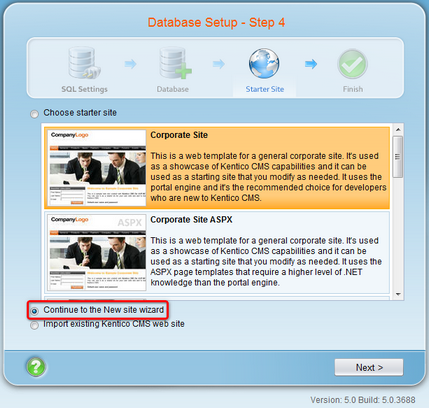
To get us started, we need to create a new website. This can be achieved using the New site wizard. You can access it both when making new installation and when you already have Kentico CMS installed.
| • | When making a new installation, you can choose Continue to the New site wizard in Step 4 of the Database Setup. After clicking Next, you will be redirected to the first step of the wizard. |
| • | Alternatively, if you already have Kentico CMS installed, you can access the New site wizard by clicking the alike named link in Site Manager -> Sites. |

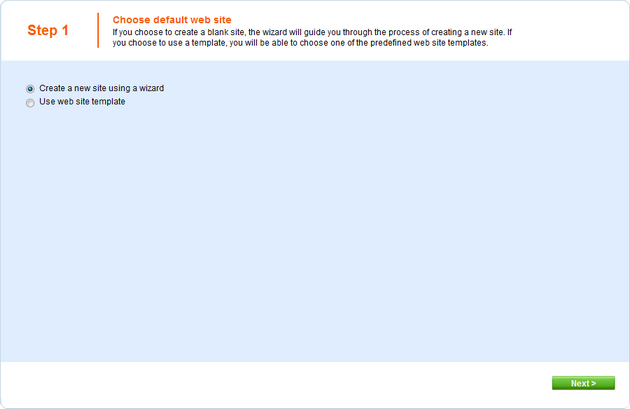
1. In the first step of the wizard, choose Create a new site using a wizard and click Next.
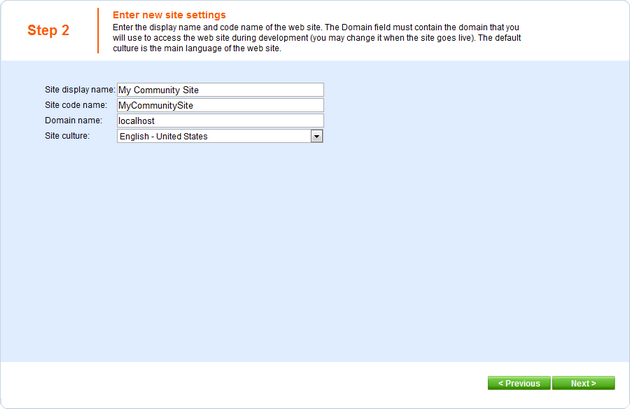
2. In the second step, enter the following details:
| • | Site display name: My Community Site |
| • | Site code name: MyCommunitySite |
| • | Domain name: localhost |
| • | Site culture: English - United States |
Click Next to proceed.
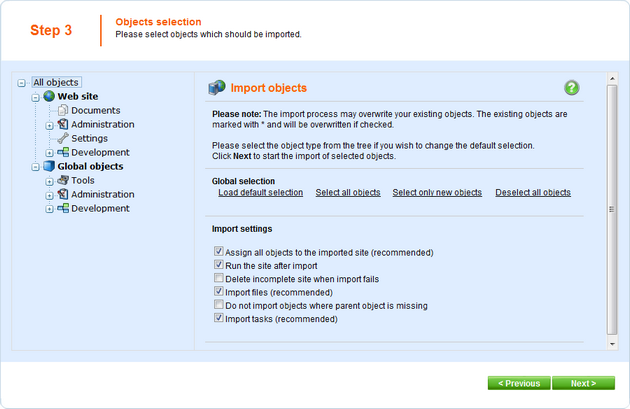
3. In Step 3, leave all settings at their default values and click Next.
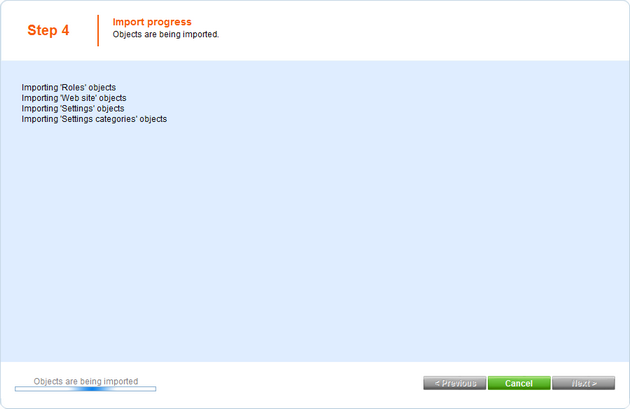
4. An import log will be displayed. When it finishes, you will be redirected to the following step.
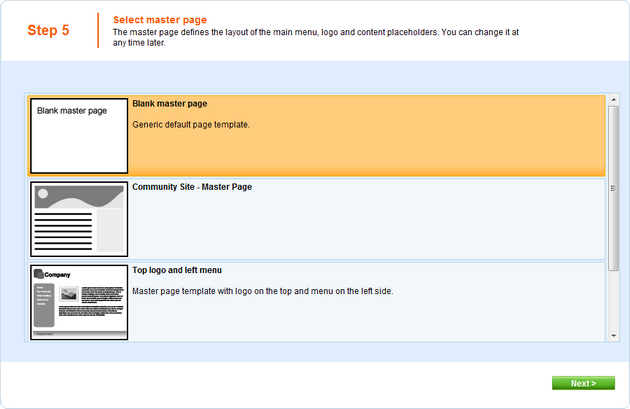
5. In Step 5, you can choose from three default master page layouts. Choose the Blank master page, as we will define the layout later on.
6. The sixth step of the wizard allows you to define basic site structure. As we will create the pages when creating the particular sections, you can skip this step by clicking the Next button.

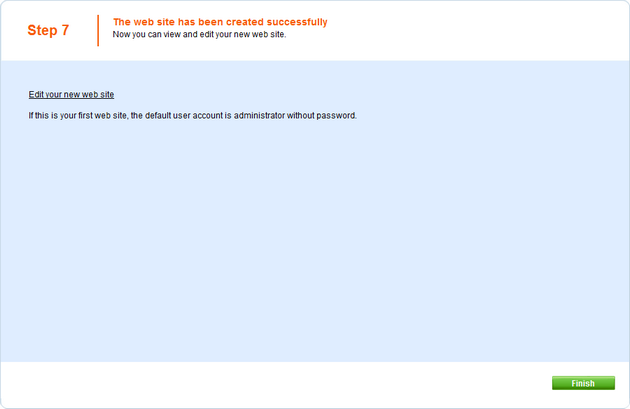
7. If you have reached the seventh step, you have created the site successfully. Click Finish to return to Site Manager -> Sites.
Page url: http://devnet.kentico.com/docs/5_5r2/communitysiteguide/index.html?creating_the_site.htm

