|
Creating the Messages page |

|

|

|

|
|
Creating the Messages page |
|
|
|
|
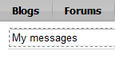
The Messages page will provide users with the functionality of private messaging. The page is accessible from the Shortcuts menu, by clicking the My messages link. Its main part is the My Messages web part. For more information on the Messaging module, please refer to Kentico CMS Developer's Guide -> Module Messaging.
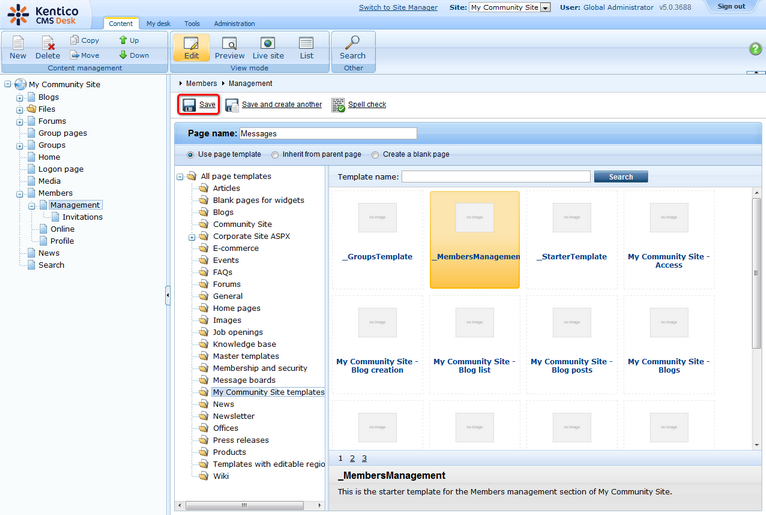
1. Select the Management page in the content tree and click New. Choose the Page (menu item) document type.

2. Select the My Community Site templates -> _MembersManagement page template created in this chapter. Into the Page name field, enter Messages and click Save.
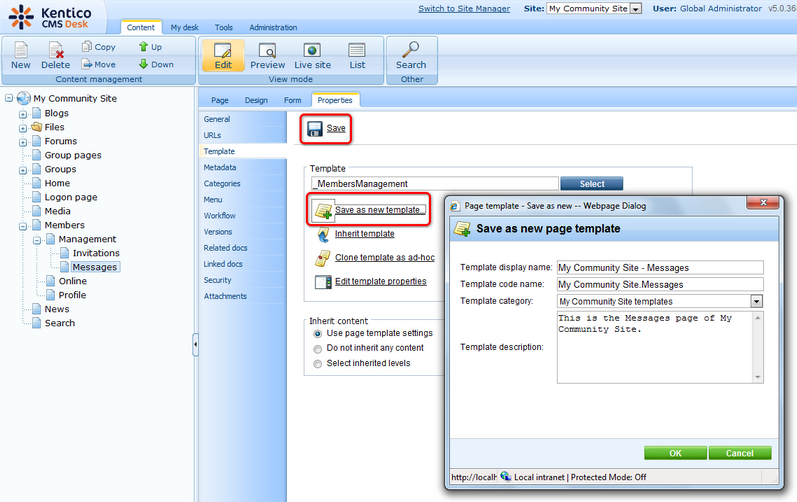
3. Switch to the Properties -> Template tab and click the Save as new template link. Enter the following details in the pop-up dialog:
| • | Template display name: My Community Site - Messages |
| • | Template code name: My Community Site.Messages |
| • | Template category: My Community Site templates |
| • | Template description: some text describing the page template |
Click OK. Click Save.
4. Switch to the Page tab. Enter My messages into the Editable text web part's text field and click Save.
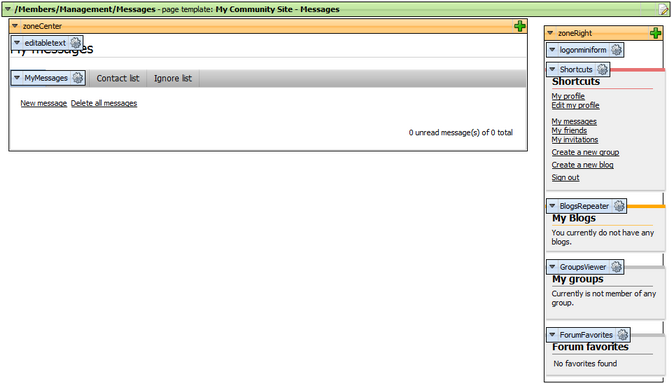
5. Switch to the Design tab. Here, we will only need to add the My messages web part into the zoneCenter web part zone. Click the Add web part (![]() ) icon of the zoneCenter web part zone and choose the Messaging -> My messages web part. You do not need to set any properties of the web part, leave all of them at the default values.
) icon of the zoneCenter web part zone and choose the Messaging -> My messages web part. You do not need to set any properties of the web part, leave all of them at the default values.
6. The page is now finished, in Design tab, it should look as in the following screenshot.
Page url: http://devnet.kentico.com/docs/5_5r2/communitysiteguide/index.html?creating_the_messages_page.htm

