Now you will learn how to add images to product gallery.
The images in the product gallery are displayed using the Attachments image gallery web part. Therefore, it is essential that you have placed this web part into your product page template.
The images of a product are stored as attachments to the document. To add images to the product, go to CMS Desk -> Content -> Edit -> Properties -> Attachments tab and select the product you want to add the images to.
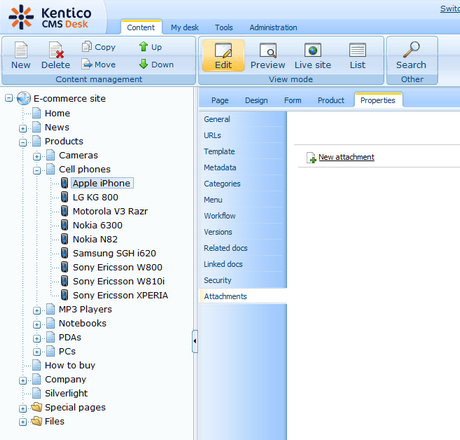
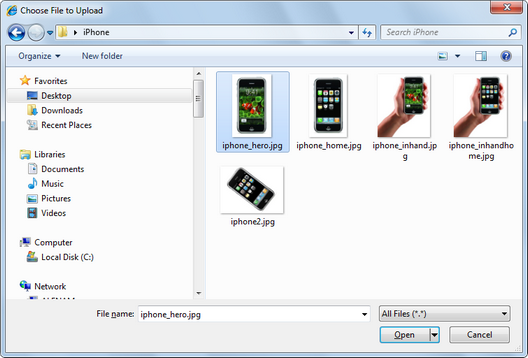
By clicking on the New attachment (![]() ) link, a dialog for uploading files appears where you can add images. Just select the desired image and click Open. Repeat the procedure for all images you want to attach.
) link, a dialog for uploading files appears where you can add images. Just select the desired image and click Open. Repeat the procedure for all images you want to attach.
The images are stored as attachments of the product.
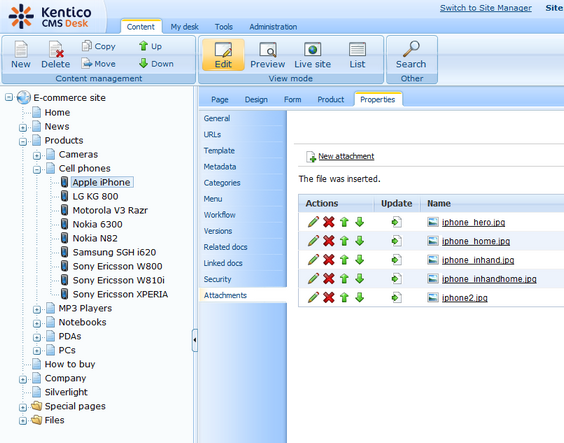
You can arrange the images in the attachment using the Move up (![]() ) and Move down (
) and Move down (![]() ) icons. Images can be edited via the Edit (
) icons. Images can be edited via the Edit (![]() ) icon, or deleted by clicking on the Delete (
) icon, or deleted by clicking on the Delete (![]() ) icon.
) icon.
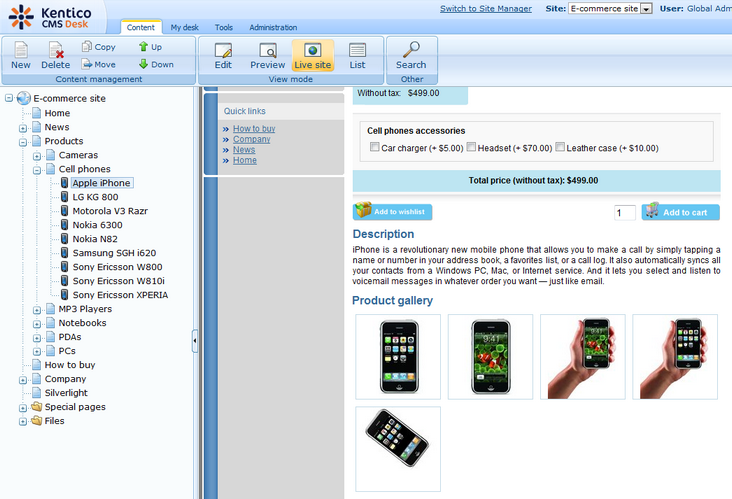
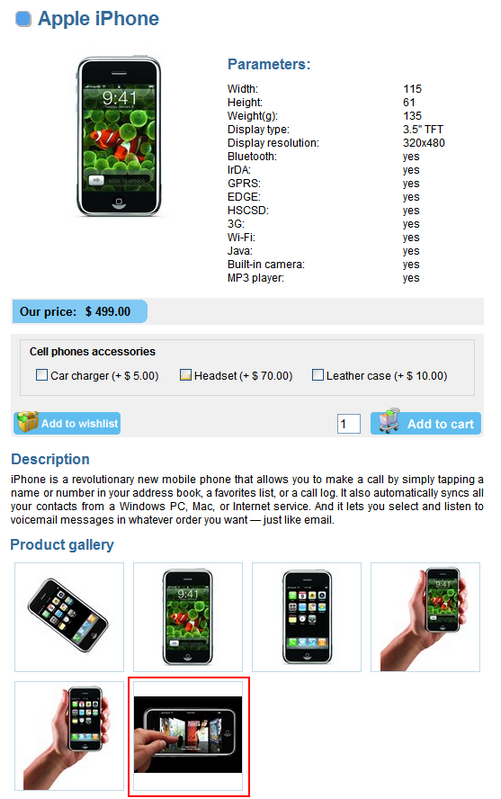
When the images are attached to the product, you can display them on the live site within the Attachments image gallery web part.
Now you will learn how to add an image to product gallery.
Before you proceed, you need to check if images can be placed under the document type of the document where you want the images to be placed.
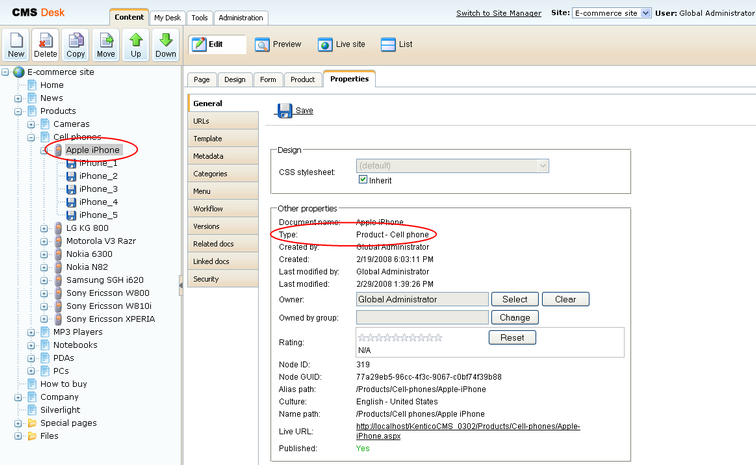
1. Go to CMS Desk's Edit mode, select the document and switch to the Properties -> General tab. You can see the document's document type in the Type field.
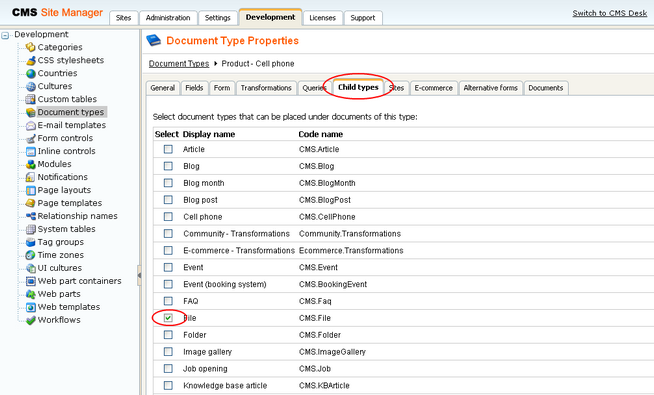
2. Go to Site Manager -> Development -> Document types. Choose to Edit (![]() ) the document type from the previous step. Switch to the Child types tab and choose the desirable document types that you want to place under the documents of this type. For images, select CMS.File and click OK.
) the document type from the previous step. Switch to the Child types tab and choose the desirable document types that you want to place under the documents of this type. For images, select CMS.File and click OK.
Now when images can be placed under our document type, we can add them the following way:
1. Go to CMS Desk -> Content -> Products -> Cell phones -> Apple iPhone.
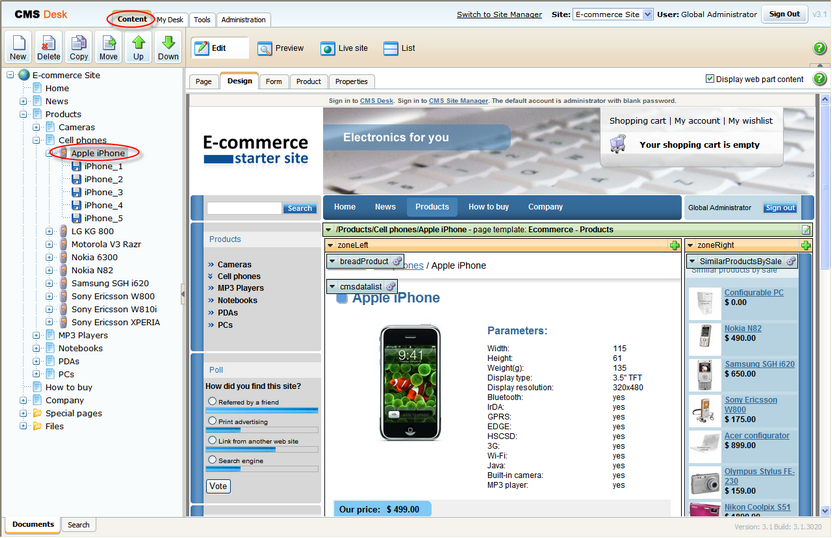
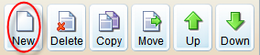
2. Click New at the document action toolbar.
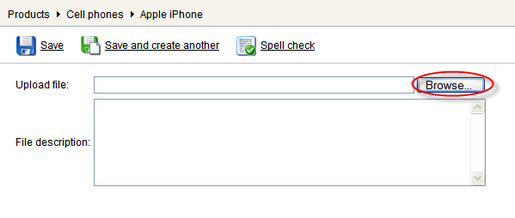
3. Click File. ![]()
4. Click Browse... .
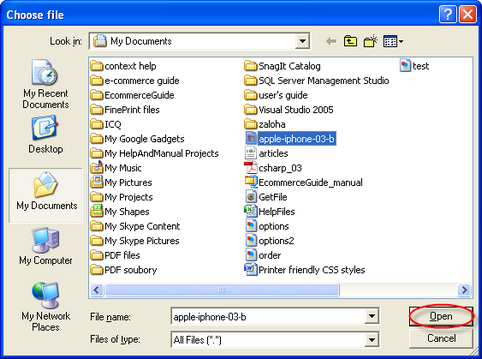
5. Find an image you want to upload and click Open.
6. Now click Save.
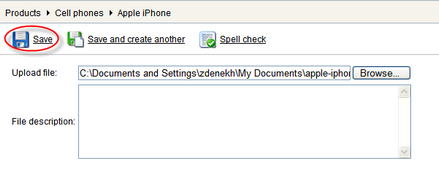
Congratulations, your image has been added to the product gallery.
|
Removing images from product gallery
The document action toolbar, mentioned in the step 2, can be used not only for adding new images to product gallery but for removing them as well. In the content tree, choose image you want to remove and click Delete in the document action toolbar. Your image will be removed from the product gallery. |

Page url: http://devnet.kentico.com/docs/5_0/ecommerceguide/index.html?adding_images_to_product_gallery.htm