Now you will learn how to add images to product gallery.
The images in the product gallery are displayed using the Attachments image gallery web part. Therefore, it is essential that you have placed this web part into your product page template.

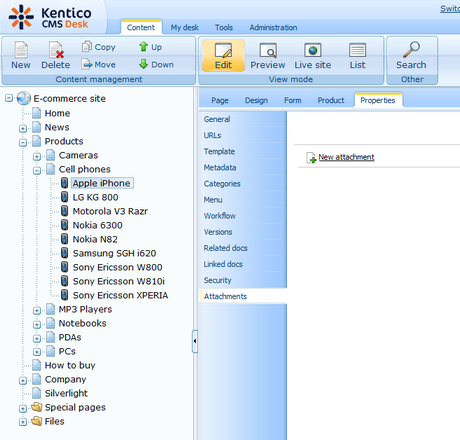
The images of a product are stored as attachments to the document. To add images to the product, go to CMS Desk -> Content -> Edit -> Properties -> Attachments tab and select the product you want to add the images to.
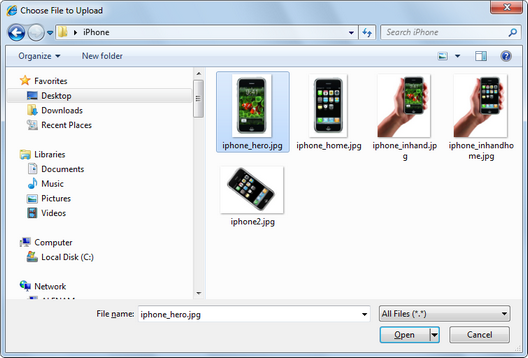
By clicking on the New attachment (![]() ) link, a dialog for uploading files appears where you can add images. Just select the desired image and click Open. Repeat the procedure for all images you want to attach.
) link, a dialog for uploading files appears where you can add images. Just select the desired image and click Open. Repeat the procedure for all images you want to attach.
The images are stored as attachments of the product.
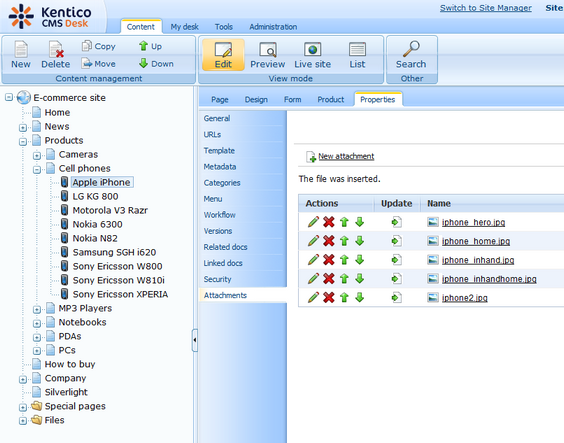
You can arrange the images in the attachment using the Move up (![]() ) and Move down (
) and Move down (![]() ) icons. Images can be edited via the Edit (
) icons. Images can be edited via the Edit (![]() ) icon, or deleted by clicking on the Delete (
) icon, or deleted by clicking on the Delete (![]() ) icon.
) icon.
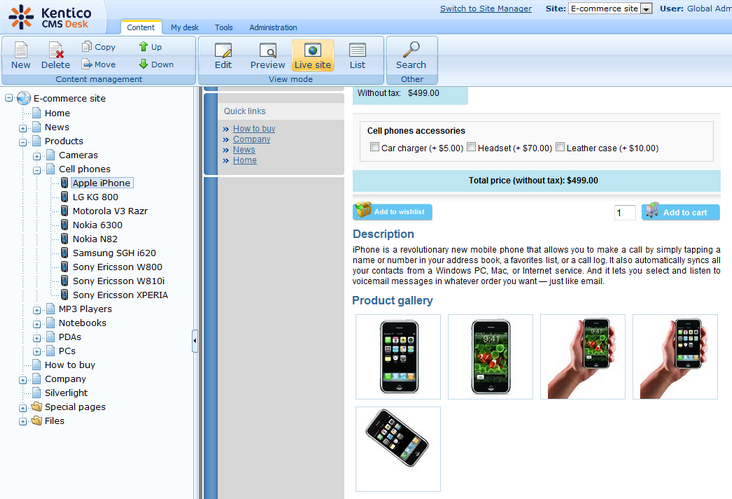
When the images are attached to the product, you can display them on the live site within the Attachments image gallery web part.
Page url: http://devnet.kentico.com/docs/ecommerceguide/index.html?adding_images_to_product_gallery.htm