When you have developed a custom notification gateway, you need to take the following steps to register your gateway in the system:
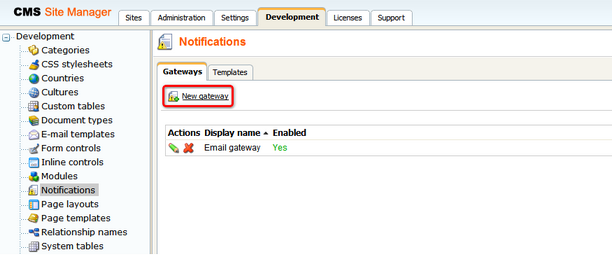
1. Go to Site Manager -> Development -> Notifications. On the Gateways tab, you can find the New gateway link at the top of the page. Click it, the New gateway form will be displayed.
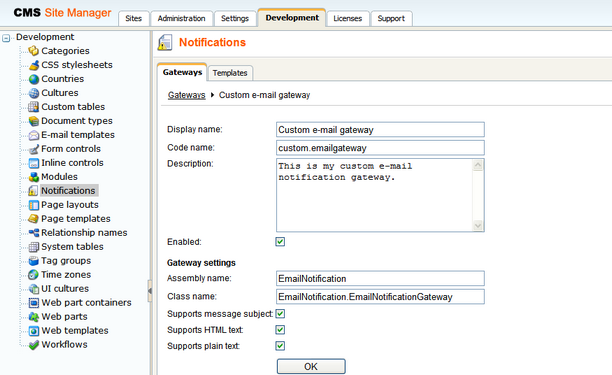
2. Enter the following details into the New gateway form:
| • | Display name - display name of the notification gateway |
| • | Code name - code name of the gateway |
| • | Description - text describing the gateway |
| • | Enabled - if unchecked, the notification gateway is not functional - this can be useful if you want to temporarily disable the gateway so that no messages will be sent, e.g. when you are performing some administration tasks; if checked, the gateway works normally |
| • | Assembly name - name of the assembly in that the gateway code is stored |
| • | Class name - name of the the class containing the gateway code; must be entered including the assembly name, as you can see in the screenshot below |
| • | Supports message subject - check if the gateway's message format supports message subjects |
| • | Supports HTML text - check if the gateway supports messages in HTML format (e.g. for e-mails) |
| • | Supports plain text - check if the gateway supports plain text format (e.g. for SMS) |
3. After entering all the details, click OK. You will be redirected back to the notification gateways list and you should be able to see your new gateway in the list.