The SQL Import utility allows you to import data from a Microsoft SQL Server database as new documents into Kentico CMS content repository. If your source data is in a different format, you may need to import them to some Microsoft SQL Server database using Microsoft SQL Server tools.
Before you run the SQL Import utility, you need to configure its parameters. The utility is stored in folder <Kentico CMS installation in Program Files>\SQLImport. Open the SQLImport.exe.config file and set the following values:
Key |
Description |
Sample Value |
SourceConnectionString |
Connection string to the source database. |
<add name="SourceConnectionString" connectionString="Persist Security Info=False;database=mysourcedb;server=myserver;user id=sa;password=mypassword;Current Language=English;Connection Timeout=120;" /> |
CMSConnectionString |
Connection string to the Kentico CMS database. You can copy this value from the web.config file of your web project. |
|
CMSDefaultUserID |
UserID value of the user who will be author of the imported files. The default value is 53 for the administrator user account. You can find other values in the CMS_User table. |
<add key="CMSDefaultUserID" value="53" /> |
ImportFilesDiskPath |
The physical disk path to the folder with files to be imported (in case you are importing files together with data). |
<add key="ImportFilesDiskPath" value="c:\Temp" /> |
WebApplicationPhysicalPath |
Path to the root of the web project folder (in case the target site is set to save files to disk [Site Manager -> Settings -> File -> Store files in filesystem]). |
<add key="WebApplicationPhysicalPath" value="C:\Website" /> |
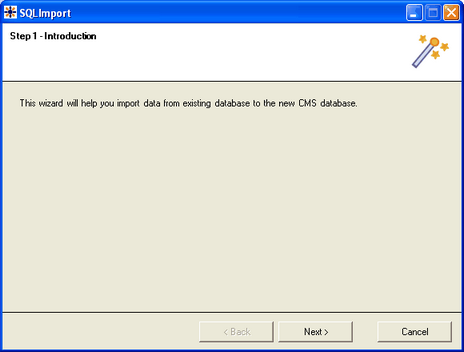
Now you can start the import utility using SQLImport.exe. The import wizard starts:
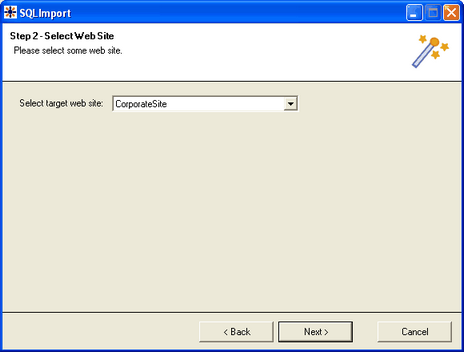
Click Next. Select the target web site:
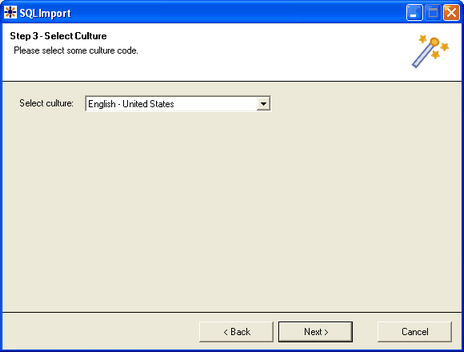
Click Next. Select the target content culture:
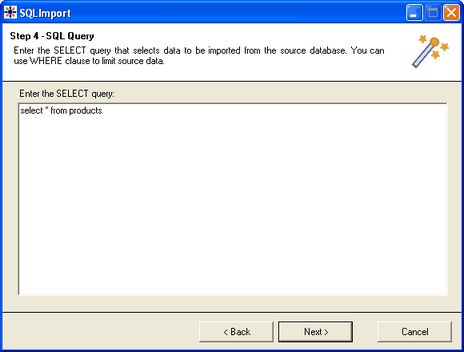
Click Next. Enter the SQL query that will return the data to be imported from the source database:
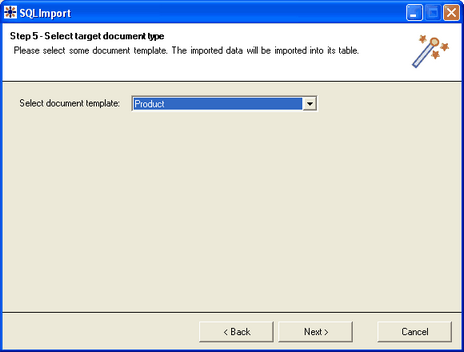
Click Next. Select the type of the imported documents.
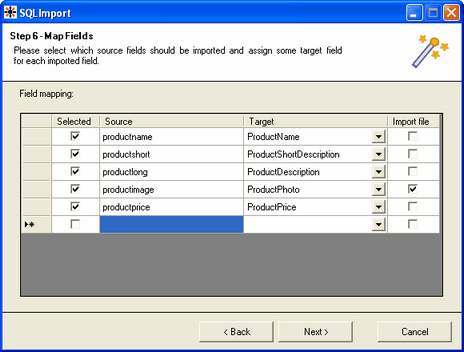
Click Next. Map the source and target fields and check the fields that should be imported. You can add the source fields manually multiple times if you need to import one source field into several target fields.
If the source field contains the path to the file, check the box Import file. In this case, the source field must contain a relative path to the path in the ImportFilesDiskPath web.config parameter - both values are joined and the file is imported from the specified location.
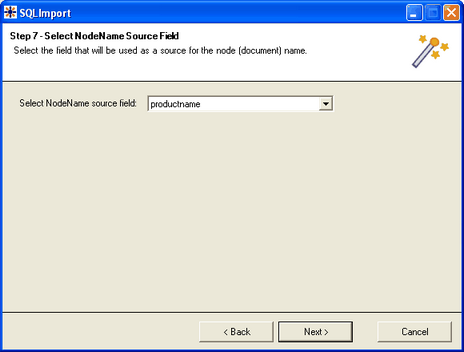
Click Next. Select the field that will be used for the name of the document:
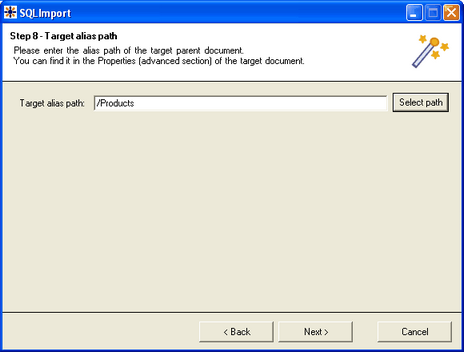
Click Next. Select the target alias path where the documents should be imported:
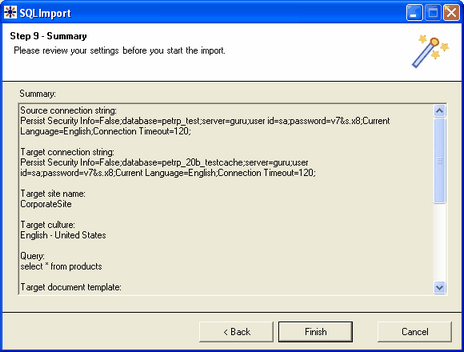
Click Next. Review the import settings:
Now the data is imported into Kentico CMS database.