After you finish the Web Installer wizard successfully, you open a web browser with Database Setup wizard. It will create database tables for Kentico CMS in specified SQL Server database.
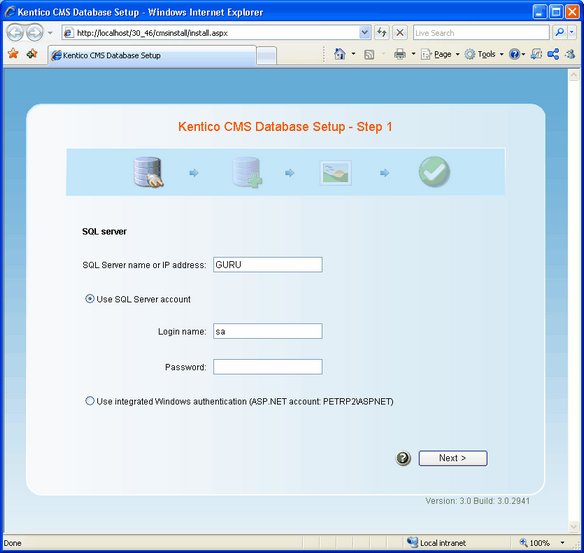
In Step 1, you need to specify the Microsoft SQL Server and login:
- SQL Server name or IP address - enter the name of the server. You will typically use one of these:
- the name of the server (such as DBSERVER1) or
- the IP address of the server (such as 192.168.1.105) or (local)
- <SERVERNAME>\sqlexpress (if you're using Microsoft SQL Server 2005 Express Edition)
- Use SQL Server account - use this option if your server is configured for mixed mode authentication with SQL logins
- Use integrated Windows authentication (ASP.NET account) - use this option if your server is configured for Windows integrated authentication. In this case, you need to use SQL Server 2005 Management Studio (or SQL Server 2000 Enterprise Manager) to create a new login for user account under which you currently run the web application (ASPNET for Windows XP and Network Service for Windows 2000/2003 - the actual ASP.NET account name is displayed on the screen).
Click the Next button.
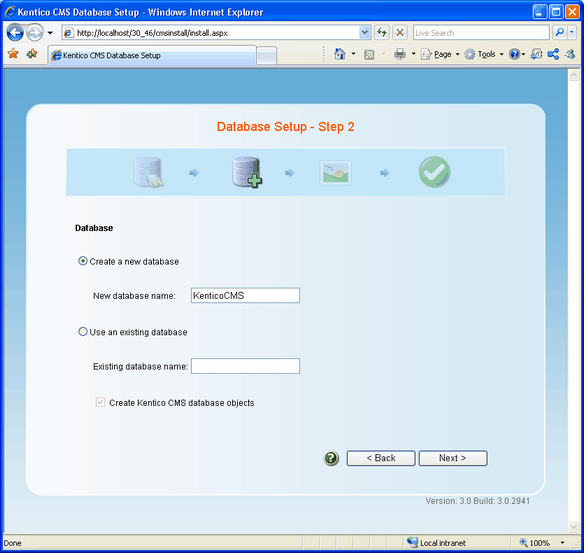
Now you can decide if you want to use an existing database or create a new database.
In case of using an existing database, you can choose to create the database tables, stored procedures and views - If the existing database already contains Kentico CMS objects, you need to uncheck the box Create Kentico CMS database objects. Click Next.
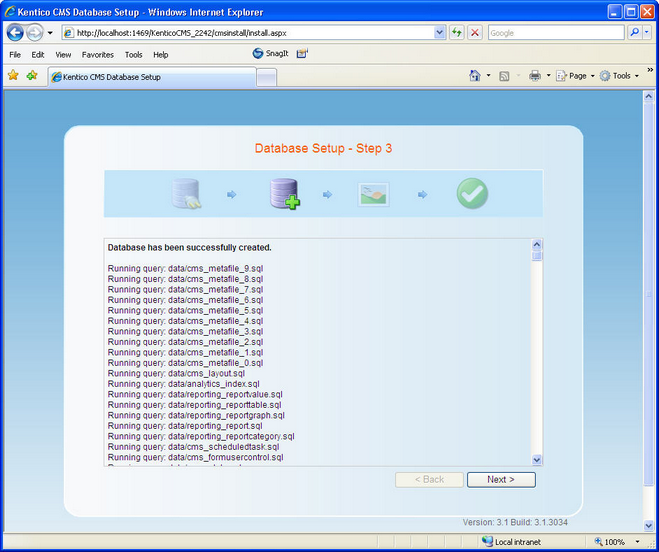
A log will be displayed, showing the progress of creating the database. After it finishes, a message "Database has been successfully created." appears at the top of the log and you are moved forward to the next step.
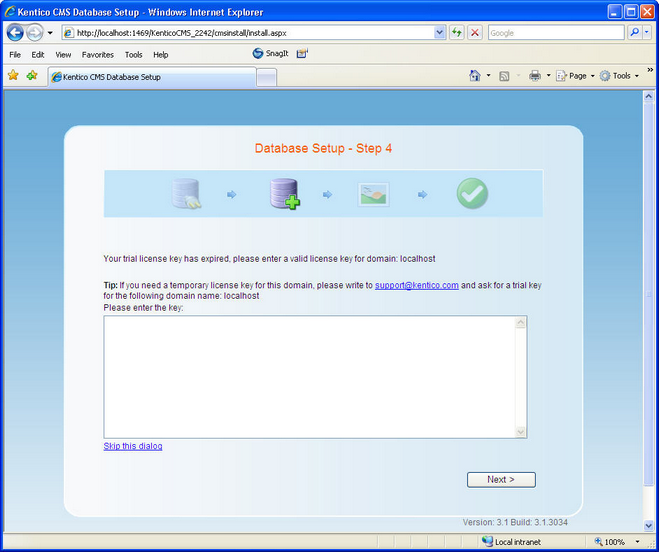
If you run Kentico CMS on a domain other than localhost or 127.0.0.1, you will be asked for inserting a license key, since the trial version works only with http://localhost and http://127.0.0.1. The same dialog is displayed if your trial period has expired. Enter a valid license key and click the Next button. Please note that you can skip this dialog and go to CMS Site Manager/Sites/New site wizard by clicking Skip this dialog at the bottom left.
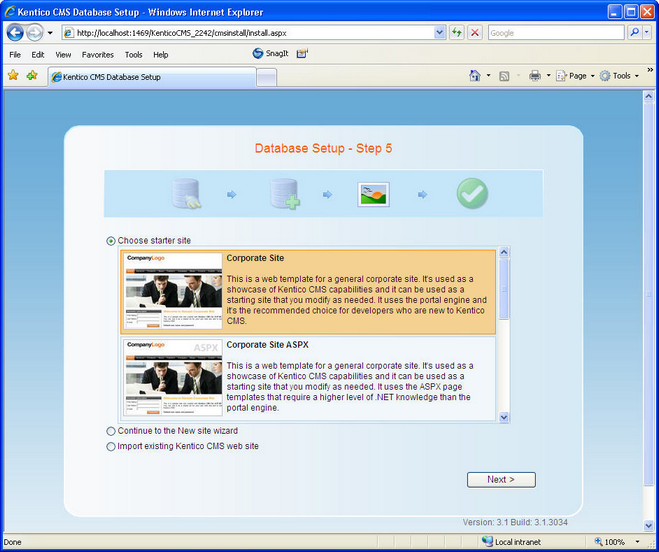
On the next screen, you will be offered with the following options:
| • | Choose a starter site such as: |
- Corporate Site - this option installs the sample corporate site - it is recommended for most users, especially for evaluators.
- Corporate Site ASPX - this option is recommended only for experienced ASP.NET developers who want to use ASPX page templates instead of portal templates.
- Blank site - this is a blank site without any content; you will use it to create a new site from scratch.
- Blank site ASPX - the same as above, but for ASPX page templates
- and other
| • | Continue to the New site wizard - this option is recommended if you're starting a new site from scratch. |
| • | Import an existing Kentico CMS web site - use this option is you already created a web site with Kentico CMS and need to import it into a new installation (e.g. on the production server). |
If you're new to Kentico CMS, it's highly recommended that you start with sample Corporate Site (portal engine). If you decide to run the New site wizard, you can find more details in the following chapter. Select an option and click the Next button.
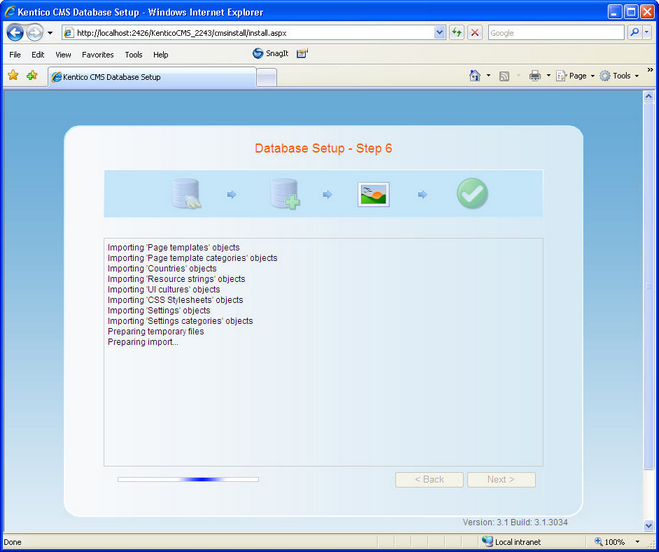
A log will be displayed in the next step, showing you the progress of creating the web site.
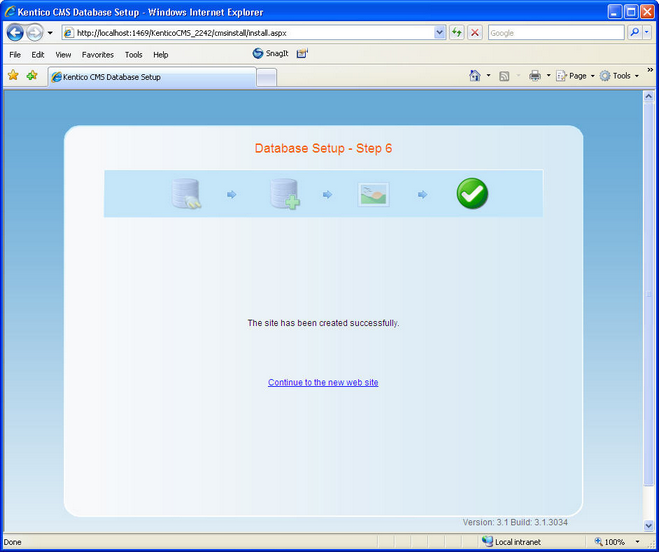
Once the web site is created, you will be displayed with a confirmation and link to your live web site.
|
Default user name and password
The default user name is administrator, the default password is blank.
It's highly recommended that you change the password after you finish the installation.
The default URL is http://localhost/KenticoCMS. The default URL of CMS Desk is http://localhost/KenticoCMS/CMSDesk. The default URL of Site Manager is http://localhost/KenticoCMS/CMSSiteManager. |
