The administration interface for adding data into custom tables is located in CMS Desk -> Tools -> Custom tables.
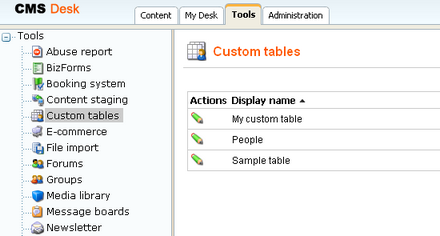
In the following example, you will learn how to add data into the sample People custom table we have created in the previous chapter (read here):
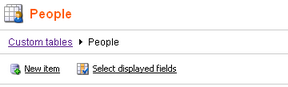
1. Click the Edit (![]() ) icon next some of the listed tables. A blank page with a header as in the following screenshot will be displayed. The page is blank because there is no data in the custom table yet.
) icon next some of the listed tables. A blank page with a header as in the following screenshot will be displayed. The page is blank because there is no data in the custom table yet.
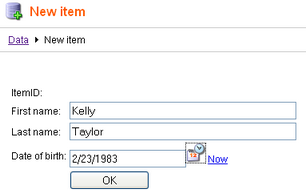
2. Click the New item link. Form that you can see in the following screenshot will be displayed. Enter some sample data and click OK.
3. The data you entered has just been saved into the custom table. You can edit it now or use the ![]() link to create another record. Try creating at least two other records.
link to create another record. Try creating at least two other records.
4. When you're finished, switch back to the Custom tables list in CMS Desk -> Tools and choose to Edit (![]() ) the People custom table. You should see the list of entries where the blank page was before entering the records.
) the People custom table. You should see the list of entries where the blank page was before entering the records.
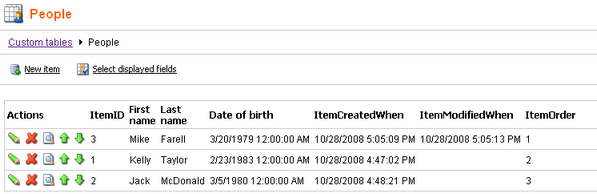
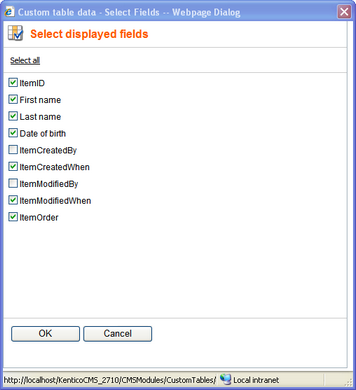
5. You can choose which fields are to be displayed by clicking the Select displayed fields link. The window depicted in the following screenshot will be displayed. Using the check-boxes, you can determine which fields are to be displayed and which are not. When you make the selection and click OK, you should see the result immediately.
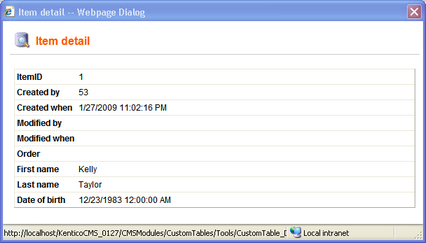
6. If you click the View (![]() ) icon next to each of the records, detailed information about the record will be displayed in a pop-up window. All details will be displayed, no matter which fields are selected to be displayed in the list:
) icon next to each of the records, detailed information about the record will be displayed in a pop-up window. All details will be displayed, no matter which fields are selected to be displayed in the list:
7. You can also order the records in the list using the Up (![]() ) and Down (
) and Down (![]() ). The order will then be stored in the ItemOrder property of each of the records.
). The order will then be stored in the ItemOrder property of each of the records.
8. Records in the custom table can also be Edited (![]() ) and Deleted (
) and Deleted (![]() ) on this page.
) on this page.