In this sample, you will learn how to create a new blog in the sample Corporate Site, under the News section.
Sign in to CMS Desk. In the Content section, click /News and click New. Choose to create a new Blog. Enter the following details:
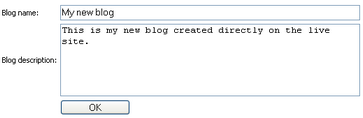
| • | Blog name: My new blog |
| • | Blog description: This is my new blog on web design. |
| • | Side column text: I like these web sites... |
| • | Moderate comments: yes |
| • | Open comments for: Always |
| • | Send comments to e-mail: enter your e-mail address |
| • | Allow anonymous comments: yes |
| • | Use CAPTCHA for comments: yes (this will require a verification of the number displayed in the picture to avoid spam posts) |
The following fields are also available, but you don't need to enter them for the purpose of this example:
| • | Blog teaser: blog teaser image displayed in blog lists |
| • | Require e-mail address: indicates if e-mail address is required when adding a blog comment |
| • | Unsubscription URL: URL of a page with the Blog post unsubscripiton web part, which handles blog post unsubscription requests from links contained in blog post notifications |
| • | Enable subscriptions: indicates if subscriptions to notifications about new blog comments are enabled |
| • | Blog moderators: users who can moderate blog post comments |
| • | Moderate comments: indicates if blog comments are moderated |
| • | Enable trackbacks: indicates if the trackbacking feature is enabled |
| • | Publish from: date and time from when the blog will be published on the site |
| • | Publish to: date and time until when the blog will be published on the site |
Click Save. You have just created your blog. However, there are two additional steps you need to do:
1. Go to the Properties -> Template dialog and click Template properties. Set the value Inherit content value to Select inherited levels and choose only the Root. It ensures that the page displays the master page and then your blog content.
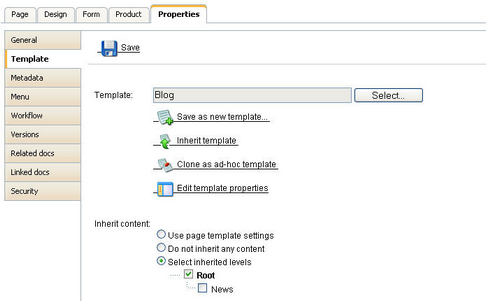
Click OK.
2. Choose the root in the content tree and switch to the Design tab. Configure the menuMain web part and set the Document types value to this:
cms.menuitem;cms.blog
Click OK. It ensures that the main menu contains a link to your blog.
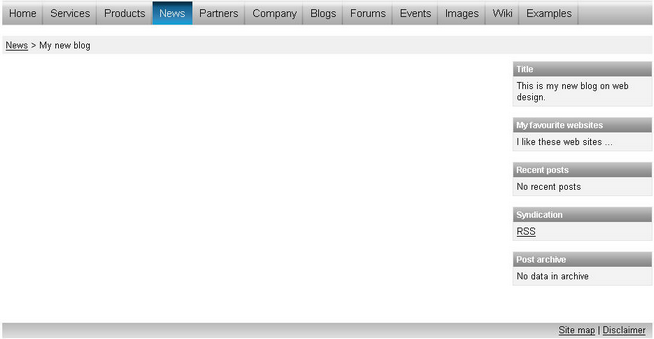
Sign out and choose the My new blog item in the main menu (under the News section). You will see an empty blog like this:
Adding a blog on the live site
You can enable users to create blogs directly on the live site by adding the New blog web part to your site. Like this, users can only add the name and description of their new blog. All other blog properties, listed earlier in this article, will be taken from the web part's properties.