Editing existing transformation
1. Go to CMS Site Manager -> Development -> Document types, choose the Plasma TV document type and switch to the Transformation tab.
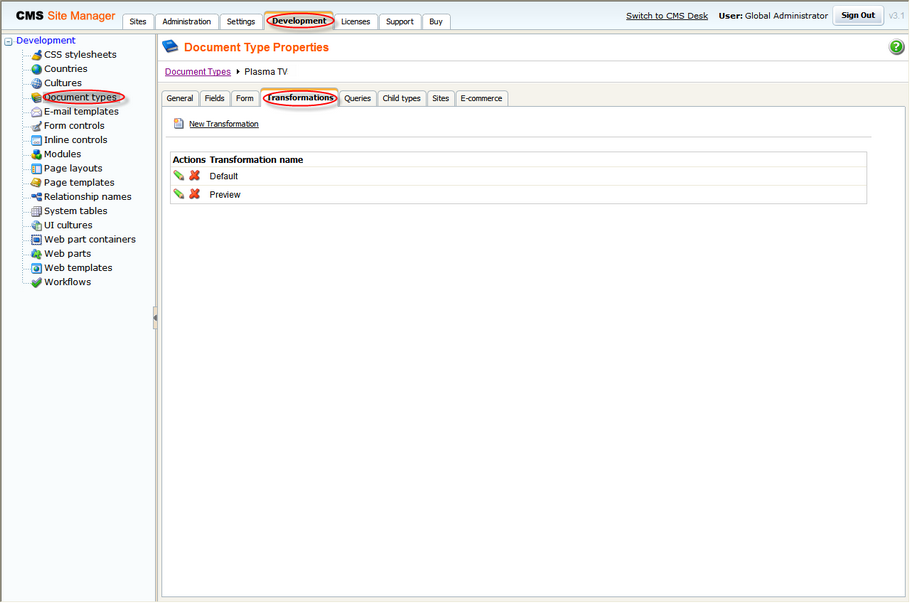
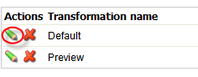
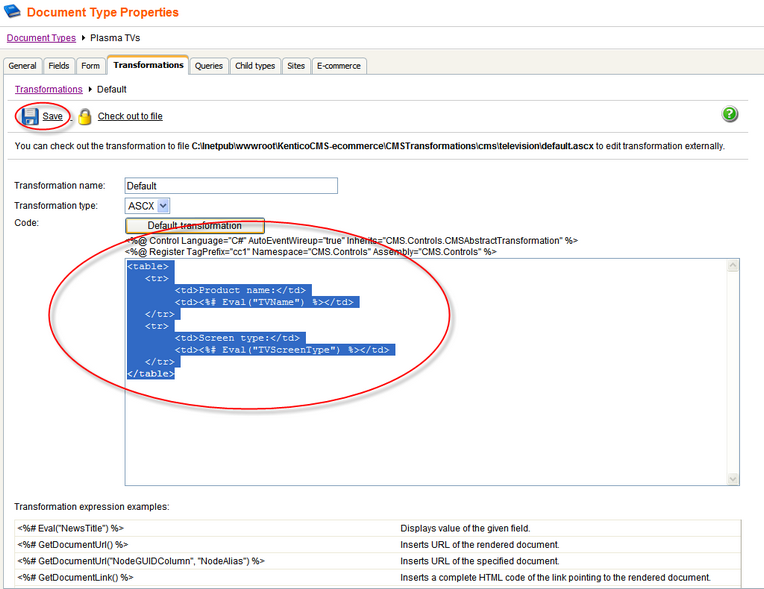
2. Click the Edit transformation button next to the Default transformation name.
3. Delete the content of the Code text box and insert the code from the gray box bellow. This code will change the transformation to display only the name of a TV and its screen type. Click Save at the top.
<table> <tr> <td>Product name:</td> <td><%# Eval("TVName") %></td> </tr> <tr> <td>Screen type:</td> <td><%# Eval("TVScreenType") %></td> </tr> </table> |
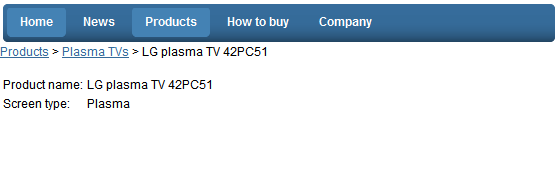
That's how you change default transformation for your product so that the product name and screen type are displayed.
Please note: You can modify the design of the product list web part by changing the CMS.Root.EcommerceProductsList transformation in the manner similar to the given example.
|
Adding namespaces
You can add additional namespaces into the web.config file in the following location:
<system.web>
In case you add namespace into the web.config file, you don't have to specify it when calling its objects in transformations. Therefore, instead of calling CMS.GlobalHelper.ResHelper.GetString("MyCustomString"), you could call just ResHelper.GetString("MyCustomString"). |

|
Print page Kentico CMS allows you to add a link button to your web page that will create print version of the given document. Please refer to the Print page chapter in Kentico CMS Developer's Guide for more information. |
