Creating a Most Popular Pages Email Widget in Kentico
Best of breed solutions often offer two things: great functionality and an easy-to-user interface. When it comes to email marketing, providing users a simple, guided experience allows them to create their campaigns without having to deal with technical hurdles. In Kentico 11, one of the biggest features was the new Email Builder, a drag-and-drop utility to allow marketers to create dynamic email campaigns. In this article, I’ll show you how to create a custom email widget to display popular site content using macros.
Kentico 11 features a new visual Email Builder. This utility allows users to create and manage email campaigns, all through a great drag-and-drop interface. With a simple, guided experience, marketers can create and manage content much faster. Developers can use the new Email Widgets to add custom, dynamic content to campaigns, leveraging the powerful K# engine. It’s an extremely configurable module and allows for great a great email management experience.
One of the most powerful aspects of the new builder are Email Widgets. These webpart-esque components allow developers to use custom code to produce small pieces of content. These components can then be added to an email quickly through the new Email Builder, providing the user with a seamless experience.
While Kentico 11 has a several examples included, I wanted to walk you through the process of creating a new email widget. In this article, I’m going to show you how to create a new Email Widget to query and display the top articles for the last month.
Create a new macro
The first step was to create a custom macro for my functionality. Because combining Web Analytics and Document data is a bit of a process, I decided encapsulating everything within a macro would be a cleaner solution. Additionally, a macro would allow to take full advantage of the API to retrieve the data and format to fit my needs.
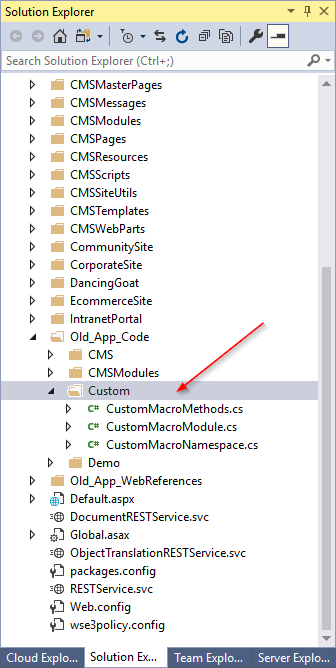
I created a new macro namespace.
using CMS.Base;
using CMS.MacroEngine;

namespace Custom
{
    [Extension(typeof(CustomMacroMethods))]
    public class CustomMacroNamespace : MacroNamespace<CustomMacroNamespace>
    {
    }
}
Next, I created a module to load the namespace. Note the RegisterModule attribute, which registers the module when the application loads.
using CMS;
using CMS.DataEngine;
using CMS.MacroEngine;
using Custom;

// Registers the custom module into the system
[assembly: RegisterModule(typeof(CustomMacroModule))]

public class CustomMacroModule : Module
{
    // Module class constructor, the system registers the module under the name "CustomMacros"
    public CustomMacroModule()
        : base("CustomMacros")
    {
    }

    // Contains initialization code that is executed when the application starts
    protected override void OnInit()
    {
        base.OnInit();

        // Registers "CustomNamespace" into the macro engine
        MacroContext.GlobalResolver.SetNamedSourceData("CustomNamespace", CustomMacroNamespace.Instance);
    }
}
Next, I created a new class to hold my macro.
You can find more about adding Custom Macros in the documentation here.
In the new class, I added my custom functionality. I added several parameters to the method to allow me to customize the results.
FULL MACRO CODE
using CMS.DataEngine;
using CMS.Helpers;
using CMS.MacroEngine;
using CMS.WebAnalytics;
using System;
using System.Collections.Generic;
using System.Data;

namespace Custom
{
    public class CustomMacroMethods : MacroMethodContainer
    {
        [MacroMethod(typeof(string), "Returns list of most popular articles ids", 4)]
        [MacroMethodParam(0, "year", typeof(int), "Year")]
        [MacroMethodParam(1, "month", typeof(int), "Month")]
        [MacroMethodParam(2, "numberofarticles", typeof(int), "Number of articles")]
        [MacroMethodParam(3, "culture", typeof(string), "Culture")]
        public static object GetMostPopularArticles(EvaluationContext context, params object[] parameters)
        {
            List<int> lstArticles = new List<int>();
            // Branches according to the number of the method's parameters
            switch (parameters.Length)
            {
                case 4:
                    DateTime dt = new DateTime(ValidationHelper.GetInteger(parameters[0], DateTime.Now.Year), ValidationHelper.GetInteger(parameters[1], DateTime.Now.Month), 1);
                    DataSet ds = StatisticsInfoProvider.GetStatistics()
                        .Source(sourceItem => sourceItem.Join<HitsMonthInfo>("Analytics_Statistics.StatisticsID", "HitsStatisticsID")
                                                        .Join(" View_CMS_Tree_Joined", "Analytics_Statistics.StatisticsObjectName", "View_CMS_Tree_Joined.NodeAliasPath", new WhereCondition("Analytics_Statistics.StatisticsObjectCulture = DocumentCulture"))
                        )
                        .WhereEquals("NodeClassID", "5480")
                        .WhereEquals("StatisticsCode", "pageviews")
                        .WhereGreaterOrEquals("HitsStartTime", dt)
                        .WhereLessOrEquals("HitsEndTime", dt.AddMonths(1))
                        .WhereEquals("StatisticsObjectCulture", ValidationHelper.GetString(parameters[3], "en-US"))
                        .Columns("DocumentID,HitsCount")
                        .Distinct()
                        .TopN(ValidationHelper.GetInteger(parameters[2], 5))
                        .OrderByDescending("HitsCount")
                        .Result;
                    if (!DataHelper.IsEmpty(ds))
                    {
                        foreach (DataRow dr in ds.Tables[0].Rows)
                        {
                            lstArticles.Add(ValidationHelper.GetInteger(dr["DocumentID"], 0));
                        }
                    }
                    return String.Join(",", lstArticles.ToArray());
                default:
                    // No other overloads are supported
                    throw new NotSupportedException();
            }
        }
    }
}
Because I wanted to return document information linked with Web Analytics data, I leveraged the StatisticsProvider API, along with some custom SQL to return the correct information. This would allow me to query the WebAnalytics data, joining in the View_CMS_Tree_Joined data. I used an ObjectQuery to return the combined data in a single result.
The macro code returns a list of the most popular Document IDs for the specified month.
IMPORTANT NOTES
- Depending on your site, querying the WebAnalytics data directly may take a LONG time, as these tables can contain a large amount of records. You may want to copy the data to a separate table or add indexes to ensure you system can handle the requests properly.
- In the above code, I've hardcoded the ClassID for the "Dancging Goat Article" type. You will want to do a lookup using the API to get this value dynamically.
- For the macro, you may want to cache the results, to prevent unnecessary lookups to your Web Analytics data.
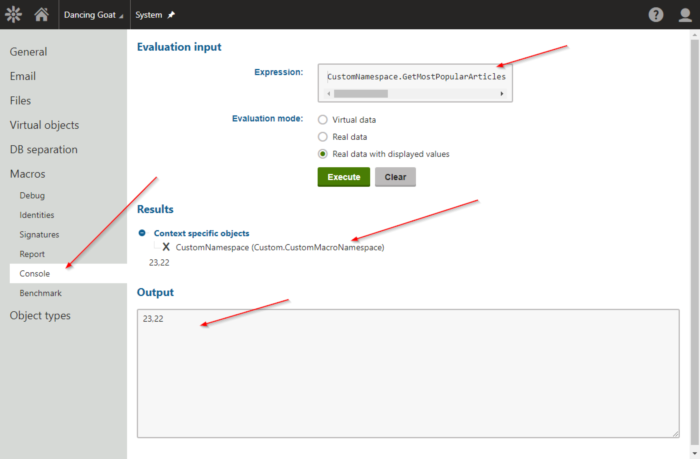
- In developing the macro, I used the Macro console quite a bit to test the results and confirm functionality. Once you register your custom macros, you can use this utility in your development to test your custom code. You can find it in the System module under the Macros tab.
Create a new widget
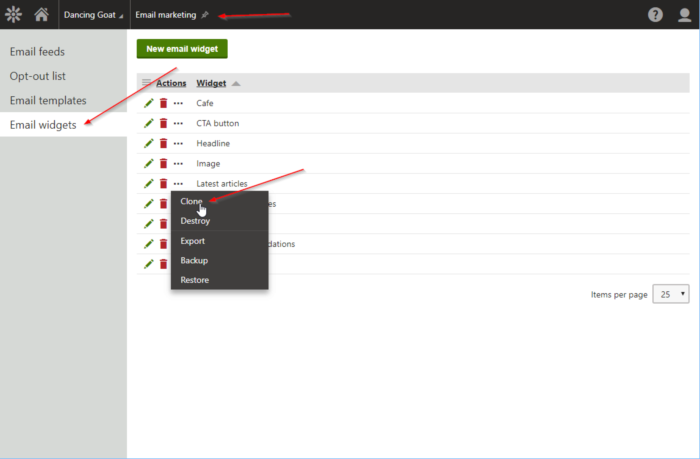
With the macro method in place, I was ready to create my new widget. In the Email marketing module, I selected Email widgets. The Kentico 11 Dancing Goat demo contains several sample widgets to demonstrate the functionality. To create my widget, I cloned the Latest articles widget, as this sample contained the layout and design I wanted for my new widget.
NOTE
The Latest articles widget uses a DocumentQuery to return the top 4 articles published within the site. The widget displays these records as links in a table format within the email.
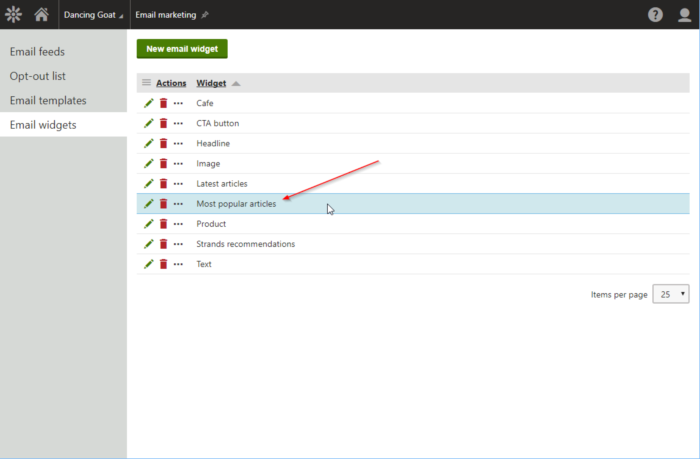
Once I cloned the widget, I updated the properties to match my naming convention.

Add macro to widget editor
In the Widget editor, I removed the DocumentQuery and added my custom macro to the code.
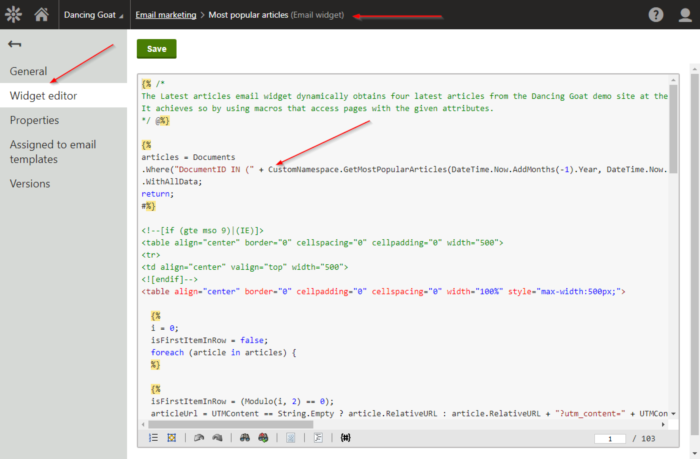
For the macro parameters, I used the current month/year.
articles = Documents
.Where("DocumentID IN (" + CustomNamespace.GetMostPopularArticles(DateTime.Now.AddMonths(-1).Year, DateTime.Now.AddMonths(-1).Month, 2, CurrentSite.SiteDefaultVisitorCulture) + ")")
.WithAllData;
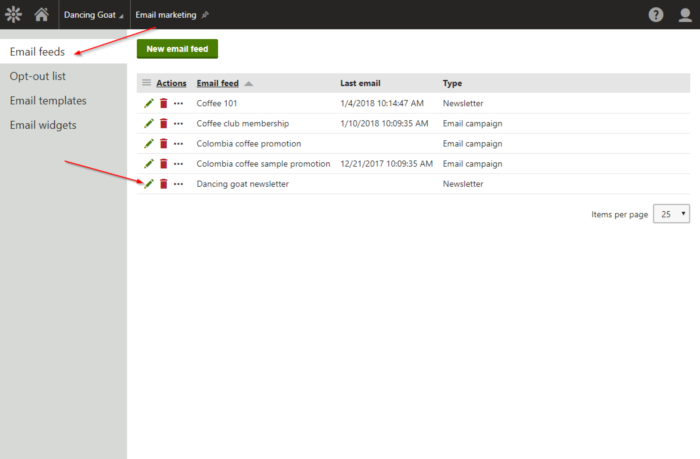
Test
To test, I selected the Email feeds tab and the Dancing goat newsletter.
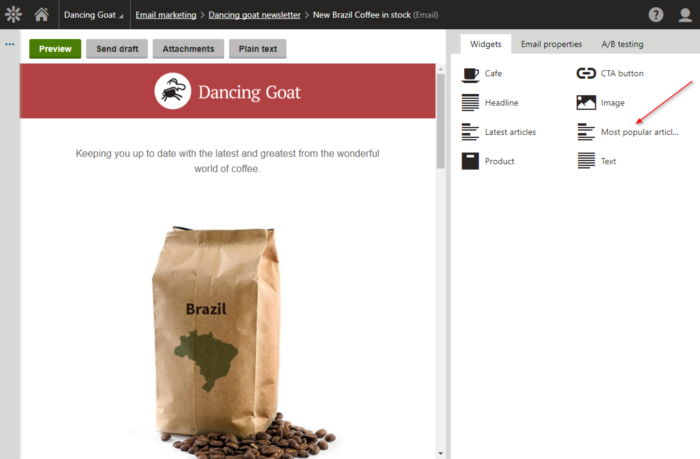
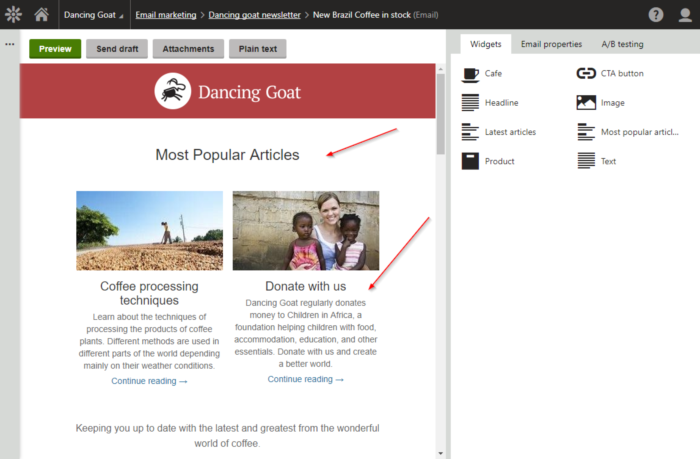
I selected an email to view the Email Builder. I confirmed the new widget was displayed in the collection.
I added the Headline and Most popular articles widgets to the page.
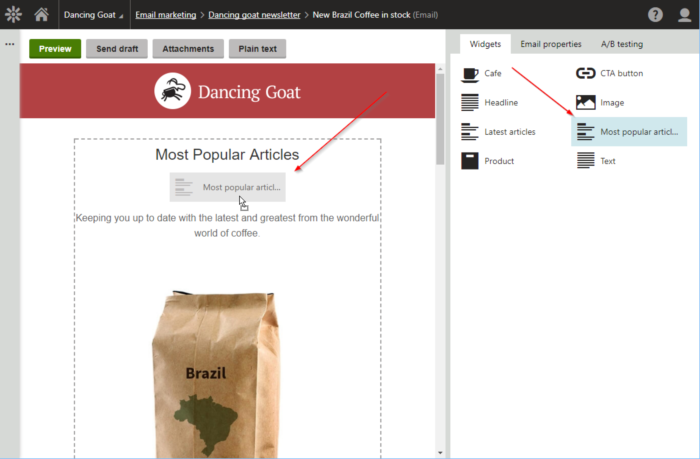
I confirmed the widget displayed the articles.
Moving forward
The new Email Builder brings some great drag-and-drop functionality to designing marketing communications. By creating custom widgets, developers can allow users to add dynamic content to their emails in an intuitive and guided process. I hope this article shows you how easily you can create custom macros for your emails and add content quickly. Good luck!