|
|

Using My Dashboard |

|

|

|

|
|
Using My Dashboard |
|
|

|
|
|
|
Using My Dashboard |
|
|
|
|
|
Using My Dashboard |
|
|
|
|
|
|
||
There is a special page on the Intranet Portal called My Dashboard, which can be personalized directly on the website by every registered user. Each user can specify the content that should be displayed on their version of the page, depending on what they wish to see or use. The following example will demonstrate how this page can be accessed and what kind of modifications are possible:
1. Access the portal, log on as Ruth Baker (user name RuthB with a blank password) and click the My Dashboard link located on the main header. This link is accessible from any location on the portal.

2. The My Dashboard page will now be opened. Notice that the page is composed of separate elements that display some kind of content or allow certain actions to be performed. Each element is enclosed in a container with a header that has some action buttons on the right and a title on the left, such as for example My inbox.
These elements are called widgets and they can be used as building blocks to form the required page design.
3. Hover your mouse cursor over any of the widgets and you will notice that a black outline appears around a section of the page. This outline designates a widget zone, which is a region on the page that may contain widgets.
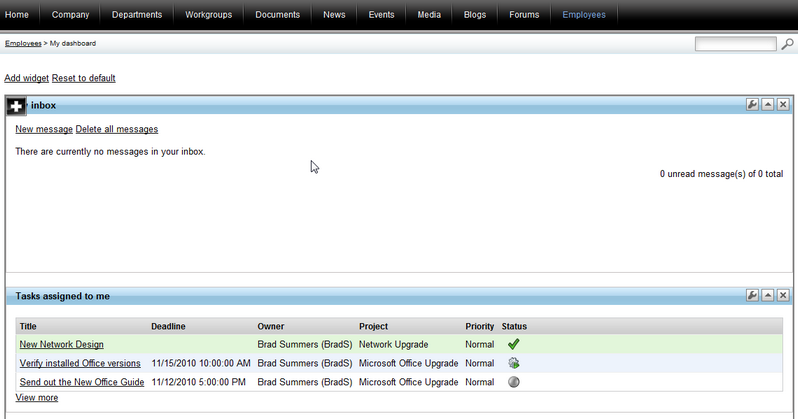
By default, all of the widgets are placed in the first zone, but there are several other available zones below at the bottom of the page to which widgets can be moved. This is described later in this topic.
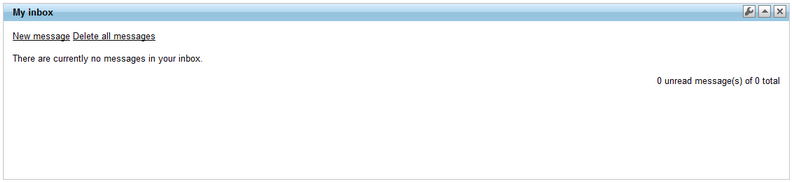
4. To manage the widgets on the page, the appropriate actions must be used. The simplest action available for widgets is minimization, which hides the content of the widget so that only its header is visible. Click the Minimize widget (![]() ) action button in the top right corner of the My inbox widget. The result should look like in the following image.
) action button in the top right corner of the My inbox widget. The result should look like in the following image.
Use the Maximize widget (![]() ) action to restore the widget to its previous state.
) action to restore the widget to its previous state.
5. Now click the Remove widget (![]() ) action button of the My inbox widget to delete it completely. Click OK in the confirmation dialog and the widget will disappear from the page.
) action button of the My inbox widget to delete it completely. Click OK in the confirmation dialog and the widget will disappear from the page.
6. To add a new widget to a zone, hover over it and click the Add widget (![]() ) button in its top left corner. This opens the Select widget catalog, where you can choose from available widgets.
) button in its top left corner. This opens the Select widget catalog, where you can choose from available widgets.
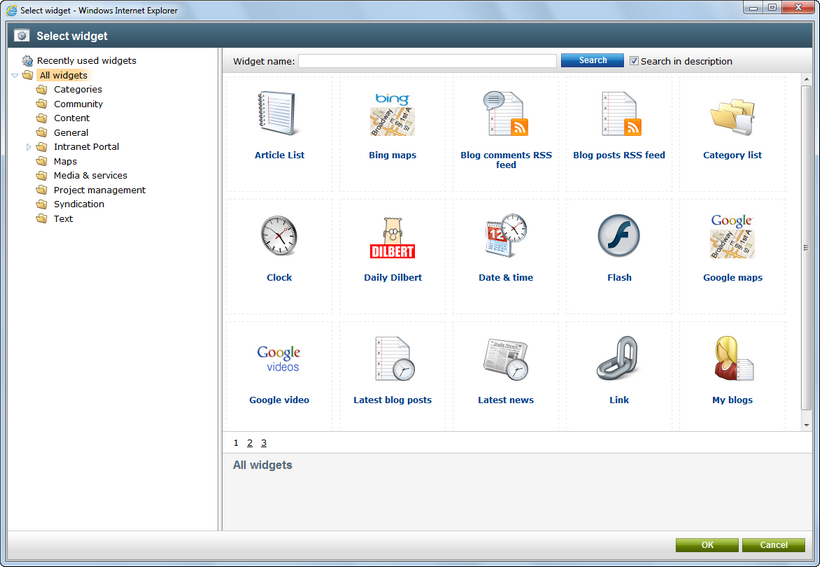
More information about the widgets that are available on the portal by default can be found in the Intranet widgets chapter of this guide.
Click the Content category in the tree on the left of the catalog, select the Latest news widget and click OK. The Widget properties dialog will be opened, where you can configure the properties of the new widget.
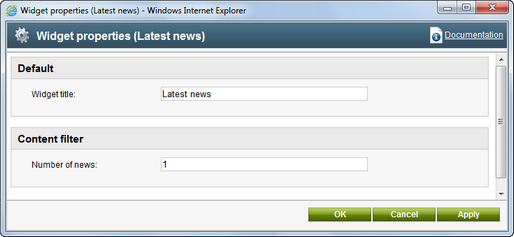
The Widget title property may be used to specify the text that will be displayed in the header of the widget on the page. Set the value of the Number of news property, which determines the maximum amount of displayed news items, to 1. This will cause the widget to show only the most recent news from the portal. Confirm the configuration by clicking OK. The widget will now be added to the bottom of the zone.
An alternative way of adding a new widget is by using the Add widget link at the top left of the My Dashboard page.
7. Now click the Configure widget (![]() ) button of the newly created Latest news widget, which opens the same Widget properties dialog that was shown when the widget was being created. This action can be used if you ever wish to change the properties of an existing widget. Every widget has its own set of properties depending on its function.
) button of the newly created Latest news widget, which opens the same Widget properties dialog that was shown when the widget was being created. This action can be used if you ever wish to change the properties of an existing widget. Every widget has its own set of properties depending on its function.
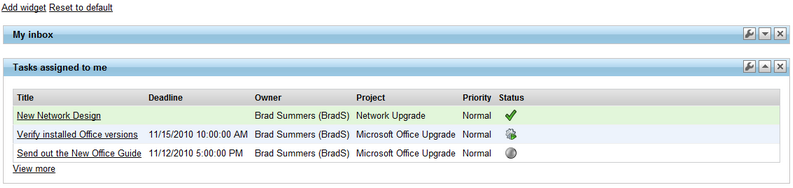
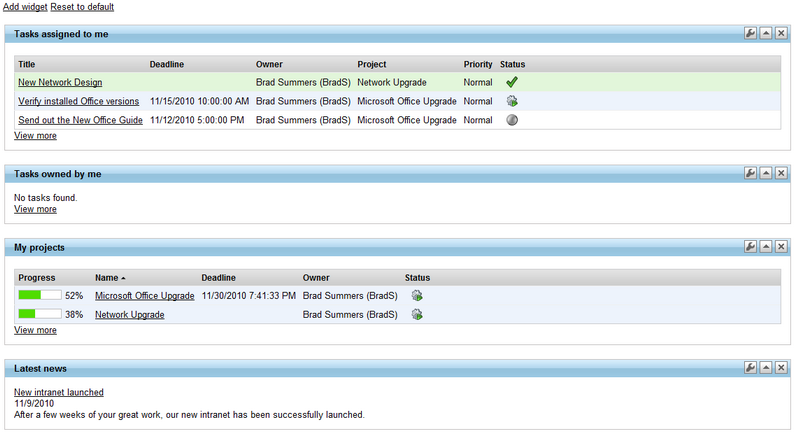
8. The location of widgets can easily be changed by using their drag‑and‑drop functionality. This works both for modifying the order of widgets in a zone and moving a widget to a different zone. Hover over the header of the Latest news widget and the mouse cursor will change. Hold down the mouse button and try to drag the widget to the top of the zone. When dragging a widget around the page, you will notice that possible locations are highlighted by a red dotted outline.
9. The resulting page should be similar to the following image.
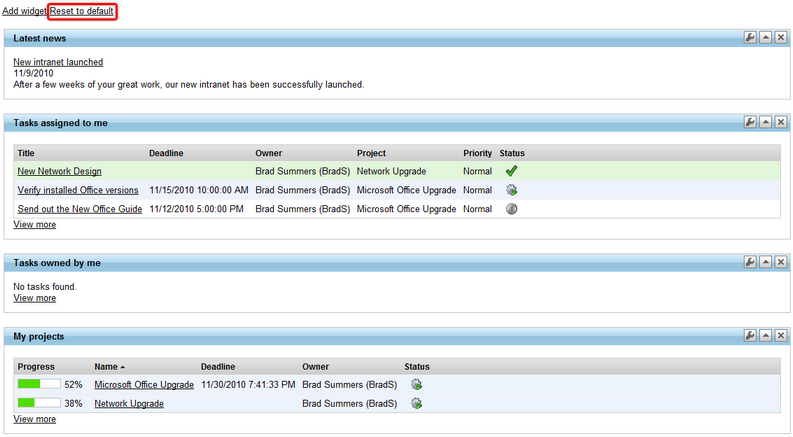
If required, the entire page can be returned to its default state simply by clicking the Reset to default link.
Please keep in mind that any changes made to the page are unique for every user. If you log on to the portal as a different user, the My Dashboard page will either be in its default state, or it will reflect any modifications done by that particular user.