|
|

Insert YouTube video |

|

|

|

|
|
Insert YouTube video |
|
|

|
|
|
|
Insert YouTube video |
|
|
|
|
|
Insert YouTube video |
|
|
|
|
|
|
||
Using this dialog, a video from YouTube can be easily added to a page. The dialog can be opened using the Insert YouTube video (![]() ) icon on the WYSIWYG editor toolbar, as you can see in the screenshot below:
) icon on the WYSIWYG editor toolbar, as you can see in the screenshot below:

The general process of inserting a YouTube video is as follows:
1.Place the cursor at the appropriate position in the text area and click the Insert YouTube video (![]() ) icon.
) icon.
2.The dialog opens.
3.Insert the URL of the YouTube video into the URL field and click the Refresh (![]() ) icon.
) icon.
4.The entered URL is checked and if it is valid, default properties are loaded and the preview displayed.
5.Specify the properties of the video according to your needs. The changes you make are reflected in the preview in the right part of the dialog.
6.When you are finished with the properties, click the Insert button.
7.The video is inserted into the text area.
If you click on Go to YouTube (![]() ) in the dialog, you will be redirected to the YouTube home page. This home page will be opened in a new browser tab.
) in the dialog, you will be redirected to the YouTube home page. This home page will be opened in a new browser tab.
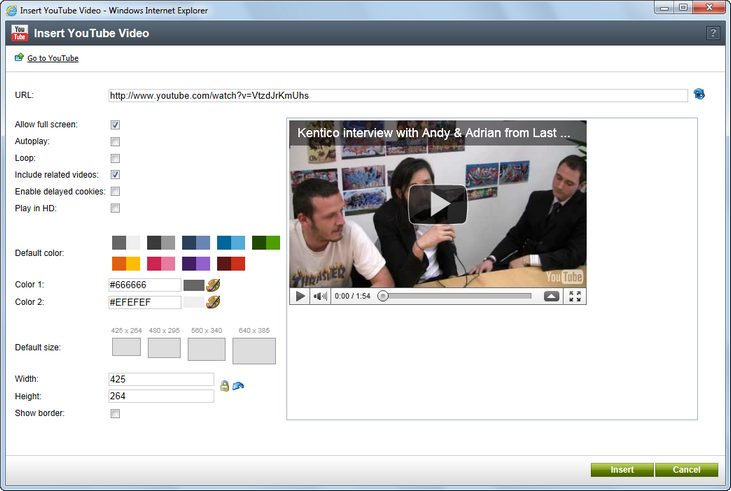
The following properties can be specified in this dialog:
•URL - URL of the YouTube video. You can copy&paste it from the address line of your browser or from the URL field on the video page.
•Allow full screen - indicates if the control to switch playback to full screen will be available in the video toolbar.
•Autoplay - indicates if playback starts automatically when the page is loaded.
•Loop - indicates if playback is continuously repeated in a loop.
•Include related videos - indicates if related videos will be displayed when playback finishes.
•Enable delayed cookies - indicates if delayed cookies should be used.
•Play in HD - indicates if the video will be played in HD by default. The user can switch back to normal quality by pressing the HD button while playing the video.
•Default color - you can choose one of the default color combinations, which will be used in the Color 1 and Color 2 properties.
•Color 1 - the color of the border around the player, relevant only if the Show border property is enabled.
•Color 2 - the color of the player toolbar.
•Default size - you can choose one of the default sizes of the video player, which will be used in the Width and Height properties.
•Width - the width of the video player.
•Height - the height of the video player.
•Show border - indicates if border should be shown around the player. Enabling this option adds 20px to both the width and height of the player.
This is what the dialog window looks like when a video is loaded:
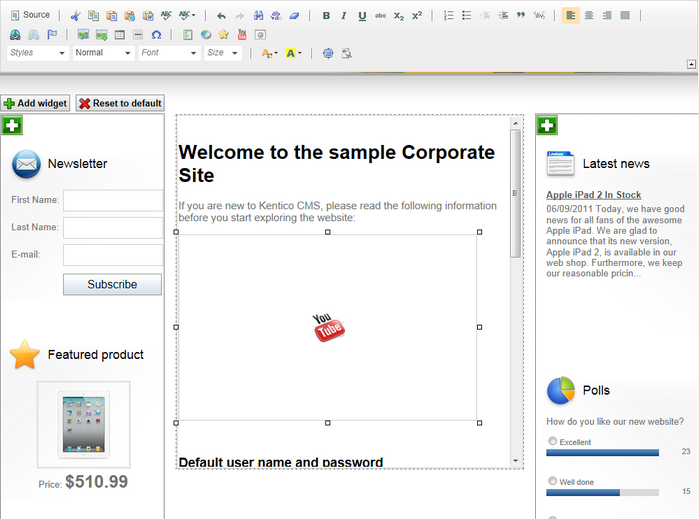
In the WYSIWYG editor, the actual video is not displayed. You can only see a box with the YouTube logo in the middle to give you information about the player size:
The YouTube video is generated as the YouTubeVideo inline control, as you can see in the code sample below:
{^YouTubeVideo|(url)http://www.youtube.com/watch?v=VtzdJrKmUhs|(width)320|(height)198|(fs)true|(autoplay)false|(loop)false|(rel)true|(cookies)false|(border)false|(color1)#3A3A3A|(color2)#999999^} |
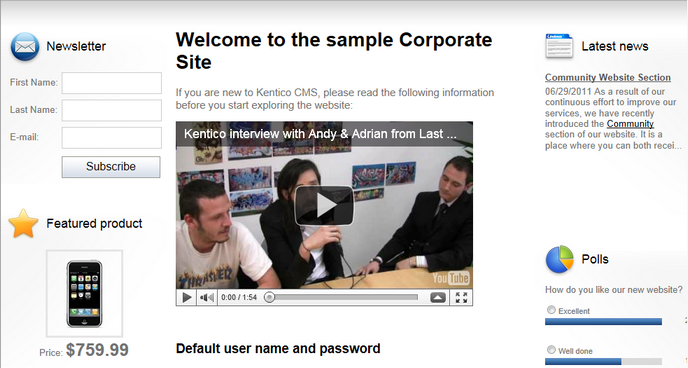
On the live site, the video is displayed in the player: