|
|

Exporting objects |

|

|

|

|
|
Exporting objects |
|
|

|
|
|
|
Exporting objects |
|
|
|
|
|
Exporting objects |
|
|
|
|
|
|
||
Besides exporting the whole website, you can also choose to export only selected objects (web parts, document types, page templates, etc.). This is useful when you update some object on the development machine and want to copy the updated object to the staging or production server.
Exporting selected objects
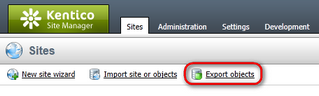
1. Go to Site Manager -> Sites and click Export objects. The Export objects wizard starts.
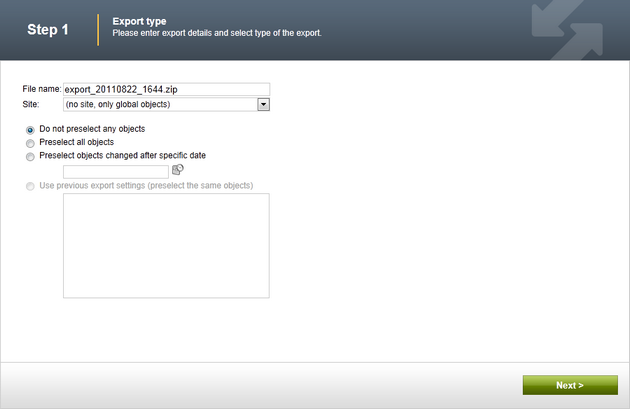
2. In the first step of the wizard, fill in the name of the export package and choose the object pre-selection type:
File name |
Sets the name of the export package. The wizard creates the zip file containing the export data in the ~/CMSSiteUtils/Export folder. |
Do not preselect any objects |
If chosen, no objects will be preselected in the next step. |
Preselect all objects |
If chosen, all objects will be preselected in the next step. |
Preselect objects changed after specific date |
If chosen, only objects changed after the specified date will be selected in the next step. |
Use previous export settings |
If chosen, settings used in a previous export selected from the list below will be used. |
Select the option that suits your purposes and click Next.
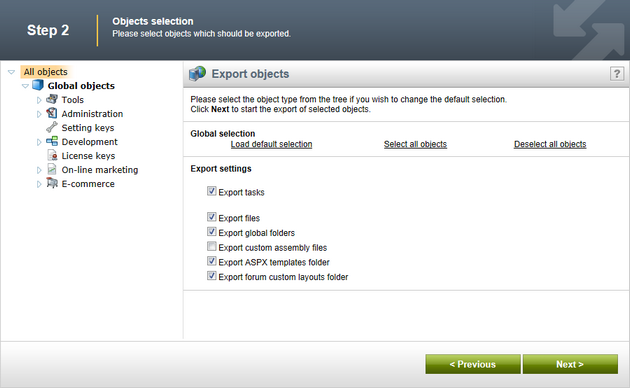
3. In Step 2, you can select which objects will be exported. The tree on the left represents object categories. These reflect the sections of the administration interface under which the objects can be found. Selecting a category opens a set of check boxes in the right part of the screen, allowing you to select which objects will be exported.
Select the root of the tree (All objects) to access the following general export settings:
Global selection |
|
Load default selection |
Preselects all objects based on your choices in Step 1 of the import wizard. |
Select all objects |
Selects all available objects. |
Deselect all objects |
Unselects all objects. |
Export settings |
|
Export tasks |
If enabled, delete tasks (incremental deployment) will be included in the package. |
Export files |
Some database objects are linked with physical files stored on the file system inside the web project. If you check this option, such files will be exported along with the corresponding database objects. |
Export global folders |
If enabled, all files under the following folders will be added to the export package:
•~/App_Code/Global/ •~/CMSGlobalFiles/ •~/CMSScripts/Custom/ •~/App_Code/Controllers/ •~/Controllers/Global/ •~/Views/Global/ |
Export custom assembly files |
If enabled, bound custom assembly files will be exported together with notification gateways, payment options, integration connectors, scheduled tasks and smart search indexes. Custom assemblies are those whose names do not begin with the CMS. prefix. |
Export ASPX templates folder |
If enabled, the folder with ASPX page templates will be exported: •~/CMSTemplates/ |
Export forum custom layouts folder |
If enabled, folder with custom forum layouts will be exported: •~/CMSModules/Forums/Controls/Layouts/Custom/ |
4. The following categories contain extra options to be set:
Custom tables |
|
Export custom table data |
If checked, custom table records (the actual data stored in the tables) will be exported along with the selected custom tables. |
Documents |
|
Export documents |
If checked, documents will be exported |
Export document histories |
If checked, histories of all exported documents will be exported. |
Export document relationships |
If checked, relationships of all exported documents will be exported. |
Export document level permissions |
If checked, document security settings made in CMS Desk will be exported. |
Export blog comments |
If checked, blog comments will be exported. |
Export event attendees |
If checked, event attendees will be exported for all exported events. |
Forms |
|
Export forms data |
If checked, stored forms' data will be exported together with the exported forms. |
Export physical files |
If checked, physical files saved within form records (if there are some) will also be imported. |
Forums |
|
Export forum posts |
If checked, forum posts will be exported together with the exported forums. |
Message boards |
|
Export board messages |
If checked, board messages will be exported together with particular message boards. |
Media libraries |
|
Export media files |
If checked, media files stored in the database will be exported. |
Export physical files |
If checked, physical media files stored in the file system will be exported. This option is not selected by default as it may cause the package size grow extremely large; instead, it is recommended to export these files manually. |
5. If you have the "Log export tasks" option enabled in Site Manager -> Settings -> Versioning & synchronization -> Staging, a list of object deletion tasks may also be displayed at the bottom of the list. This happens when some objects have been deleted (just as the two web part containers in the screenshot below). If you leave the check-boxes checked, the objects will be deleted after importing the package on the target server.
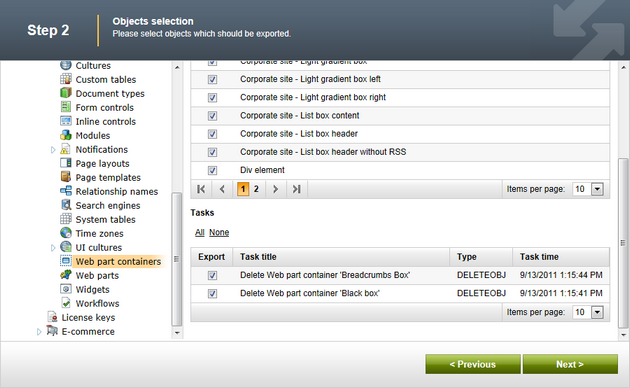
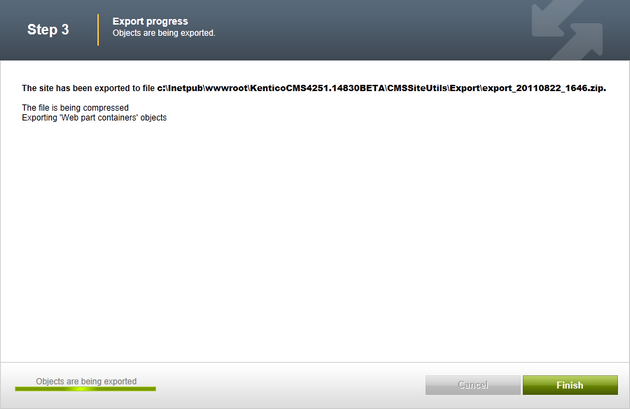
6. After making all required selections, click Next to proceed to the next step. A log appears, showing you the progress of exporting. You can abort exporting by clicking Cancel at any time. When exporting finishes, a message appears at the top of the log, telling you the full path to the exported file.
Click Finish. You will be redirected back to Site manager -> Sites.
Now you can copy the exported file into the ~/CMSSiteUtils/Import folder of the target installation of Kentico CMS, and use the Import site or objects wizard described in the Importing a site or objects topic.