Adding a Silverlight application to your site |

|

|

|

|
|
Adding a Silverlight application to your site |

|

|

|

|
|
|
||
To add a Silverlight application to your site, you will need to use the Silverlight application web part, which is a container for Silverlight applications.
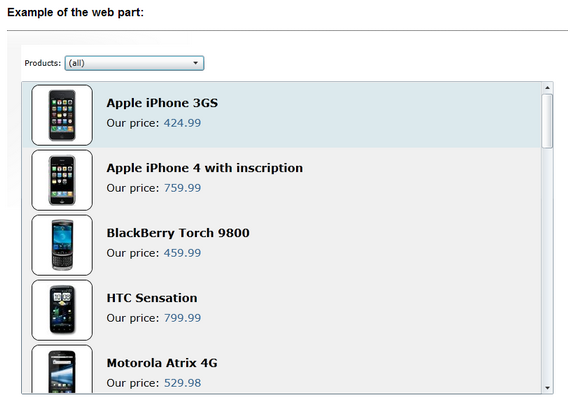
You can find a live example of use of this web part on the Corporate Site sample website, on a page under Corporate site -> Examples -> Web parts -> Silverlight -> Silverlight application.

1. Go to CMS Desk and from the content tree, choose the page where you would like to add your Silverlight application.
2. Switch to the Design tab.
3. Click the Add web part (![]() ) icon at the top right-hand corner of the web part zone where you want to place the application.
) icon at the top right-hand corner of the web part zone where you want to place the application.
4. Choose the Silverlight -> Silverlight application web part.
5. Click OK.
6. Configure the web part properties:
•Application path - path to your Silverlight application; e.g. ~/ClientBin/MyApplication.xap.
•Minimum version - minimum version of Silverlight required by the silverlight application to run by this web part.
•Container width - width of the application container; can be entered either as an integer value (e.g. 315) or as a percentage value (e.g. 59%).
•Container height - height of the application container; can be entered either as an integer value (e.g. 315) or as a percentage value (e.g. 59%).
•Container background - background of the application container; can be entered in hexadecimal (e.g. #323232) format or selected from a Color picker, which is displayed after clicking the Select button; if no value is entered, white color is used.
•Endpoint address - web service endpoint address the client application can connect to; if specified, its value is added as parameter with 'endpoint' key to the application parameters collection; you need to handle this parameter in your Silverlight application for it to take effect.
•Parameters - Silverlight application parameters in the following format: <key1>=<value1>,<key2>=<value2>,...
•Alternate content - custom HTML content which is displayed to users when Silverlight plug-in is not installed; leave blank if you want the default alternate content to be displayed.
7. Click OK.
Now you can switch to the Live site and enjoy your Silverlight application running on your Kentico CMS website.