Defining web part containers |

|

|

|

|
|
Defining web part containers |

|

|

|

|
|
|
||
Web part containers are elements of the website which can encapsulate web parts. They consist of HTML code before and after the web part. Throughout the website, we will use six different web part containers which we will define in the following example.
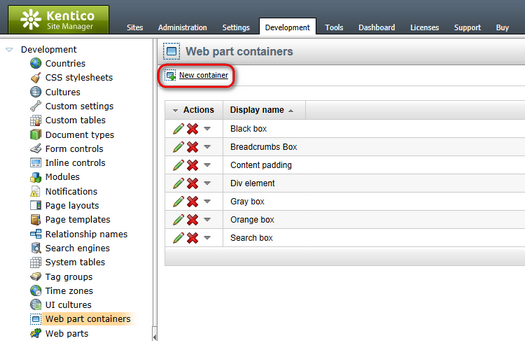
1. Go to Site Manager -> Development -> Web part containers and click the ![]() New container button above the list.
New container button above the list.

2. In the New container dialog, enter the following details:
•Display name: Community Site - Blue Box
•Code name: CommunitySite.BlueBox
•HTML code:
<div class="blueBoxTop"></div> |
|
Working with the web part placeholder
The "□" character in the code above will determine the position of the web part placeholder when you paste it into the HTML code field.
|
Click OK.
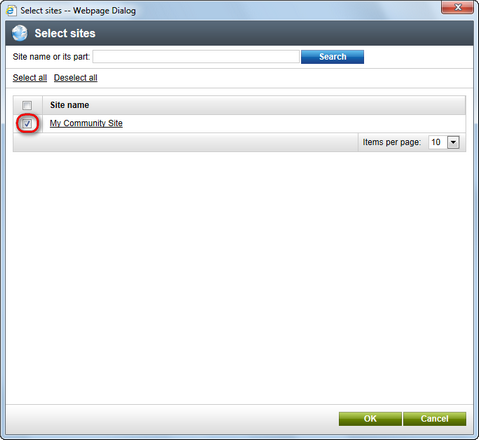
3. Switch to the Sites tab, click the Add sites button and add My Community Site using the pop-up dialog. Click OK.

4. Repeat the same procedure for the following five web part containers:
•Display name: Community Site - Blue Box Light
•Code name: CommunitySite.BlueBoxLight
•HTML code:
<div class="boxBlueLight"> |
•Display name: Community Site - Gray Box
•Code name: CommunitySite.GrayBox
•HTML code :
<div class="grayBoxTop"></div> |
•Display name: Community Site - Orange Box
•Code name: CommunitySite.OrangeBox
•HTML code:
<div class="orangeBoxTop"></div> |
•Display name: Community Site - Red Box
•Code name: CommunitySite.RedBox
•HTML code:
<div class="redBoxTop"></div> |
•Display name: Community Site - Red Box Light
•Code name: CommunitySite.RedBoxLight
•HTML code:
<div class="boxRedLight"> |
You have created six new web part containers. These containers can now be used to encapsulate any web part on the site, using the Web part container property. This property is common to all web parts.