|
|

Creating the Create page |

|

|

|

|
|
Creating the Create page |
|
|

|
|
|
|
Creating the Create page |
|
|
|
|
|
Creating the Create page |
|
|
|
|
|
|
||
The Create page is where users are redirected when they want to create a new blog. The page is accessible via the Shortcuts menu, after clicking the Create a new blog link. In the following example, you will learn how to create the page. We will use the My Community Site - Blogs page template created in the previous chapter so that we don't have to waste time by adding the same web parts again.
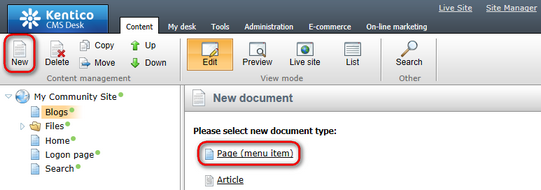
1. Go to CMS Desk, select the Blogs page in the content tree and click the New icon. Choose the Page (menu item) document type.
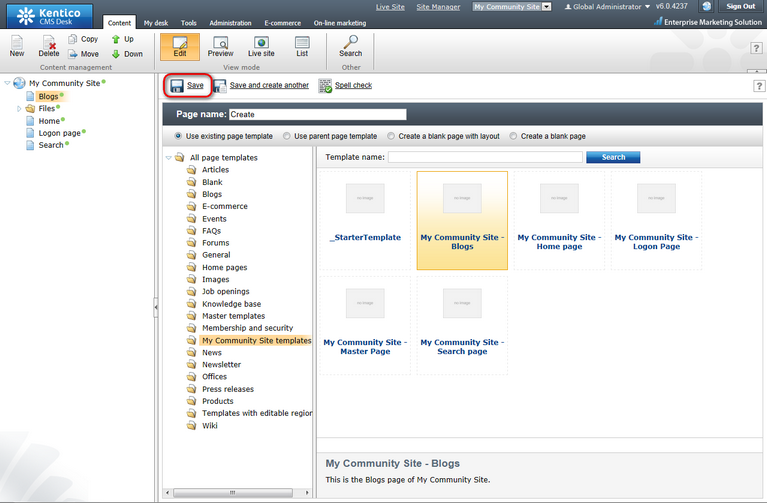
2. Choose the My Community Site templates -> My Community Site - Blogs page template. For Page name, enter Create and click Save.
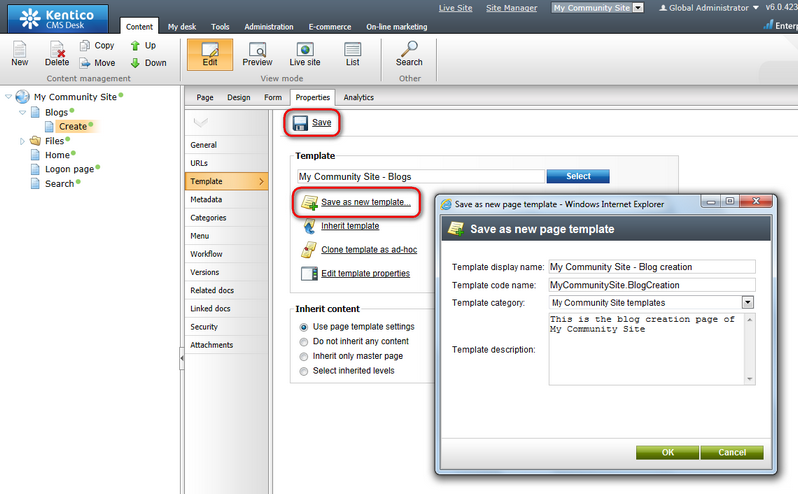
3. Now we have the Create page created. It uses the My Community Site - Blogs page template. If we started making modifications to the page now, the page template would also get modified, so that the Blogs page would be modified too. To prevent this, we will have to save the page as a new page template before the actual modification. Switch to the Properties -> Template tab and click the Save as new template link. Enter the following details in the pop-up dialog:
•Template display name: My Community Site - Blog creation
•Template code name: MyCommunitySite.BlogCreation
•Template category: My Community Site templates
•Template description: some text describing the page template
Click OK. Click Save.
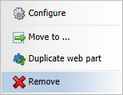
4. Now switch to the Design tab. Because the page template already contains some web parts that we will need on the page, we can focus on deleting the not-needed ones first. You can delete a web part by opening the web part's context menu (down-pointing arrow on the left) and selecting the Remove command.
From the zoneRight web part zone, delete the Logon miniform, Post archive and Blog comments viewer web parts.
5. We will add two more web parts to this web part zone. The first one will be a repeater displaying the current user's blogs. Click the Add web part (![]() ) icon of the zoneRight web part zone and choose the Listings and viewers -> Repeater web part. Set the following properties of the web part, leave the rest of them as they are:
) icon of the zoneRight web part zone and choose the Listings and viewers -> Repeater web part. Set the following properties of the web part, leave the rest of them as they are:
•Web part control ID: repeaterYourBlogs
•Path: /Blogs/%
•Document types: CMS.Blog
•ORDER BY expression: DocumentCreatedWhen DESC
•WHERE condition: NodeOwner='{%CurrentUser.UserID%}'
•Transformation: Community.Transformations.BlogsListRight
•No record found text: You have currently no blogs.
•Web part container: Community Site - Orange Box
•Web part container title: Your blogs
Click OK.
The second web part that we will add to the zoneRight web part zone is the Users viewer. We will set it up so that it displays the four most active bloggers on the site. Click the Add web part (![]() ) icon and choose the Membership -> Users viewer web part. Set the following properties of the web part, leave the rest of them as they are:
) icon and choose the Membership -> Users viewer web part. Set the following properties of the web part, leave the rest of them as they are:
•Web part control ID: TopBloggers
•Transformation name: Community.Transformations.MembersPreviewList
•Hide if no record found: disabled
•No record found text: There are currently no bloggers.
•Show filter: disabled
•ORDER BY condition: UserBlogPosts DESC
•Select top N members: 4
•Use default cache dependencies: enabled
•Web part container: Community Site - Blue Box
•Web part container title: Top bloggers
Click OK.
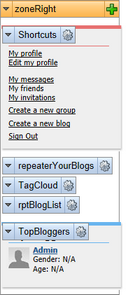
Now that you have the web parts in place and configured, let's just reorder them by dragging and dropping. In the result, they should be ordered as in the screenshot below:
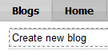
6. In the zoneCenter web part zone, we will need only the Editable text web part at the top, hence you can remove all the other web parts in this web part zone. Switch to the Page tab and enter Create new blog into the web part's text box. Click Save.
7. Switch back to the Design tab. You should see the heading displayed in the appropriate font size. The rest of the zoneCenter web part zone will host only another Editable text web part displaying some info text and the New blog web part. Click the Add web part (![]() ) icon and choose the Text & Images -> Editable text web part. You can leave all properties of the web part at their default values and click OK.
) icon and choose the Text & Images -> Editable text web part. You can leave all properties of the web part at their default values and click OK.
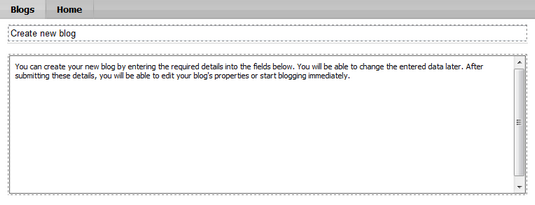
Switch to the Page tab and enter some info text into the web part's text area. You can use the following sample text:
You can create your new blog by entering the required details into the fields below. You will be able to change the entered data later. After submitting these details, you will be able to edit your blog's properties or start blogging immediately. |
Click Save.
8. Switch back to the Design tab. Let's finish the page by adding its main part - the New blog web part. Click the Add web part (![]() ) icon and choose the Blogs -> New blog web part. Set the following property of the web part, leave the rest at their default values:
) icon and choose the Blogs -> New blog web part. Set the following property of the web part, leave the rest at their default values:
•Blog parent path: /Blogs
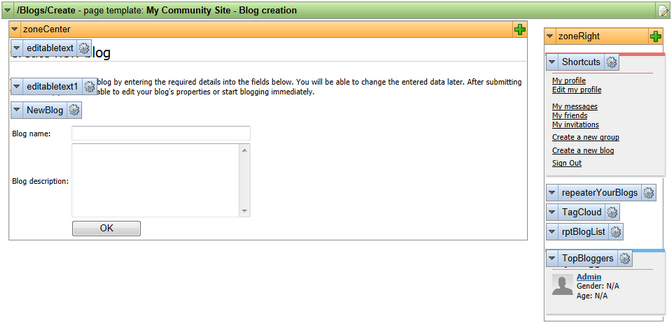
Click OK. You have just finished creating the blogs creation page. In Design tab, it should look as in the following screenshot.