Page template |

|

|

|

|
|
Page template |

|

|

|

|
|
|
||
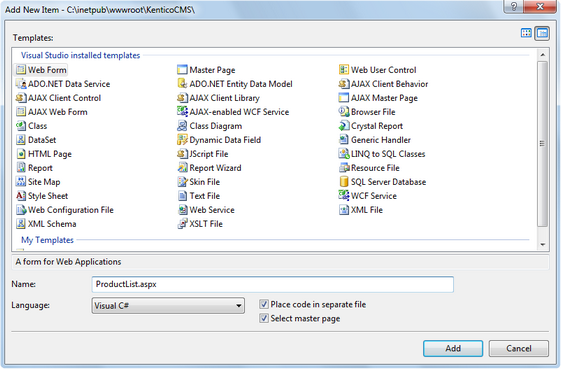
Now we get to the final step of this chapter: publishing computer specifications on your website. Go to Visual Studio and choose to create a web form in the CMSTemplates\MySite folder. Name the page ProductList.aspx and check the Select master page box:
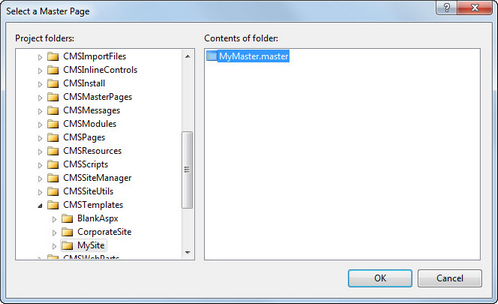
Choose the CMSTemplates\MySite\MyMaster.master page in the next dialog:
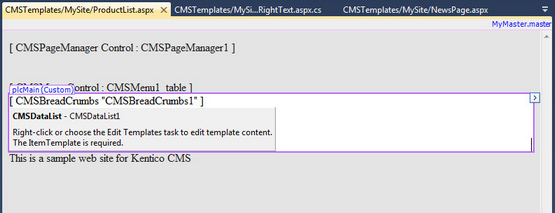
Switch to the Design tab and you will see a preview of the page, including the inherited master page. Drag and drop the CMSBreadCrumbs and CMSDataList controls onto the page:
Set the following properties of the CMSDataList control:
•ClassNames: custom.computer (the document types to be displayed)
•OrderBy: ComputerName ASC
•TransformationName: custom.computer.preview
•SelectedItemTransformationName: custom.computer.default
•RepeatColumns: 2
Switch to the code behind and add a reference to the CMS.UIControls namespace:
[C#]
using CMS.UIControls; |
[VB.NET]
Imports CMS.UIControls |
You also need to change the class definition so that it inherits from the TemplatePage class:
[C#]
public partial class CMSTemplates_MySite_ProductList : TemplatePage |
[VB.NET]
Partial Class CMSTemplates_MySite_ProductList Inherits TemplatePage |
Save the changes.
Now we need to register the new page template. Go to Site Manager -> Development -> Page templates, select the My website category and click ![]() New template. Create a new page template with the following values:
New template. Create a new page template with the following values:
•Template display name: Product list
•Template code name: ProductList
On the General tab of the page template, please set the following:
•Template type: ASPX page
•File name: ~/CMSTemplates/MySite/ProductList.aspx
Click ![]() Save and switch to the Sites tab. Assign the new page template to My website.
Save and switch to the Sites tab. Assign the new page template to My website.
Now that the page template is created, you can start adding pages based on it. Go to CMS Desk -> Content, select the root and click New. Choose to create a new Page (menu item) using the My website/Product list template and name the page Products. Click ![]() Save.
Save.
Now we need to enter some computer details. Select /Products in the content tree and click New. Choose to create a new Computer. Enter the following values:
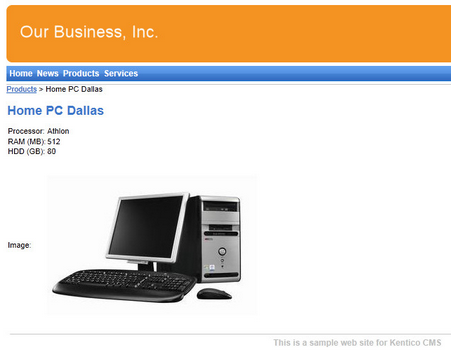
•Computer name: Home PC Dallas
•Processor type: Athlon
•RAM (MB): 512
•HDD (GB): 80
•Image: upload some image (you can find sample images in the <Kentico CMS installation>\CodeSamples\SampleWebTemplate\Computer_Images folder)
•Publish from/to - leave the values blank
Click Save and create another with the following values:
•Computer name: Office PC Houston
•Processor type: Pentium Core 2 Duo
•RAM (MB): 1024
•HDD (GB): 120
•Image: upload some image (you can find sample images in the <Kentico CMS installation>\CodeSamples\SampleWebTemplate\Computer_Images folder)
•Publish from/to - leave the values blank
Click ![]() Save.
Save.
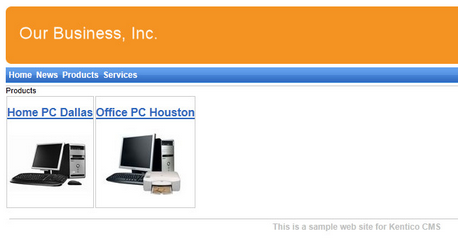
Now, when you click /Products you will see a page like this:
When you click on some link, you will see computer details:
You have learned how to define new document type and how to publish its documents on the website.