Creating a simple web part |

|

|

|

|
|
Creating a simple web part |

|

|

|

|
|
|
||
This topic will guide you through the process of creating a very simple "Hello world" web part that displays a label and a button. When the button is clicked, it updates the current time displayed in the label.
1. Open the web project in Visual Studio (or Visual Web Developer) using the WebProject.sln file or using File -> Open -> Web site in Visual Studio.
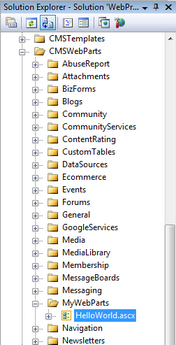
2. Right-click the CMSWebParts folder in the Solution Explorer window and choose New Folder. Rename the folder to MyWebParts.
3. Right-click the MyWebParts folder and choose Add New Item. Choose to create a new Web User Control and call it HelloWorld.ascx.

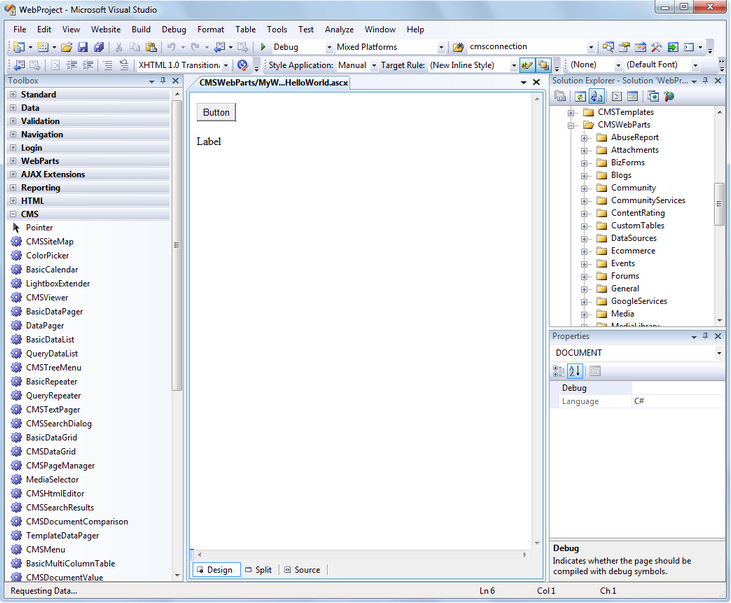
4. Display the HelloWorld control on the Design tab. Drag and drop a new Button control and a new Label control on the form:

5. Double-click the Button control and add the following code to the Button1_Click method:
[C#]
Label1.Text = DateTime.Now.ToString(); |
[VB.NET]
Label1.Text = DateTime.Now.ToString() |
6. Add the following line to the beginning of the code:
[C#]
using CMS.PortalControls; |
[VB.NET]
Imports CMS.PortalControls |
7. Change the following line:
[C#]
public partial class CMSWebParts_MyWebParts_HelloWorld : System.Web.UI.UserControl |
[VB.NET]
Partial Class CMSWebParts_MyWebParts_HelloWorld Inherits System.Web.UI.UserControl
to
Partial Class CMSWebParts_MyWebParts_HelloWorld Inherits CMSAbstractWebPart |
This ensures that the user control behaves as a web part.
8. Add the following code to the Page_Load method:
[C#]
Button1.Text = (string) PartInstance.GetValue("ButtonText"); |
[VB.NET]
(Visual Basic.NET doesn't create the Page_Load method automatically, so you need to add the whole method:)
Protected Sub Page_Load(ByVal sender As Object, ByVal e As System.EventArgs) Handles Me.Load Button1.Text = CType(PartInstance.GetValue("ButtonText"), String) End Sub |
It sets the button text to the value configured in Kentico CMS Desk.
9. Save all changes.
10. Open Site Manager -> Development -> Web parts, click the root and click ![]() New category. Enter My web parts into the Category display name field, MyWebParts into the Category name field and click OK.
New category. Enter My web parts into the Category display name field, MyWebParts into the Category name field and click OK.
11. Select the new category and click ![]() New web part. Choose to create a new web part and enter the following values:
New web part. Choose to create a new web part and enter the following values:
•Display name: Hello world
•Code name: HelloWorld
•File name: ~/CMSWebParts/MyWebParts/HelloWorld.ascx
Click OK.
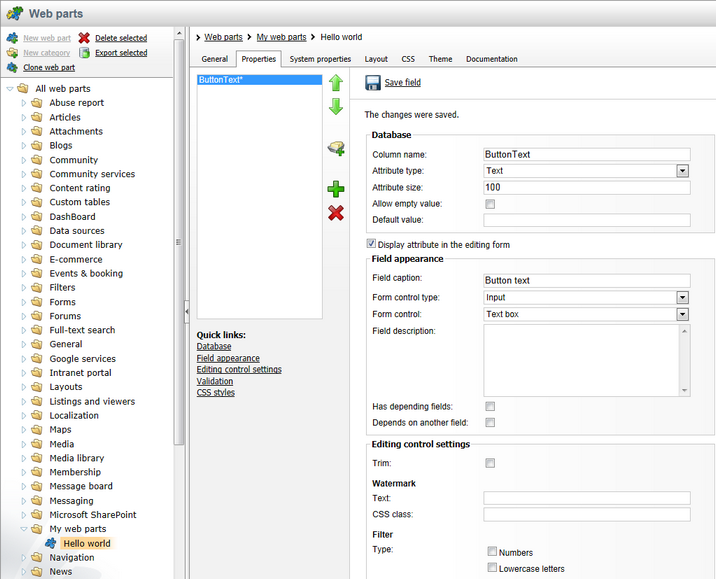
12. Switch to the Properties tab and add the following properties using the Add attribute (![]() ) button:
) button:
•Column name: ButtonText
•Attribute type: Text
•Attribute size: 100
•Field caption: Button text
•Form control type: Input
•Form control: Text box

Click OK.
13. Switch to CMS Desk.
14. Create a new blank page using the Simple layout (or any other layout) under the root and switch to the Design tab.
15. Click Add web part (![]() ) in the upper right corner of the web part zone and choose to add the Hello world web part:
) in the upper right corner of the web part zone and choose to add the Hello world web part:

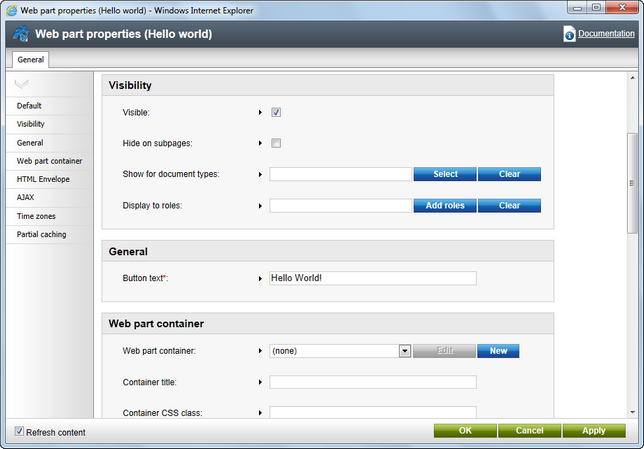
16. The Web part properties dialog of the HelloWorld web part appears, set the value of the Button text field to Hello world!

17. Now switch to the Live site mode using the button in the main toolbar. You will see the button with text Hello world! When you click it, the label displays current date and time:

You have learned how to create a simple web part.
|
Tip: Displaying content in the web part
You can also use Kentico CMS Controls in the code of the web part (in the ASCX control) to display content from Kentico CMS in a customized form.
|