Page template |

|

|

|

|
|
Page template |

|

|

|

|
|
|
||
Now we get to the final step of this chapter: publishing computer specifications on your website. Go to CMS Desk -> Content, click New and choose to create a new Page (menu item) document. Enter Products into the Page name field and choose to Create a blank page.

Click the Down button in the toolbar until you move the new page to the end of the list.
Switch to the Design tab and add the Navigation -> Breadcrumbs web part into the zoneLeft zone. Leave the default values and click OK.
Then, add the Listing and viewers -> Datalist web part. Set the following property values of this web part:
•Document types: custom.computer
•ORDER BY expression: ComputerName ASC
•Transformation: custom.computer.preview
•Selected item transformation: custom.computer.default
•Show New button: yes
•New button text: Add new computer
•Show edit and delete buttons: yes
Click OK.
Now we need to enter some computer details. Click /Products in the content tree and click New. Choose to create a new Computer. Enter the following values:
•Computer name: Home PC Dallas
•Processor type: Athlon
•RAM (MB): 512
•HDD (GB): 80
•Image: upload some image (you can find sample images in the <Kentico CMS installation>\CodeSamples\SampleWebTemplate\Computer_Images folder)
•Publish from/to - leave the values blank
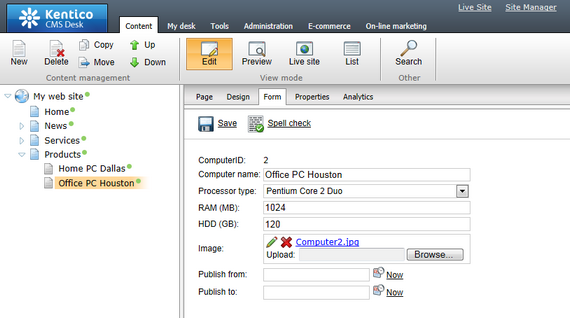
Click Save and create another with the following values:
•Computer name: Office PC Houston
•Processor type: Pentium Core 2 Duo
•RAM (MB): 1024
•HDD (GB): 120
•Image: upload some image (you can find sample images in the <Kentico CMS installation>\CodeSamples\SampleWebTemplate\Computer_Images folder)
•Publish from/to - leave the values blank
Click ![]() Save.
Save.

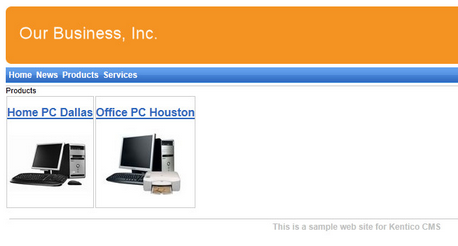
Now, when you click /Products you will see a page like this:

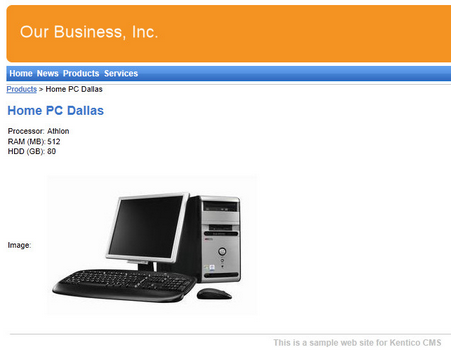
When you click on some link, you will see computer details:

You have learned how to define new document type and how to publish its documents on the website.