|
|

Adding a photo gallery |

|

|

|

|
|
Adding a photo gallery |
|
|

|
|
|
|
Adding a photo gallery |
|
|
|
|
|
Adding a photo gallery |
|
|
|
|
|
|
||
In this chapter, you will learn how to add the new photo gallery and upload some photos.
1. Go to CMS Desk -> Content -> Personal Site -> Photo Gallery and click New in the document action toolbar.
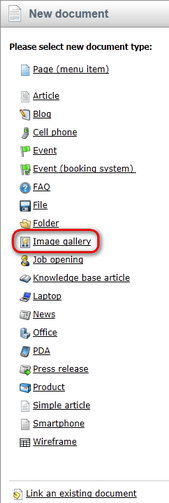
2. Choose Image gallery as a new document type.
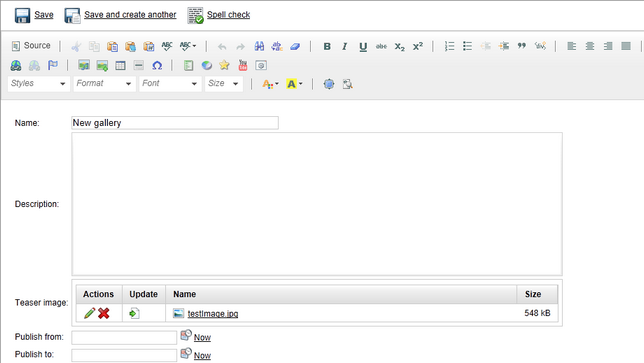
3. Enter New gallery into the Name text box and click Browse ... . Choose some Teaser image. Then click Save at the top.
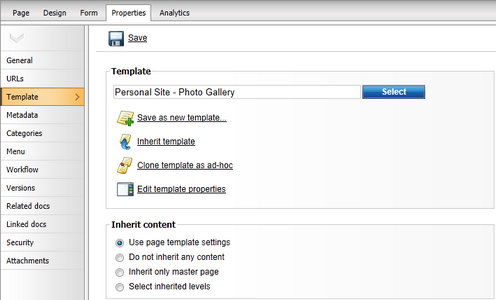
4. Now, go to Properties -> Template and click Select to choose template to use. Choose Personal Site\Personal Site - Photo Gallery. Click Save at the top.
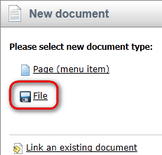
5. Your new gallery is ready. All you have to do is to add some pictures into your new created gallery. Make sure New gallery is selected in the content tree and click New in the document action toolbar. Choose File as the new document type.
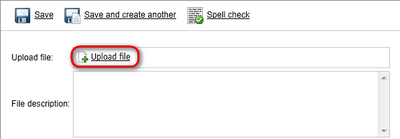
6. Click the Upload file (![]() ) icon and choose a picture to upload.
) icon and choose a picture to upload.
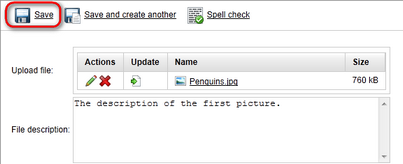
Then enter The description of the first picture. into the File description text box and click Save at the top.
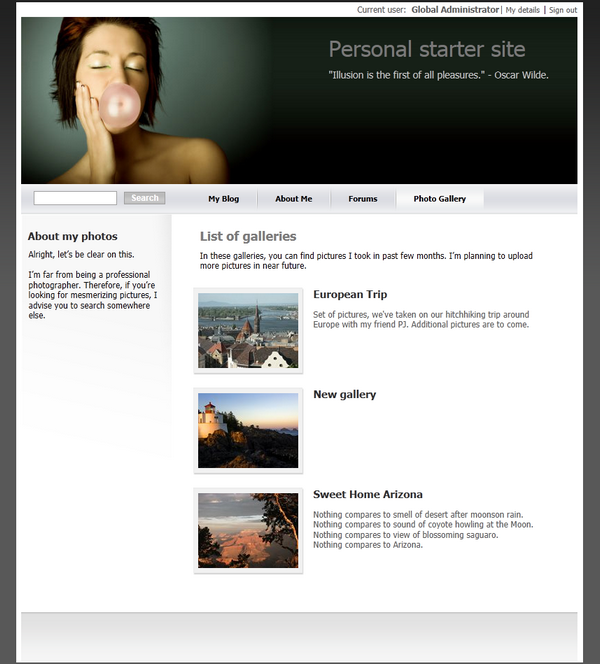
Congratulations, you've just learned how to create a new gallery and add some pictures into it.
Please note that you can take advantage of the File Import module to upload more images and files. The File Import module can be found at CMS Desk -> Tools -> File import.