|
|

Built-in web server in Visual Studio |

|

|

|

|
|
Built-in web server in Visual Studio |
|
|

|
|
|
|
Built-in web server in Visual Studio |
|
|
|
|
|
Built-in web server in Visual Studio |
|
|
|
|
|
|
||
If you want to use the build-in server which is included in Visual Studio, choose I want to use built-in web server in Visual Studio in Step 2 of the Web installer and click Next.
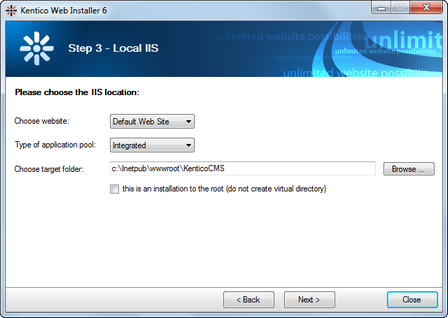
1. You will need to enter the target location of the files on your disk in Step 3 and proceed by clicking Next.
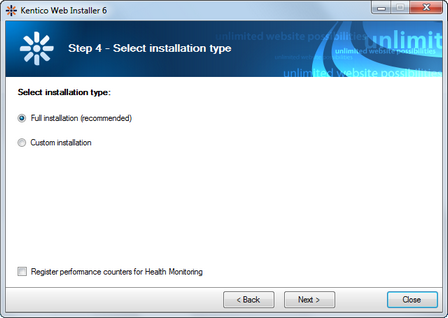
2. Now you need to decide between the following options:
•Full installation - performs full installation using all optional components
•Custom installation - lets you choose which components will be installed
Enabling the Register performance counters for Health Monitoring option registers performance counters for the currently installed instance of Kentico CMS in Windows. The counters can be used for monitoring of system load and performance in an external application. Please refer to Modules -> Health monitoring for more details on this feature.
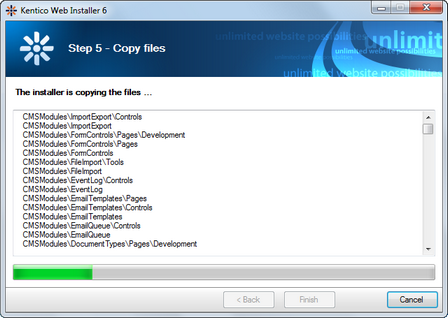
3. In Step 5, the installer copies the project files to the specified folder:
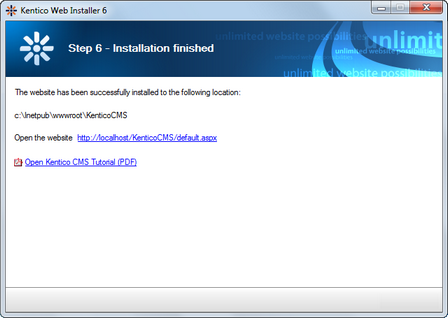
4. After the files are copied to the folder, you can open the solution in Visual Studio by clicking the link:
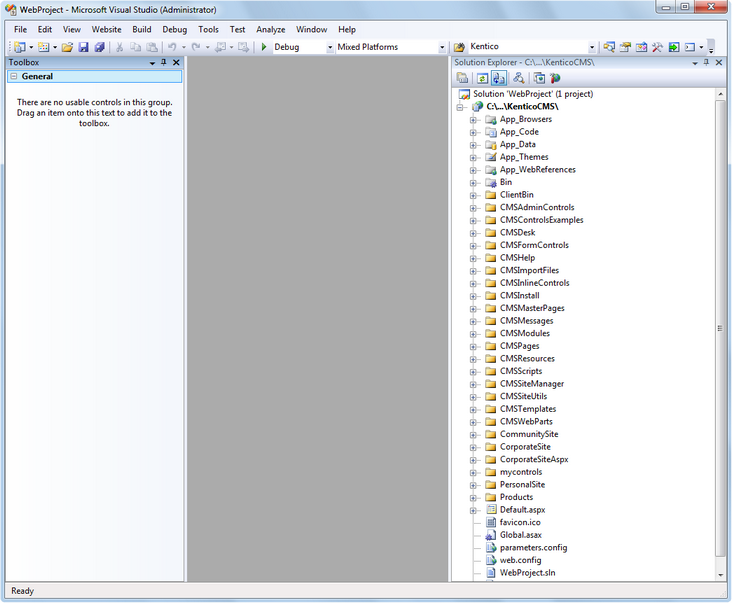
5. The project will open in Visual Studio:
6. Choose Debug -> Start without debugging from the main menu. The site is displayed in the new browser window, using the built-in VS web server.
|
When you cannot open the website in Visual Studio
If the link for opening the project in Visual Studio doesn't work, you may need to start Visual Studio manually. Then choose File -> Open -> website... from the main menu and locate the project folder on your disk manually. |
7. Now you can continue to Database setup wizard.
