|
|

Using the wizard |

|

|

|

|
|
Using the wizard |
|
|

|
|
|
|
Using the wizard |
|
|
|
|
|
Using the wizard |
|
|
|
|
|
|
||
The hotfix or upgrade process consists of the following steps:
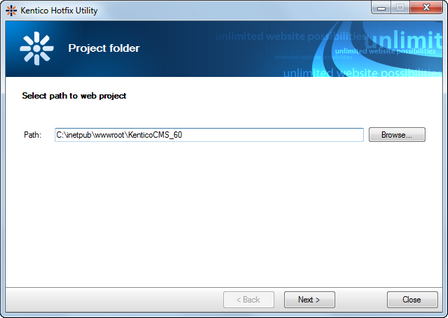
1. In the first step, you need to specify the root folder of the Kentico CMS instance that you want to upgrade or hotfix. This step is only displayed when launching the utility manually. If you launch the utility from Kentico Installation Manager, the wizard will start with the following step, while the upgrade or hotfix will be applied to the instance selected in Kentico Installation Manager.
Once selected, click Next to proceed to the following step.
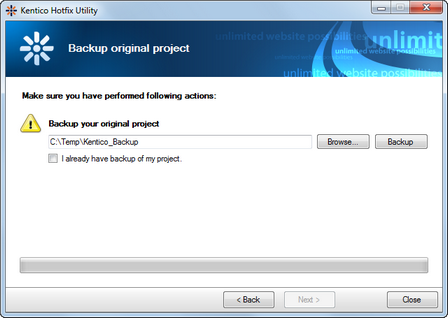
2. This step can be used to backup the project before it will be upgraded. This can be done by specifying a folder in the textbox and clicking the Backup button. If you have performed the backup before launching the utility, you can check the I already have backup of my project check-box and proceed.
After performing the backup or enabling the check-box, the Next button gets enabled. Click it to proceed to the subsequent step.
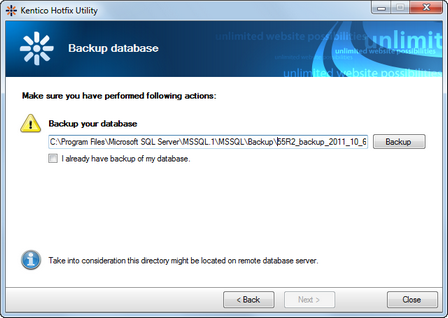
3. The third step is also intended for backup purposes, while this one offers the option to backup the instance's database. A path to a new folder under the MS SQL Server default backup folder is pre-filled by default, while you can change the path to any custom one. When a path is specified, click Backup to backup the database. If you already have a backup of the instance's database, you can check the I already have backup of my database check-box and proceed.
After performing the backup or enabling the check-box, the Next button gets enabled. Click it to proceed to the subsequent step.
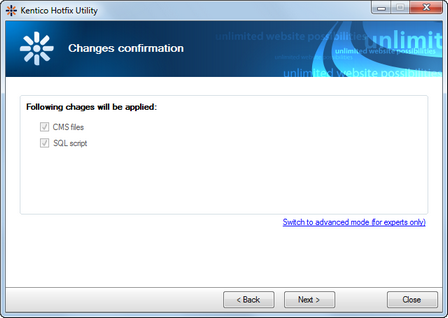
4. The fourth step determines if the upgrade or hotfix should replace project files, execute SQL scripts, or both. Both options are enabled by default. If you click the Switch to advanced mode (for experts only) link, the utility will let you select which of the two actions will be performed using the check-boxes.
Once selected, click Next to proceed.
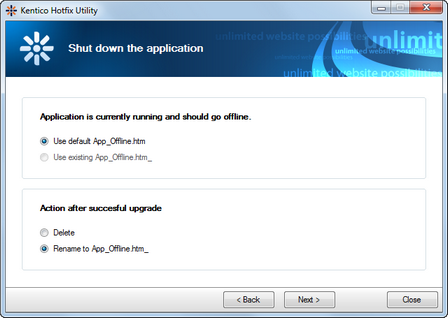
5. When applying a hotfix or upgrade, the Kentico CMS instance needs to go offline. To get the instance offline, the utility can place the App_Offline.htm file into the root of the web project (see http://msdn.microsoft.com/en-us/library/ff925031.aspx for more details on the use of the file).
•Use default App_Offline.htm - creates a new App_Offline.htm file in the root of the web project.
•Use existing App_Offline.htm_ - uses an existing App_Offline.htm_ file and renames it to App_Offline.htm. The file must be present in the project's root folder for this option to be available. See the second option below for more details.
The second set of check-boxes lets you choose what to do with the App_Offline.htm file:
•Delete - the file will be deleted.
•Rename to App_Offline.htm_ - the file will be renamed to App_Offline.htm_ and usable on next upgrade or hotfix by choosing the Use existing App_Offline.htm_ option above.
Once selected, click Next to execute the upgrade or hotfix procedure.
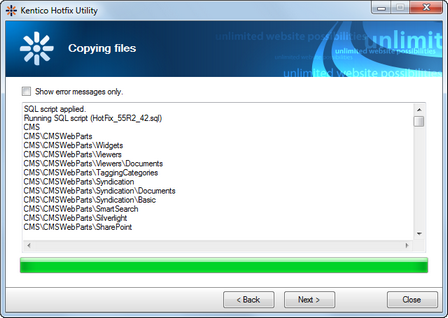
6. A log showing progress of the hotfix or upgrade will be displayed. You can enable the Show error messages only check-box to display only error messages in the log. Once the procedure finishes, the Next button gets enabled. Click it to proceed to the final step.
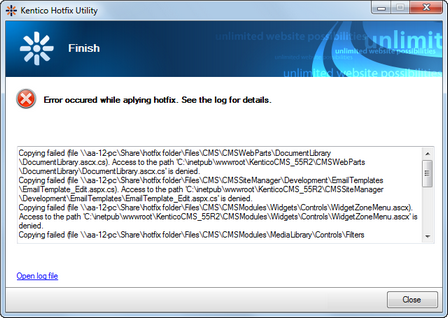
7. The final step only lets you know if the hotfix or upgrade finished successfully. By clicking the Open log file link, you open the upgrade process log that was displayed in the previous step. Physically, the log is saved in ~\App_Data\log.txt, so you can inspect it even after closing the utility.
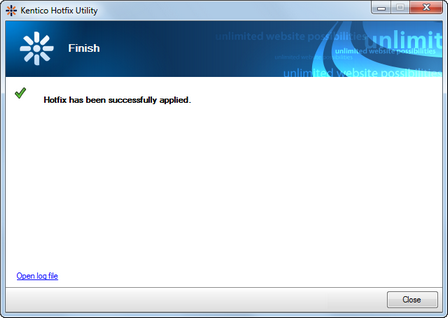
If an error occurred while applying the hotfix or upgrade, the final step will notify about the fact and display the error log, as can be seen in the screenshot below.