|
|

Creating a publication |

|

|

|

|
|
Creating a publication |
|
|

|
|
|
|
Creating a publication |
|
|
|
|
|
Creating a publication |
|
|
|
|
|
|
||
The first logical step in setting up database replication is to create the publication.
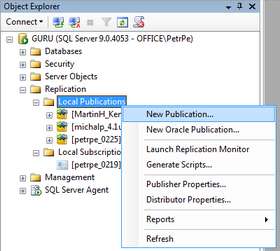
1. Open MS SQL Server Management Studio. Expand the Replication node, right-click the Local Publications folder and select New Publication from the context menu.
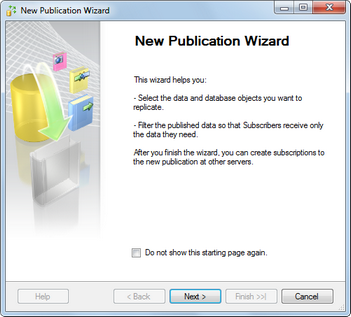
2. The New Publication Wizard starts. Click Next in the first step.
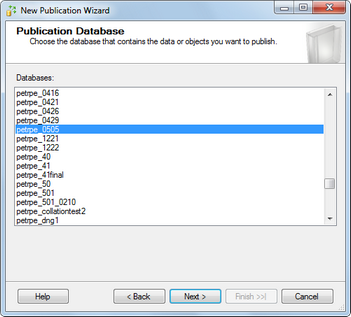
3. Now you need to select the publication database. All databases on the server will be listed, so choose the one which you want to be the publisher and click Next.
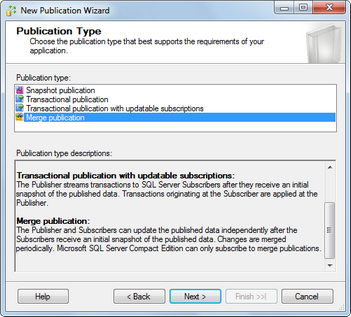
4. The Publication Type step lets you choose the type of replication which you are going to use. Kentico CMS supports merge replication only, so choose Merge publication and click Next.
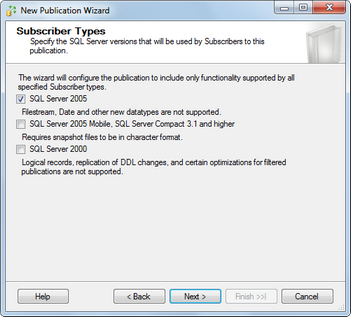
5. This step lets you specify which versions of SQL Server are supported for the subscribers. Choose the versions that your subscribers are running on and click Next.
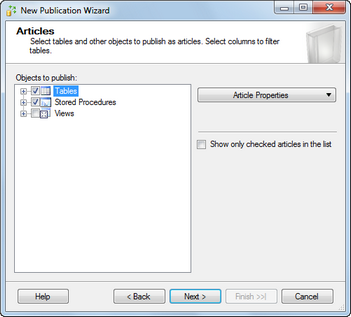
6. This step lets you configure which Tables and Stored Procedures will be synchronized between the servers. You should not select any Views as because changes in metadata which cause changes in any of the Views can't be synchronized automatically (see the note in Overview for more details).
Select the tables and stored procedures that you wish to synchronize (unless you have some specific needs, it makes the most sense to select all) and click Next.
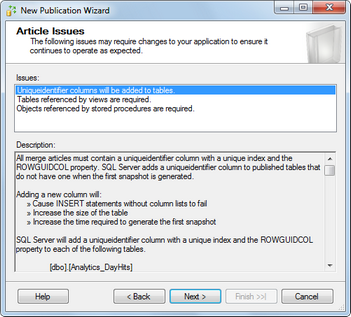
7. The Arcile Issues step is only informational - it notifies you about modifications to your database which are required for the application to work as expected with the replication.
The most important modification is that a column named rowguid (uniqueidentifier column with a unique index) and the ROWGUIDCOL property are added to each table.
Read through the info and click Next.
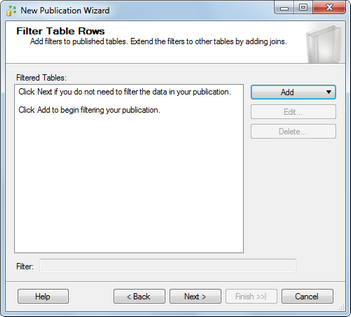
8. In the Filter Table Rows step, you can add filters the published tables. This depends on your specific needs, so add filters as needed (or do not add any) and click Next.
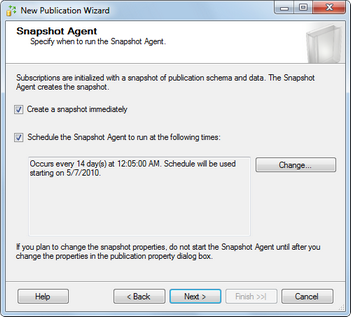
9. Now you need to configure the Snapshot Agent to take a snapshot of the publisher database. The snapshot will be used for the initial content of the subscriber database, which can't be created without it. You have the following two options:
•Create a snapshot immediately - if enabled, the Snapshot Agent will take the snapshot immediately after this wizard is completed
•Schedule the Snapshot Agent to run at the following times - if enabled, the Snapshot Agent will take the snapshot on a regular basis, which can be specified if you click the Change button
Make the selection and click Next.
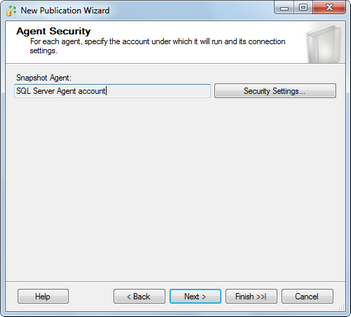
10. In this step, you need to configure the Snapshot Agent's security settings, i.e. how the Snapshot Agent will get authenticated when accessing the database to create the snapshot. The default SQL Server Agent account works fine in most cases, but you may need to specify different account in specific cases.
Make a configuration suitable for your environment and click Next.
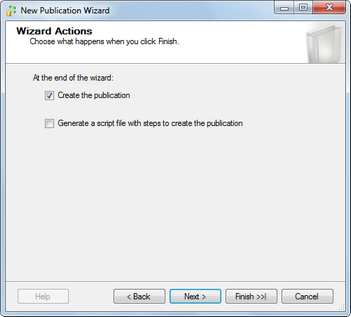
11. The Wizard Actions step lets you decide what happens when you finish the wizard. You have the following two options:
•Create the publication - if enabled, the publication will be created as defined throughout the wizard
•Generate a script file with steps to create the publication - if enabled, the wizard generates a script which, when executed, creates the publication as defined throughout the wizard
Click Next.
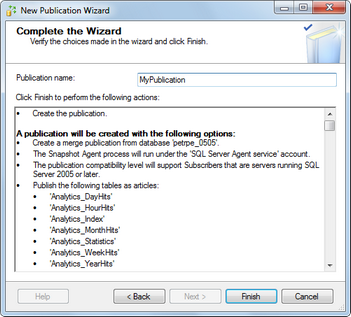
12. In the final step, you need to enter the name of your new publication into the Publication name field. The section below gives an overview of options which you defined throughout the wizard.
Click Finish to create the publication based on the listed options.