Adding portal engine functionality to ASPX templates
Development > Web development overview > ASPX page template development model:
Adding portal engine functionality to ASPX templates
Adding portal engine functionality to ASPX templates
When developing or maintaining a website built of ASPX page templates, one of the drawbacks is that the code of a page must be modified manually every time you wish to change its design. It is possible to add flexibility to ASPX templates by defining areas that may be edited directly through the browser in the CMS administration interface, just like when using the Portal engine development model. Depending on their configuration, these areas allow Web parts or Widgets to be used on ASPX page templates.
This is achieved by placing the following elements into the code of a page template:
The CMSPagePlaceholder control creates an area on the page that will behave in a way similar to a portal engine page template. Multiple controls of this type may be placed onto a single page if necessary.
The <LayoutTemplate> element is used to define the graphical layout of the area. This is typically done by specifying a table structure or a CSS‑based layout applied through HTML elements (e.g. <div>, <span>, etc.). It may contain multiple CMSWebPartZone controls, which represent fully functional portal engine zones. Each zone can be configured to serve as either a standard web part zone or any type of widget zone. These zones may be managed when editing a page based on the page template on the Edit -> Design tab of CMS Desk. When some web part/widget content is added to a zone, information about it is stored in the database along with the respective page template object, not in the actual code of the ASPX page.
CMSPortalManager control required!
In order for portal engine functionality to be possible on pages using an ASPX template, the CMSPortalManager control must be present. Usually it is located on the master page set for the template.
Some master pages may still be using the older CMSPageManager control (now obsolete), which does not support web part/widget zones. If this is the case, the control must be replaced before adding any of the elements described in this topic.
Page templates with this type of content also require additional configuration in Site Manager -> Development -> Page templates, where their Template type must be set to ASPX + Portal page in order for the Design tab to be available when editing pages using the given template in CMS Desk.
Example
The following example demonstrates the creation of a simple ASPX page template with zones that can be designed via the portal engine:
1. Build a new page template according to the guide in the Creating a new ASPX page template topic. When writing its ASPX code, place the following inside the <asp:Content> element:
This code defines two editable web part zones in a basic two column table layout.
2. When registering the page template in Site Manager -> Development -> Page templates, be sure to select the ASPX + Portal page option for the Template type property.
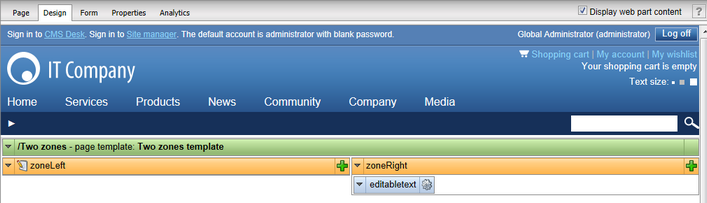
3. Once the template is created and registered, go to CMS Desk and add a Page (Menu item) document to the content tree using the new page template. Switch to the Design tab of the new page and you will see two web part zones. Expand the menu () of the zoneLeft zone, select Properties and change its Widget zone type property from None to Customization by page editor. This zone will now serve as a widget zone for page editors. Add () some web part to the ZoneRight zone, for example Text -> Editable text.
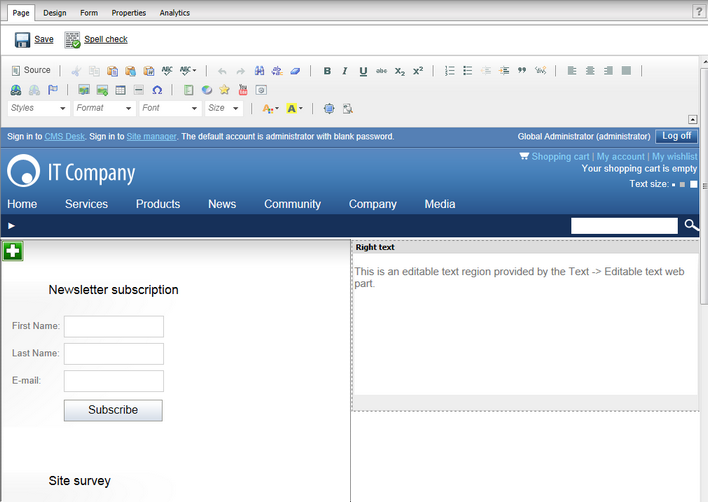
4. Now open the Page tab and you will be able manage the editor widget zone on the left or enter content into the editable text region displayed by the web part on the right. Try placing some widgets onto the page using the Add widget () button in the top left corner of the widget zone.
As you can see, it is possible to use web parts or widgets to build the design of pages based on ASPX page templates. This approach combines the standard architecture and development process of ASPX templates with the flexibility and user‑friendliness of the portal engine.