Next on in the Members section, we will create a series of five pages that will be used by the users for their accounts management. All the pages will have three web parts common in the zoneRight web part zone. These will be info boxes displaying the user's blogs, groups and forum favorites. We will create a starter page template to facilitate the creation of these pages.
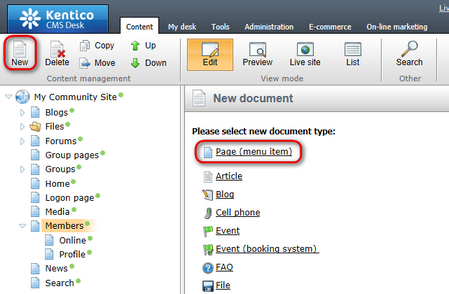
1. Select the Members page in the content tree and click New. Choose the Page (menu item) document type.
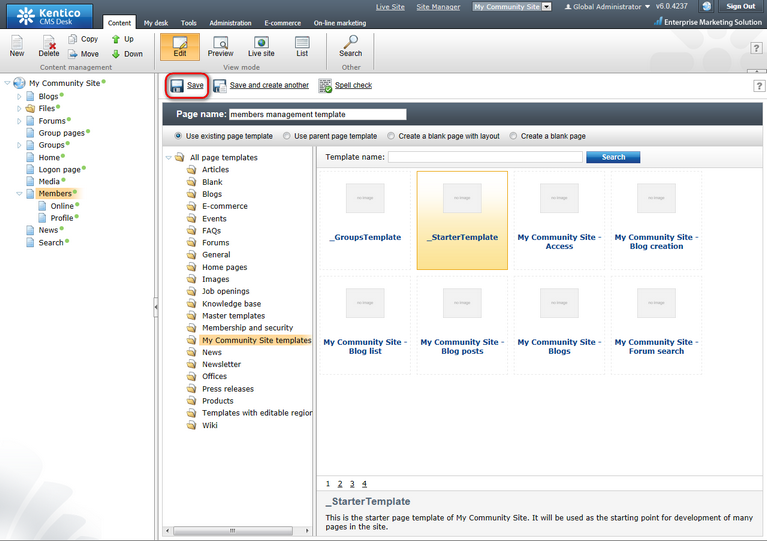
2. Select the My Community Site templates -> _StarterTemplate created in this chapter. Into the Page name field, enter members management template and click Save.
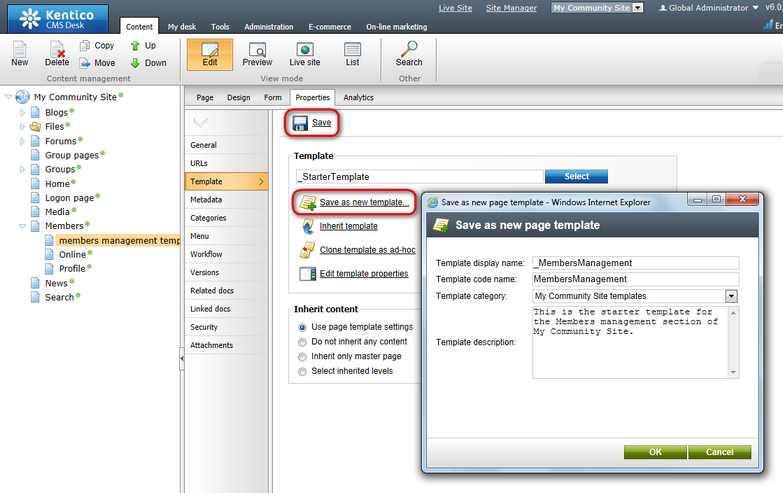
3. Switch to the Properties -> Template tab and click the Save as new template link. Enter the following details in the pop-up dialog:
•Template display name: _MembersManagement
•Template code name: MembersManagement
•Template category: My Community Site templates
•Template description: some text describing the page template
Click OK. Click Save.
4. Switch to the Design tab. We will place the three info boxes into the zoneRight web part zone. The first info box will be displaying links to the user's blogs. Click the Add web part () icon of the zoneRight web part zone and choose the Listings and viewers -> Repeater web part. Set the following properties of the web part, leave the default values for the rest of them:
•No record found text: You currently do not have any blogs.
•Web part container: Community Site - Orange Box
•Web part container title: My Blogs
Click OK.
5. The second info box will be displaying the groups where the user is a member. Click the Add web part () icon of the zoneRight web part zone and choose the Community -> Groups viewer web part. Set the following properties of the web part, leave the default values for the rest of them:
GroupID IN (Select MemberGroupID FROM Community_GroupMember WHERE MemberUserID = {%currentuser.userid%} AND MemberStatus = 0)
•Hide if no record found: disabled
•No record found text: Currently is not member of any group.
•Web part container: Communty Site - Gray Box
•Web part container title: My groups
Click OK.
6. The last info box will be displaying the user's forum favorites. Click the Add web part () icon of the zoneRight web part zone and choose the Forums -> Forum favorites web part. Set the following properties of the web part, leave the default values for the rest of them:
•Web part container: Community Site - Gray Box
•Web part container title: Forum favorites
Click OK.
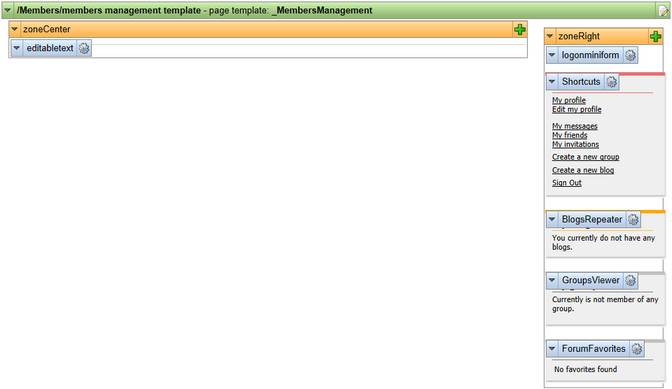
7. That's the page template finished. In Design tab, it should look as in the following screenshot.
8. Finally, you can delete the page created in this example. We will not need it anymore as the page template is already saved and can be reused.