|
|

Creating the Media page |

|

|

|

|
|
Creating the Media page |
|
|

|
|
|
|
Creating the Media page |
|
|
|
|
|
Creating the Media page |
|
|
|
|
|
|
||
When a user clicks a media library in a list on the Media list page, created in the previous chapter, they are redirected to this page where the Media gallery web part displays the content of the selected library. The name of the library is passed in the {GroupName}/{LibraryName} wildcard part of the URL of this page. Then it gets translated into a query string parameter and displayed by the Media gallery web part as the current group.
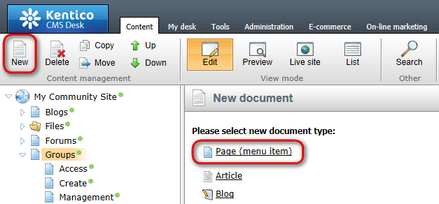
1. Select the Groups page in the content tree and click New. Choose the Page (menu item) document type.
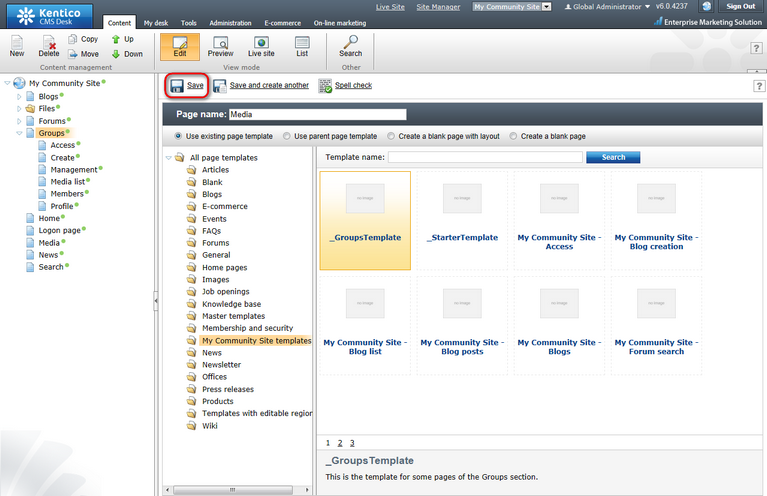
2. Select the My Community Site templates -> _GroupsTemplate created in this chapter. Into the Page name field, enter Media and click Save.
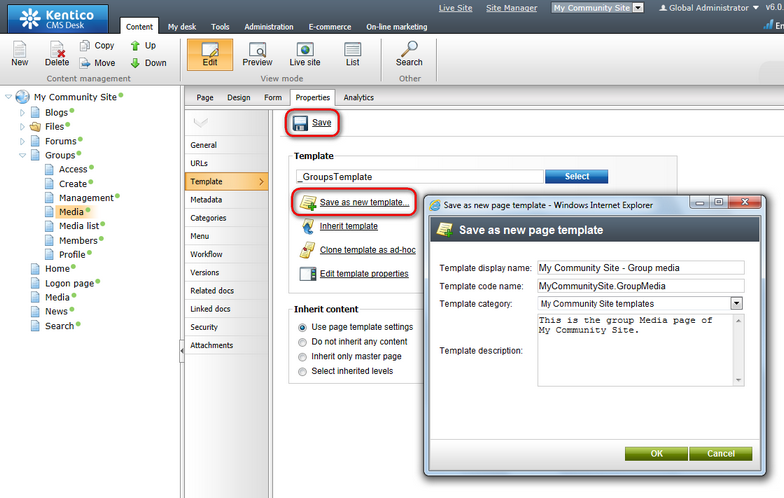
3. Switch to the Properties -> Template tab and click the Save as new template link. Enter the following details in the pop-up dialog:
•Template display name: My Community Site - Group media
•Template code name: MyCommunitySite.GroupMedia
•Template category: My Community Site templates
•Template description: some text describing the page template
Click OK. Click Save.
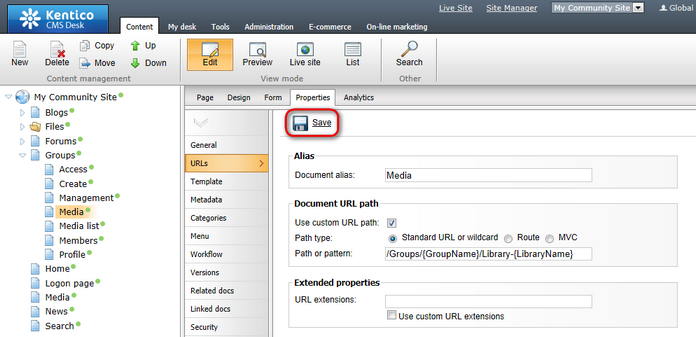
4. Switch to the Properties -> URLs tab. Enter /Groups/{GroupName}/Library-{LibraryName} into the Document URL path field and click Save.
5. Switch to the Design tab. First, we will add a breadcrumbs heading using the Static text web part. Click the Add web part (![]() ) icon of the zoneCenter web part zone and choose the Text -> Static text web part. Set the following properties of the web part, leave the rest at the default values.
) icon of the zoneCenter web part zone and choose the Text -> Static text web part. Set the following properties of the web part, leave the rest at the default values.
•Web part control ID: Breadcrumbs
•Text:
<div class="GroupBreadcrumbs"> <a href="~/Groups.aspx" class="CMSBreadCrumbsLink">Groups</a> <span class="TitleBreadCrumbSeparator"> </span> <a href="~/Groups/{%CommunityContext.CurrentGroup.GroupName%}.aspx" class="CMSBreadCrumbsLink">{%CommunityContext.CurrentGroup.GroupDisplayName|(encode)true%}</a> <span class="TitleBreadCrumbSeparator"> </span> <span class="CMSBreadCrumbsCurrentItem"> {%CMSContext.CurrentDocument.DocumentName|(encode)true%} </span> </div> |
Click OK.
6. Below the breadcrumbs, we will add another Static text web part. This one will provide a link back to the list of the group's media libraries. Click the Add web part (![]() ) icon of the zoneCenter web part zone and choose the Text -> Static text web part. Set the following properties of the web part, leave the rest at the default values.
) icon of the zoneCenter web part zone and choose the Text -> Static text web part. Set the following properties of the web part, leave the rest at the default values.
•Web part control ID: BackLink
•Text:
<a style="margin: 20px 0px 0px 98px;" class="MediaBack" href="~/Groups/{%CommunityContext.CurrentGroup.GroupName%}/Media-List.aspx">Back to libraries</a> |
Click OK.
7. The last web part in zoneCenter will be the Media gallery web part. This web part displays content of the particular libraries based on the library name passed in query string. Click the Add web part (![]() ) icon of the zoneCenter web part zone and choose the Media library -> Media gallery web part. Set the following properties of the web part, leave the rest at the default values.
) icon of the zoneCenter web part zone and choose the Media library -> Media gallery web part. Set the following properties of the web part, leave the rest at the default values.
•Show subfolders content: enabled
•Hide folder tree: enabled
•Content before: <div style="padding: 10px 0px 0px 100px">
•Content after: <div class="clear"></div></div>
Click OK.
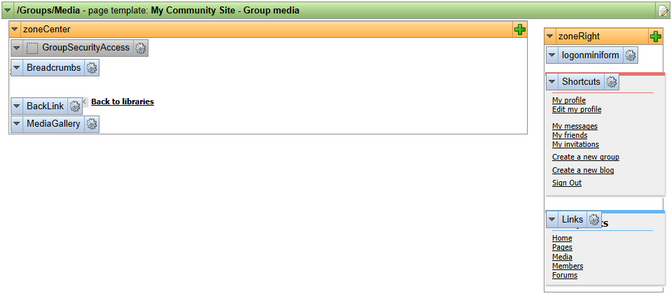
8. The page is now finished. In Design tab, it should look as in the following screenshot.