|
|

Creating the Access denied page |

|

|

|

|
|
Creating the Access denied page |
|
|

|
|
|
|
Creating the Access denied page |
|
|
|
|
|
Creating the Access denied page |
|
|
|
|
|
|
||
The first special page will be the Access denied page. This is where users with insufficient permissions will be redirected after accessing some secured page. The page will contain only an Editable text web part which will display the access denied message.
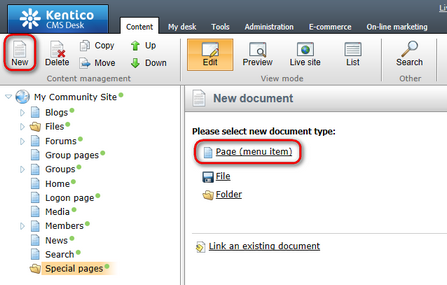
1. Select the Special pages folder in the content tree and click New. Choose the Page (menu item) document type.
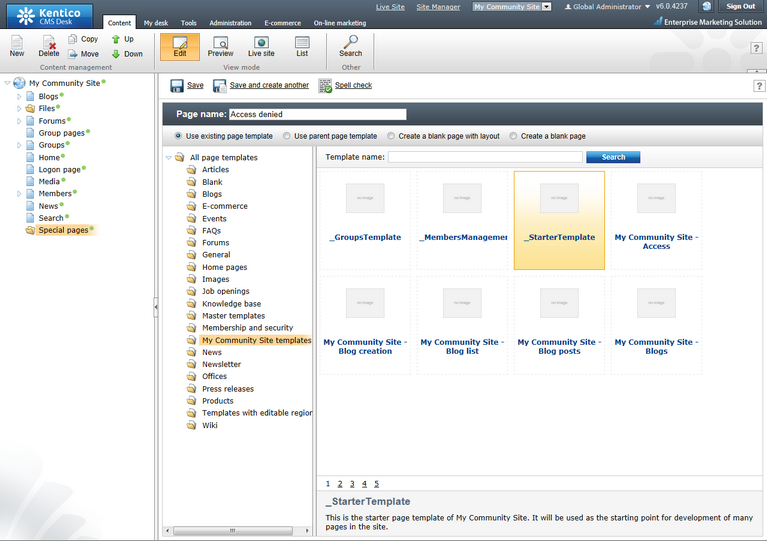
2. Select the My Community Site templates -> _StarterTemplate created in this chapter. Into the Page name field, enter Access denied and click Save.
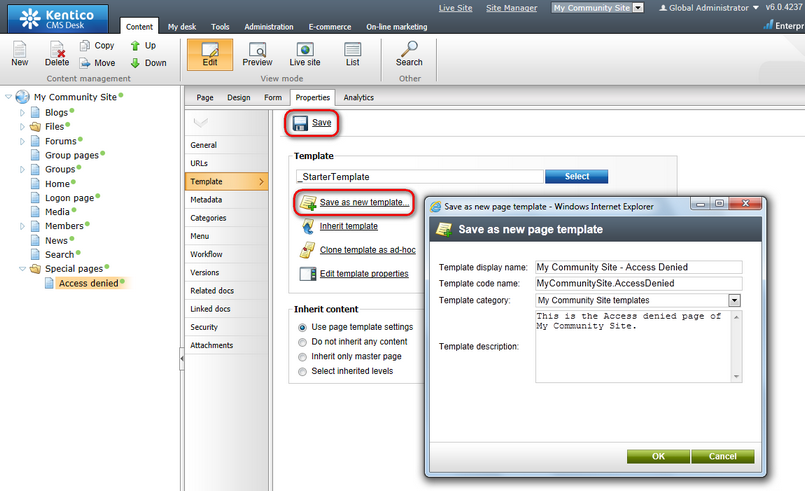
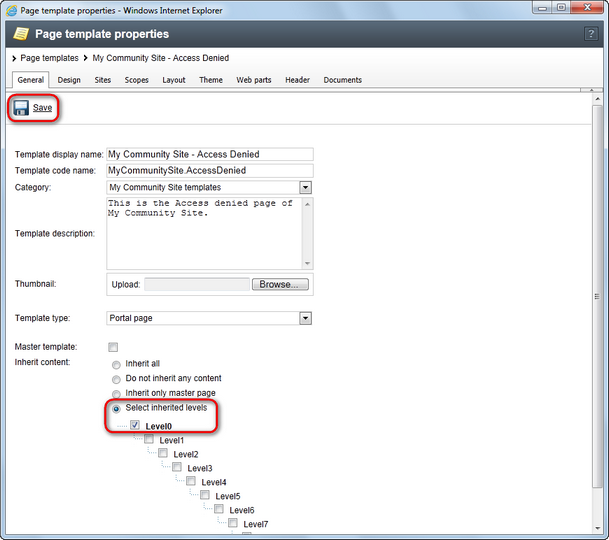
3. Switch to the Properties -> Template tab and click the Save as new template link. Enter the following details in the pop-up dialog:
•Template display name: My Community Site - Access Denied
•Template code name: MyCommunitySite.AccessDenied
•Template category: My Community Site templates
•Template description: some text describing the page template
Click OK. Click Save.
4. Click Edit template properties and change the Inherit content property to Select inherited levels, while only Level0 should be selected. Click Save to save the changes.
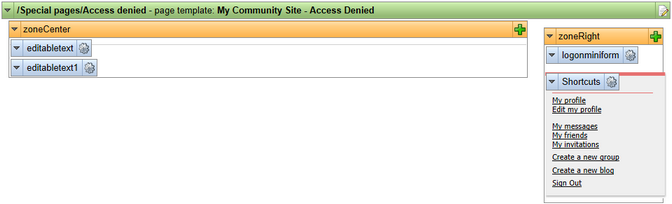
5. Switch to the Design tab. We will only need to add the Editable text web part into the zoneCenter web part zone, below the Editable text web part for heading. Click the Add web part (![]() ) icon of the zoneCenter web part zone and choose the Text -> Editable text web part. You do not need to set any properties of the web part, just leave all of them at the default values.
) icon of the zoneCenter web part zone and choose the Text -> Editable text web part. You do not need to set any properties of the web part, just leave all of them at the default values.
In Design tab, the page should now look as in the following screenshot.
6. Switch to the Page tab. You can see two editable text regions on the page now - one for heading and one for the warning text. Enter the following texts into the text areas:
•Heading: Access denied
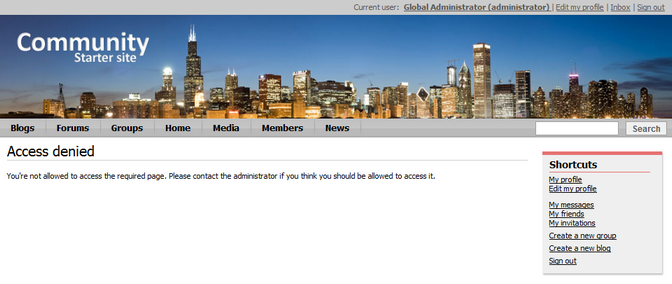
•Warning text: You're not allowed to access the required page. Please contact the administrator if you think you should be allowed to access it.
Click Save.
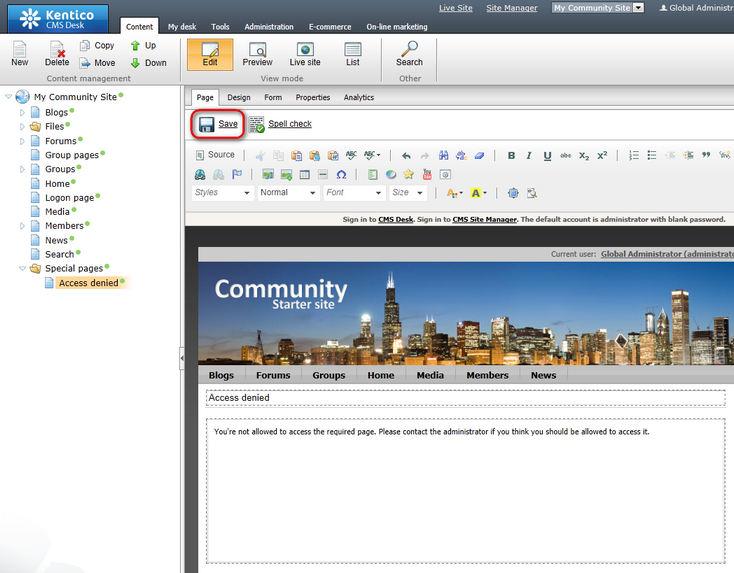
7. The page is complete. If you view it in Live site mode, you should see the page as in the following screenshot. Please note that the Logon mini form is displayed only to unauthenticated users.