|
Local IIS server |

|

|

|

|
|
Local IIS server |
|
|
|
|
If you run local IIS server on your machine, choose I want to use local IIS server in Step 2 of the Web installer and click Next.
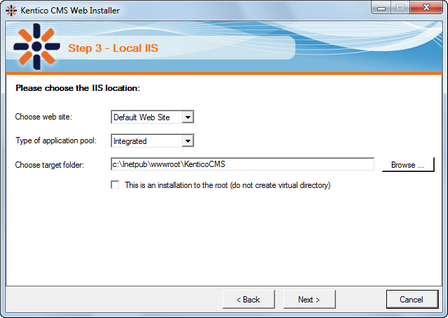
1. In Step 3, you need to specify the following information:
| • | Choose website: choose one of the websites configured on your IIS; please make sure that the website you choose is running |
| • | Type of application pool: type of application pool which will be used for the website (Integrated by default, read here for more information) |
| • | Choose target folder: choose the disk folder where web project files will be placed |
Please note: if you're installing Kentico CMS into the root of your website (such as http://www.domain.com) and do not wish to create a virtual directory (such as http://www.domain.com/cms), please check the This is an installation to the root check-box.
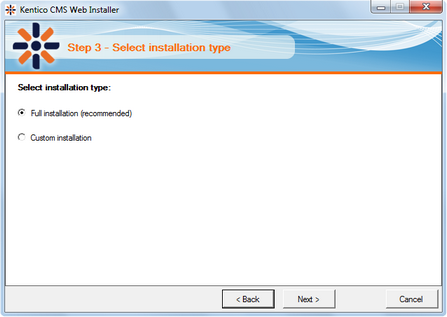
2. Now you need to decide between the following options:
| • | Full installation - performs full installation using all optional components |
| • | Custom installation - lets you choose which components will be installed |
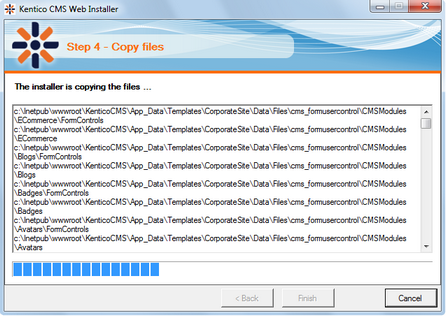
3. Now the installer copies the project files to the specified folder:
4. At the end, you're displayed with URL of the new Kentico CMS installation. Please put down this URL for future use.
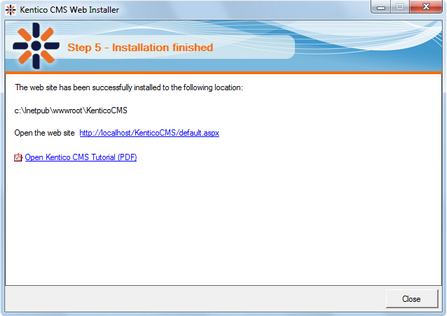
5. Now you can continue to Database setup wizard.
Page url: http://devnet.kentico.com/docs/5_5r2/devguide/index.html?web_installer_local_iis_server.htm

