|
UI elements management overview |

|

|

|

|
|
UI elements management overview |
|
|
|
|
The user interface of Kentico CMS consists of modules. Modules contain particular UI elements. UI element is a page or part of a page in CMS Desk which can be hidden from a specified user. It can be:
| • | tab |
| • | menu item |
| • | group of controls |
UI elements of a particular modules can be edited or added in Site Manager -> Development -> Modules. This is where you can see a list of all modules in the system. For information on which module represents which parts of the CMS, please read Personalizable parts of CMS Desk.
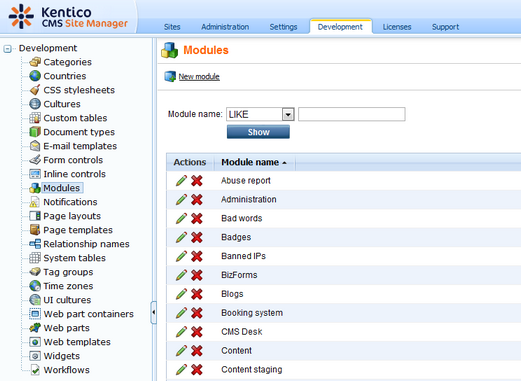
If you want to manage UI elements of some module, click the Edit (![]() ) icon next to the module and switch to the User interface tab. On the User interface tab, you can see all UI elements of the module in the tree on the left.
) icon next to the module and switch to the User interface tab. On the User interface tab, you can see all UI elements of the module in the tree on the left.
| • | You can re-order UI elements using the Up ( |
| • | You can delete existing elements using the Delete element ( |
| • | New elements can be created using the New element ( |
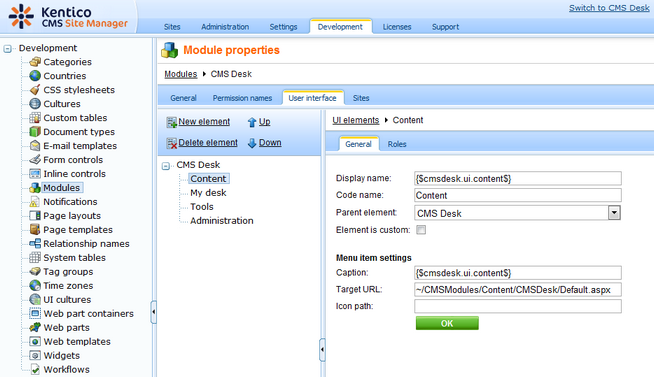
Settings for each UI element are divided into two tabs - General and Roles.
On the General tab, you can set the following properties of the UI element.
| • | Display name: name of the element displayed in the administration interface (i.e. in the settings, not in the final UI); can be entered either as plain text or as a localizable string in the {$mystringname$} format |
| • | Code name: name of the element used by developers in website code, it must be unique within a module |
| • | Parent element: using this drop-down list, you can change the hierarchical position of the element in the UI elements tree for this module; you can select either the name of the module (which places the element under the root) or some of the other UI elements (which places the element under the selected element) |
| • | Element is custom: if false, the element is a native part of Kentico CMS; set this value to true for your custom UI elements |
| • | Caption: caption of the UI element displayed in the final UI; can be entered either as plain text or as a localizable string in the {$mystringname$} format |
| • | Target URL: URL of the page which is the content of the UI element; you can enter both absolute (e.g. http://www.google.com) and relative (e.g. ~/CMSModules/Content/CMSDesk/Default.aspx) URLs |
| • | Icon path: icon displayed next to element caption - applicable only for menu items; you can enter either a full relative path begining with ~ (e.g. ~/App_Themes/Default/Images/CMSModules/list.png) or a short path begining under the Images folder of the current skin (e.g. CMSModules/list.png) |
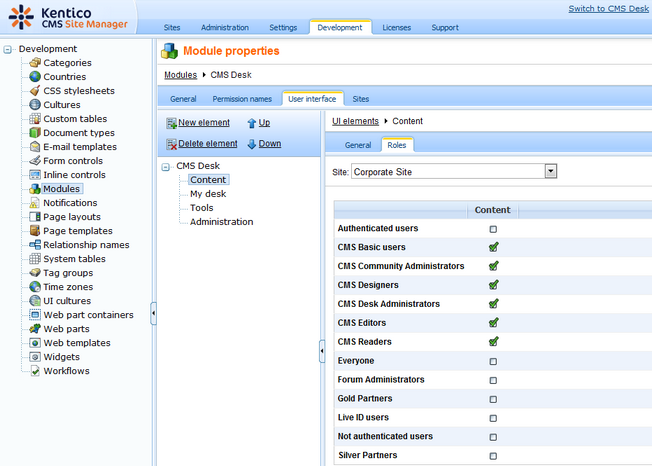
If you switch to the Roles tab, you can directly configure access to the selected UI element for particular roles.
| • | If you enable ( |
| • | If you disable ( |
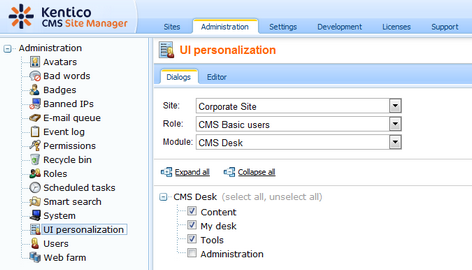
This is just another way how to make the same configuration as described in UI profile configuration, i.e. settings made here are reflected in Site Manager -> Administration -> UI personalization (see the screenshot below) and vice-versa.
Page url: http://devnet.kentico.com/docs/5_5r2/devguide/index.html?ui_elements_management_overview.htm

