|
Print page |

|

|

|

|
|
Print page |
|
|
|
|
Kentico CMS allows you to add a link button to your web page that will create print version of the given document. The following example shows you on the sample Corporate Site how to create the given button for the news section.
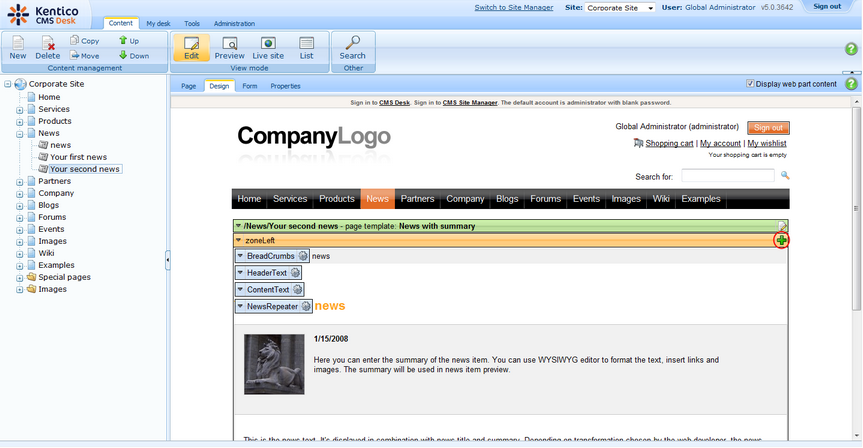
1. Go to CMS Desk -> Content -> News -> Your second news -> Design and click the Add web part (![]() ) button at the zoneLeft.
) button at the zoneLeft.
2. Select Text/Static Text.

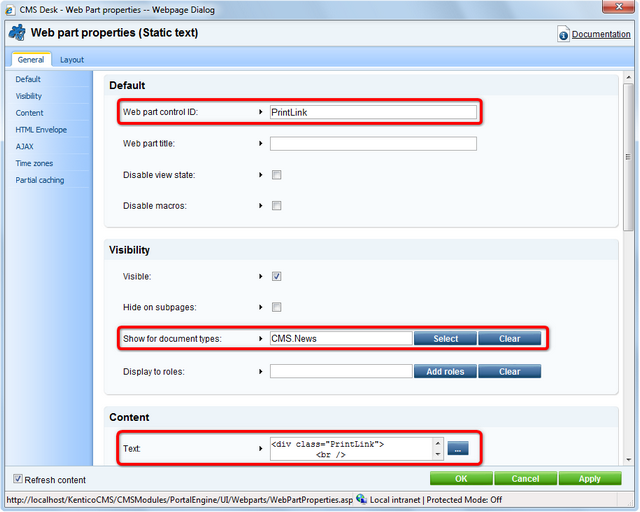
3. In the web part properties, enter PrintLink as ID and choose CMS.News for the Show for document types text box. Enter the following code into the Text text box. Then click OK.
<div class="PrintLink"> <br /> <a href="~/SpecialPages/Print.aspx?printpath={%NodeAliasPath%}&classname={%ClassName%}" target="_blank" > <img class="PrintImage" src="~/App_Themes/CorporateSite/Images/Print.gif" alt="Print" /> </a> </div> |
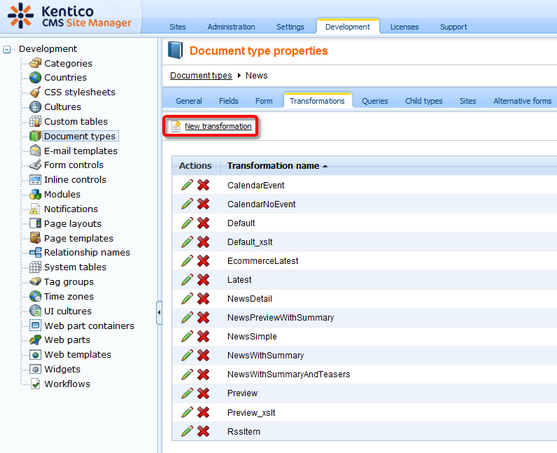
4. Now you have to specify the Print transformation for the new document type. Go to CMS Site Manager -> Development -> Document Types and click the Edit button next to the News document type. Switch to the Transformation tab and click New Transformation.
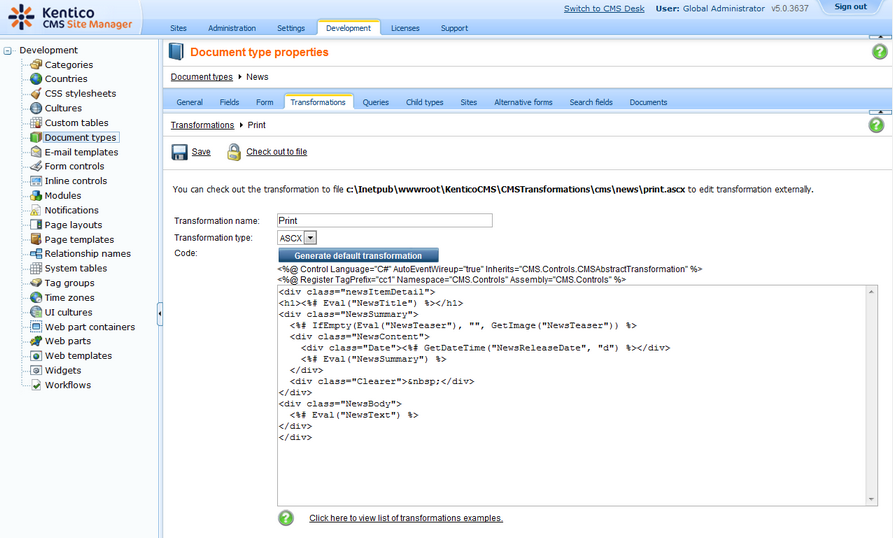
5. Enter Print as Transformation name and enter the following code into the Code text box. Then click Save.
<div class="newsItemDetail"> <h1><%# Eval("NewsTitle") %></h1> <div class="NewsSummary"> <%# IfEmpty(Eval("NewsTeaser"), "", GetImage("NewsTeaser")) %> <div class="NewsContent"> <div class="Date"><%# GetDateTime("NewsReleaseDate", "d") %></div> <%# Eval("NewsSummary") %> </div> <div class="Clearer"> </div> </div> <div class="NewsBody"> <%# Eval("NewsText") %> </div> </div> |
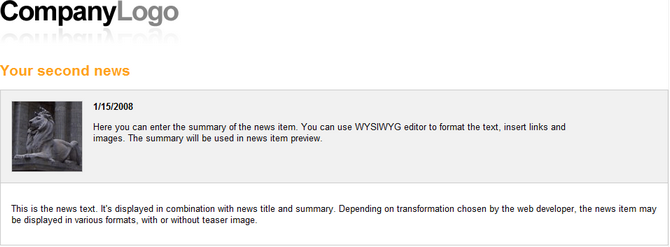
6. Now, go back to CMS Desk -> Content -> News -> Your second news and click the newly created Print button. You will be redirected to the Print page that displays the print version of the given news item.
Creating the Print page on your site
The Print page is already created on the sample Corporate Site. On your own website, you will have to create it by yourself. The following steps need to be taken in order for the Print page to be created:
1. Add a new blank page to the Special pages folder and name it Print.
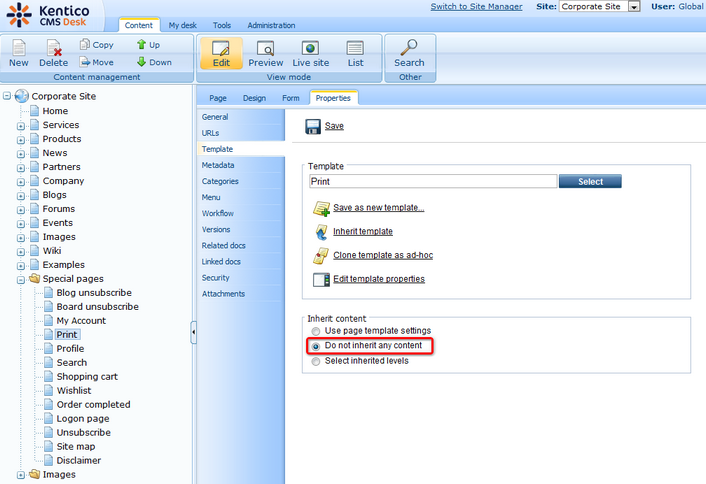
2. Firstly, you have to disable content inheritance at Properties -> Template.
3. Every Print page contains the repeater web part that renders the Print transformation for the given document type. The transformation can be specified at Site Manager -> Development -> Document Types -> <edit (![]() ) document type> -> Transformations.
) document type> -> Transformations.
Therefore, add the Repeater web part and set its properties to the following values:
| • | Path: {?printpath|/%?} |
| • | Document types: {?classname|cms.root?} |
| • | Transformation: {?classname|cms.root?}.print |
The Path text box specifies the path to the document whose print version you want to make. The value of the printpath macro expression is supplied in URL. If no value is supplied in URL (for instance you go directly on the Print page from the content tree and not through the print link button), the default Print transformation for cms.root is displayed.
The Document types text box specifies the document types that should be displayed.
The Transformation text box specifies the name of the transformation that should be used to render the print version. If the Print transformation is not defined for the given document type, the Print transformation for the cms.root is used.
4. You can try out the functionality of the Print page by printing the detail of any product, because the Print link button is already created for all products on the Corporate Site.

Page url: http://devnet.kentico.com/docs/5_5r2/devguide/index.html?print_page.htm

