|
Defining a new document type |

|

|

|

|
|
Defining a new document type |
|
|
|
|
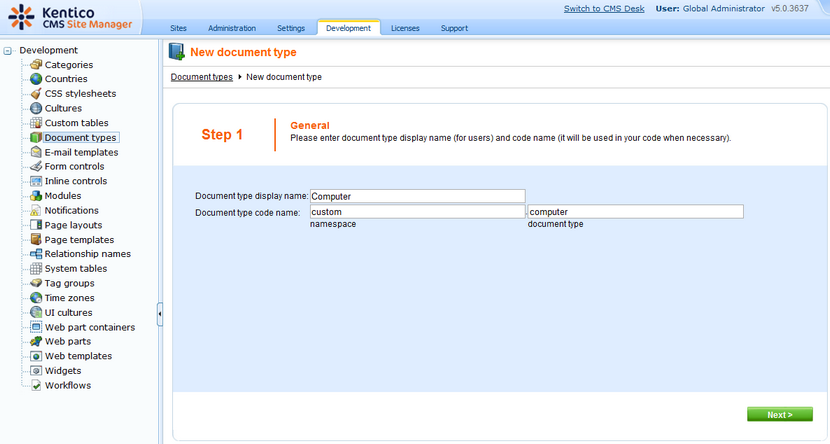
Go to Site Manager -> Development -> Document types and click New document type. You are redirected to the New document type wizard. In the first step, enter the following values:
| • | Document type display name: Computer (this name will be displayed to the users) |
| • | Document type code name: custom.computer (custom is your namespace to distinguish your document types from system types that use the cms namespace, computer is the document type); you will use this value in web part properties later. |
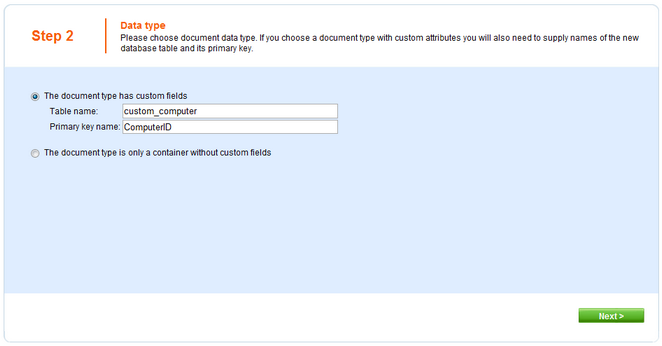
Click Next. In step 2, you need to choose the name of the database table that will be used for storing computer details. You also need to enter the name of the primary key in this table. Enter the following values:
| • | Table name: CUSTOM_Computer |
| • | Primary key name: ComputerID |
Click Next. The wizard has created a new database table for computers. Now you need to define the fields (columns of the table). Click New attribute (![]() ) to create a new field. Enter the following values:
) to create a new field. Enter the following values:
| • | Attribute name: ComputerName |
| • | Attribute type: Text |
| • | Attribute size: 200 |
| • | Field caption: Computer name |
| • | Field type: Text box |
Click OK. Click New attribute (![]() ). Enter:
). Enter:
| • | Attribute name: ComputerProcessorType |
| • | Attribute type: Text |
| • | Attribute size: 200 |
| • | Field caption: Processor type |
| • | Field type: Drop-down list, choose to use Options instead of SQL Query |
| • | Options: enter the following options, one per line: |
Athlon;Athlon
Pentium XEON;Pentium XEON
Pentium Core 2 Duo;Pentium Core 2 Duo
Click OK. Click New attribute (![]() ). Enter:
). Enter:
| • | Attribute name: ComputerRamSize |
| • | Attribute type: Integer number |
| • | Field caption: RAM (MB) |
| • | Field type: Text box |
Click OK. Click New attribute (![]() ). Enter:
). Enter:
| • | Attribute name: ComputerHddSize |
| • | Attribute type: Integer number |
| • | Field caption: HDD (GB) |
| • | Field type: Text box |
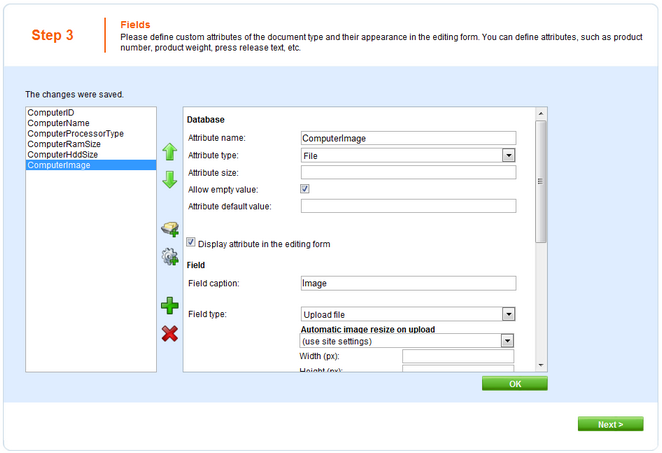
Click OK. Click New attribute (![]() ). Enter:
). Enter:
| • | Attribute name: ComputerImage |
| • | Attribute type: File |
| • | Field caption: Image |
| • | Field type: Upload file |
| • | Allow empty value: check the box |
Click OK.
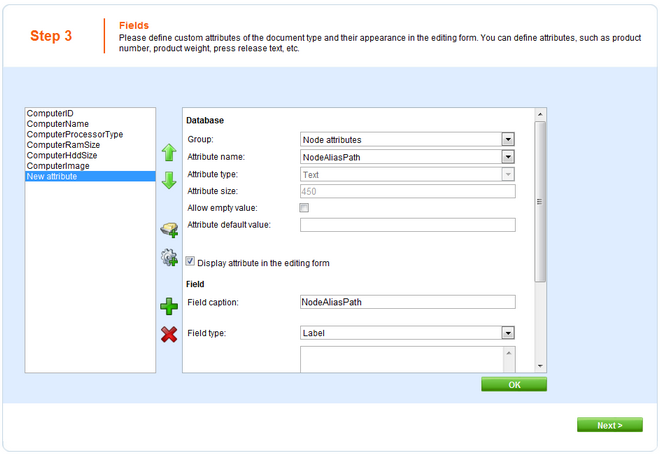
You can also define system fields to be displayed on the documents' Form tab. This can be done by clicking the Add system attribute icon. Using the Group drop-down list, you can then choose from the following two groups of system fields:
| • | Document attribute - offers the document's system fields |
| • | Node attribute - offers the document node's system fields |
Document or node system fields will then be offered in the Attribute name drop-down list. If you leave the Display attribute in the editing form check-box checked, the field will be visible on the documents' Form tab.
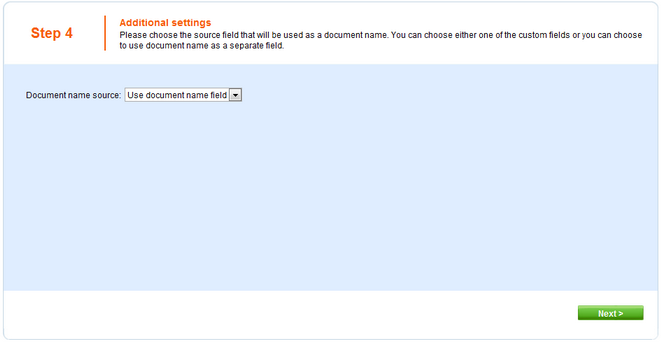
Click Next. Now you need to choose the field that will be used as document name. Choose the Use document name field option from the drop down list. It means that when you create a new computer document, its name will be automatically taken from the ComputerName value and this value will appear in site navigation and in CMS Desk content tree.
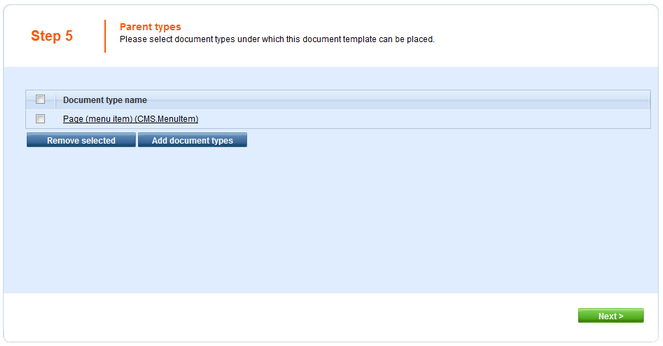
Click Next. In step 5, you need to select the document types under which the computers will be displayed. Check only the Page (menu item) value, which means the editors will be able to create computer documents only under some page, not under article or news document in the content tree.
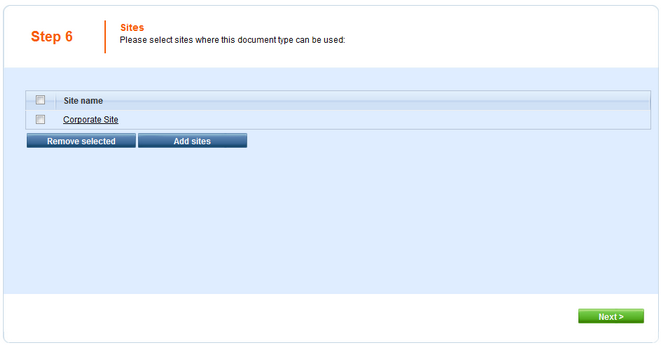
Click Next. In step 6, you need to choose which web sites will use this document type. Check the appropriate web site and click Next.
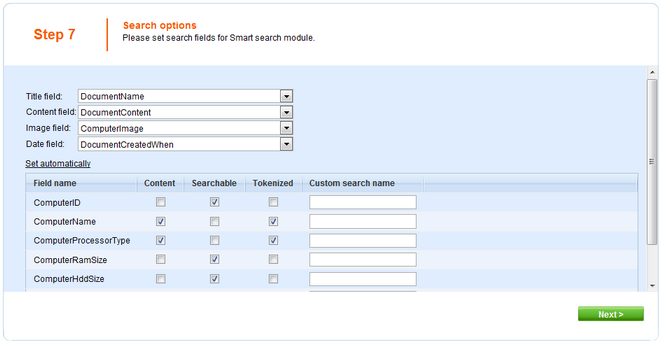
In Step 7, you are asked to specify how documents of this type will be indexed and displayed in the search results. For more information on these settings, please refer to this topic. Make your choice and click Next.
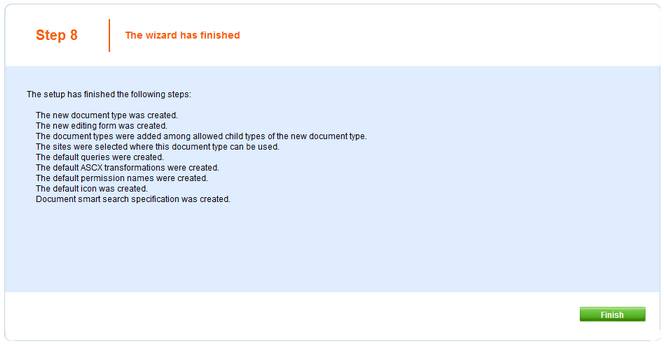
The wizard has finished the configuration of the new document type. It has automatically created not only the database table, but also the SQL queries for SELECT, INSERT, UPDATE, DELETE operations and a default transformation.
You have learned how to define a new document type.
|
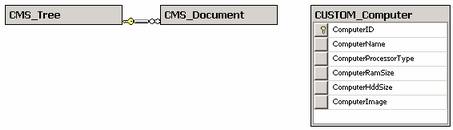
How the content is stored
As you already know, the new document type Computer has its own database table. Each document is stored in three tables: CMS_TREE (tree structure), CMS_Document (document properties and metadata) and the custom table - in this case CUSTOM_Computer:
The system automatically ensures all operations on these tables. The advantage of this storage is that it's very fast and you can easily write standard SQL SELECT queries to retrieve data from the repository (i.e. from the Microsoft SQL Server database). |
|
Changing document type icon
If you create a new document type, documents of this type will appear with the default document icon (
1. go to <web project folder>\App_Themes\Default\Images\CMSDesk\Icons\ 2. find your document type's icon named <namespace>_<document type>.gif 3. open the file in your image editor and modify it, or create a new image with the same name and format and replace the original one with it
After doing so, all documents of this type should appear with the new icon. You can also change any other document types' icons this way, as all document type icons are stored in the location mentioned above. |
Page url: http://devnet.kentico.com/docs/devguide/index.html?defining_a_new_document_type.htm