|
Adding Kentico CMS Controls to the Toolbox |

|

|

|

|
|
Adding Kentico CMS Controls to the Toolbox |
|
|
|
|
Before you start using Kentico CMS Controls in your ASP.NET project, you need to add the controls to the Toolbox:
1. Open the website project in Visual Studio and open some ASPX page.
2. Right-click the Toolbox and choose Add tab from the context menu.
3. Type the name of the new tab (e.g. CMS) and press Enter:
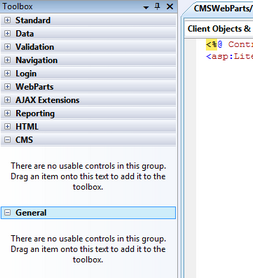
4. Right-click the new tab and choose Choose items... from the context menu.
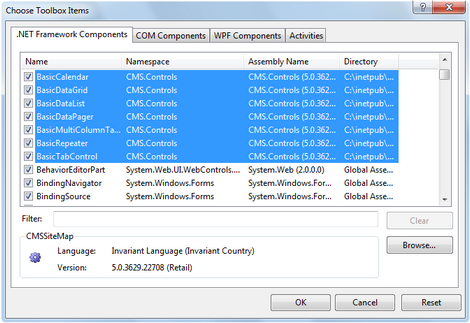
5. In the Choose Toolbox Items dialog, click Browse and locate the CMS.Controls.DLL library in the bin folder under your website. Click Open and then click OK.
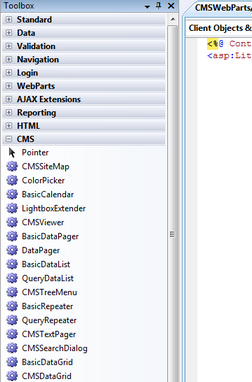
6. The controls are now added to the Toolbox, as you can see in the following screenshot. Now you can easily drag and drop the controls on your Web form.