|
Database setup and Corporate Site |

|

|

|

|
|
Database setup and Corporate Site |
|
|
|
|
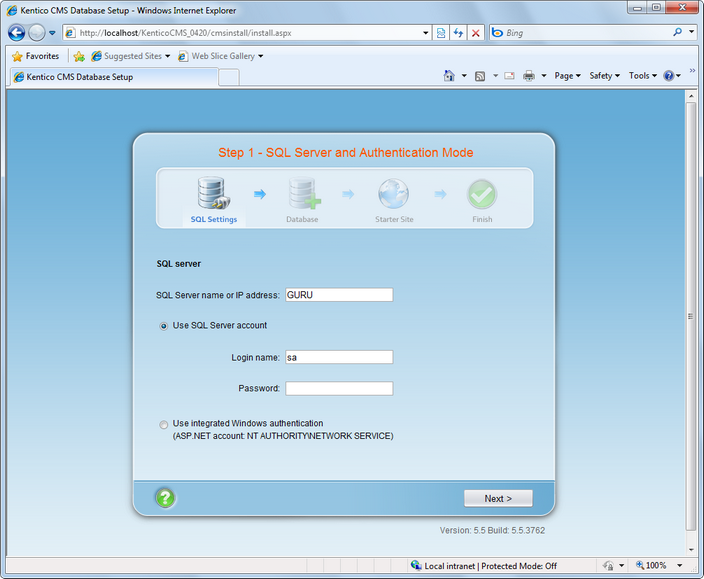
Now you should see the Database setup in your web browser.
In the first step, choose the SQL Server name or IP address. If you are using SQL Server 2005 Express Edition, the default server name is .\SQLExpress or (local)\SQLExpress.
You can use either SQL Server authentication (recommended) or integrated Windows authentication.
| • | In case you use SQL Server account, you need to enter the user name (such as sa) and password. |
| • | In case you use Windows authentication, you need to ensure that the ASP.NET account of the name displayed in the brackets has an appropriate login name in your SQL Server. |
The account must be granted with permissions for creating new databases or for creating database objects in an existing database.
Click Next.
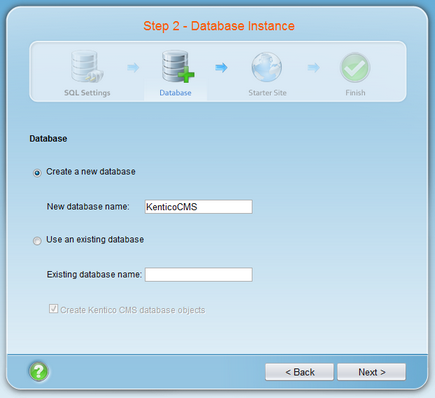
In the Database Instance step, choose Create a new database, enter the name of the new database into the New database name field and click Next.
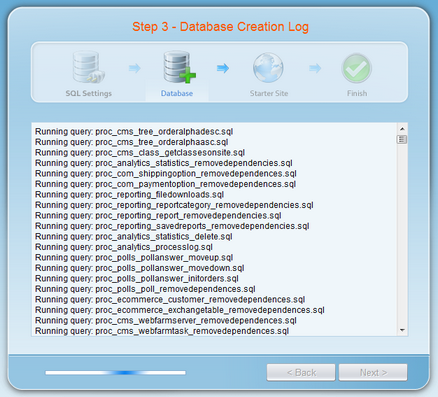
The database creation log will be displayed.
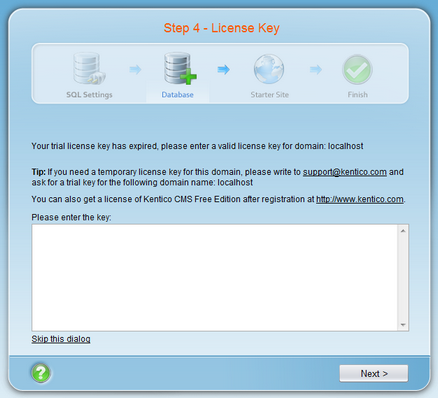
When the database is created, you will be asked to enter your license key. If you do not have a license key yet, click Next to continue in the trial mode. The functionality of the trial mode is the same as the full version.
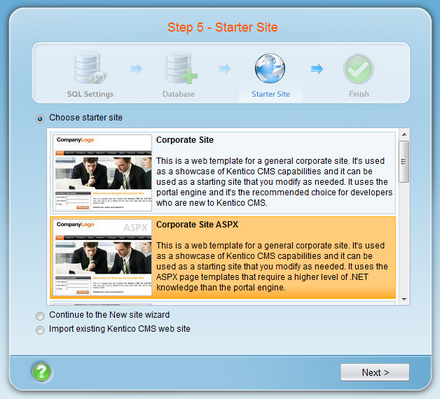
In the Starter Site step, you can choose from the following options:
| • | Choose a starter site: |
| • | Corporate Site (portal engine) - this option installs the sample corporate site - it is recommended for most users, especially for evaluators. |
| • | Corporate Site (ASPX templates) - this option is recommended only for experienced ASP.NET developers who want to use ASPX page templates instead of portal templates. |
| • | E-commerce site - this sample site can be used as a starting point for creating your own e-shop and shows the possibilities of Kentico CMS's E-commerce module. |
| • | Personal site - this is a web template suitable for a simple personal site. |
| • | Community site - complex web template suitable for community webs, showing Kentico CMS's social networking features in practice. |
| • | Blank site - this is a blank site without any content; you will use it to create a new site from scratch. |
| • | Blank site ASPX - the same as above, but for ASPX poage templates. |
| • | Continue to the New site wizard - this option is recommended if you are starting a new site from scratch. |
| • | Import an existing Kentico CMS website - use this option is you already created a website with Kentico CMS and need to import it into the new installation (e.g. on the production server). |
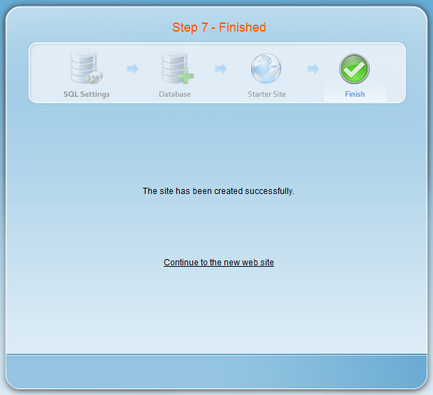
For the purpose of this guide, please choose to create sample Corporate Site (ASPX templates) and click Next. You will see the confirmation and a link to your new website:
A log displaying creating of the site will be displayed. When it's finished, you will be displayed with the final step that you can see in the screenshot below. Click the Continue to the new web site link.
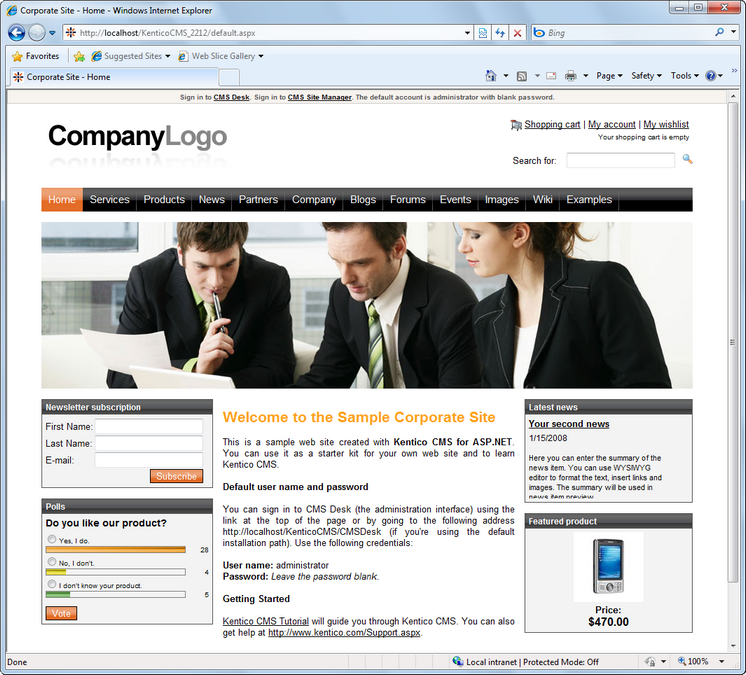
You will be redirected to the title page of the sample Corporate Site:
|
Sample website
The Corporate Site website is only an example of a website you can create with Kentico CMS. You have full control over the site structure, design, page layout and functionality as you will see in the following chapters.
|
Page url: http://devnet.kentico.com/docs/tutorial_aspx/index.html?database_setup.htm


