|
Creating a subscription |

|

|

|

|
When you have a publication configured, you can proceed to creating the subscriptions. There can be one or more subscriptions, while you will need a dedicated database for each subscription. Each subscription database needs to be an exact copy of the publication database. The copy can be created using backup and restore in SQL Server Management Studio.
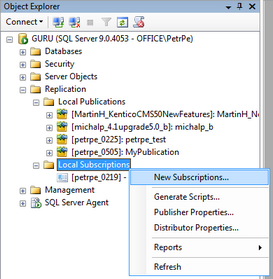
1. In SQL Server Management Studio, expand the Replication node and right-click the Local Subscriptions folder. Choose New Subscriptions from the context menu.
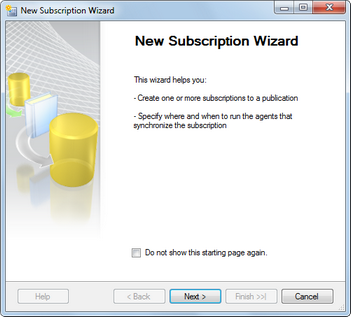
2. The New Subscription Wizard starts. Click Next in the first step.
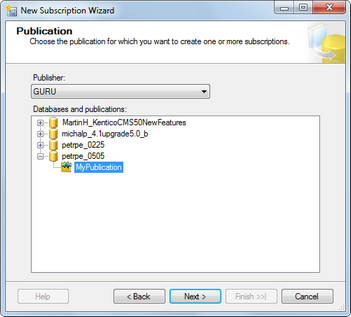
3. In the Publication step, you need to select the publication to which you want to subscribe. Select the server where the publication is located from the Publisher drop-down list. All publications on the selected server will be listed in the Databases and publications section below.
Select the required publication and click Next.
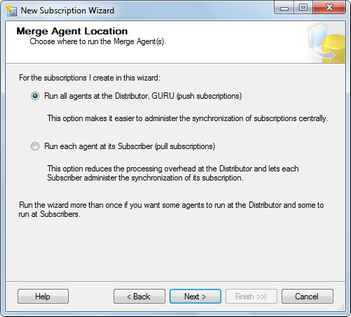
4. In this step, you need to decide where the Merge Agent will be run. You have the following two options:
| • | Run all agents at the Distributor (push subscription) - if selected, the Merge Agent will run at the distributor (the server where the publication is) |
| • | Run each agent at its Subscriber (pull subscription) - if selected, the Merge Agent will run at the subscriber (the server where the subscription is) |
Make you choice (running the agent at the Distributor is recommended for most cases) and click Next.
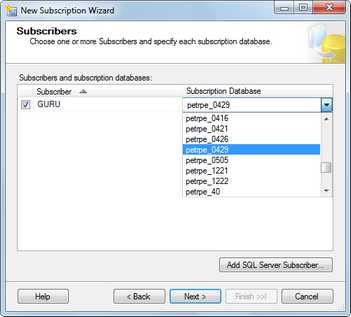
5. Now you need to select the subscription database(s).
The currently managed database server will be offered in the Subscriber column. Using the Add SQL Server Subscriber button, you can add other servers to the list, which enables you to create subscriptions on a different server than the currently managed one. Next to each server, you can find a drop-down list containing all databases on the server.
Choose the subscription database(s) that you prepared before starting this wizard (as described at the beginning of this page) and click Next.
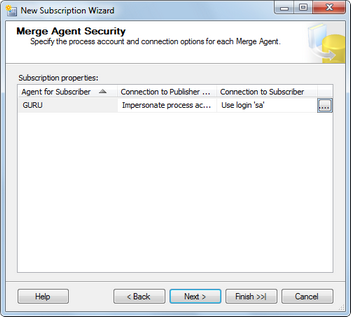
6. In the Merge Agent Security step, you are asked to specify the process account and connection options for the Merge Agent. This can be specified for each server by clicking the appropriate "...." button.
Specify the required information according to your environment and click Next.
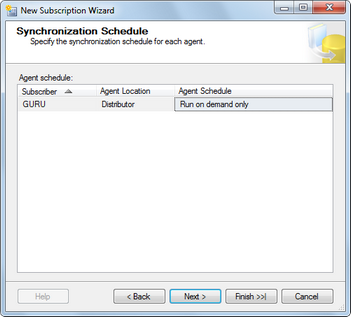
7. In the Synchronization Schedule step, you need to specify when will synchronization between the subscriber and the publisher be performed. You have the following options:
| • | Run continuously - synchronizes immediately whenever a change is made |
| • | Run on demand - synchronization is performed only when executed manually from Replication Monitor in SQL Server Management Studio |
| • | Run on schedule - synchronization is performed on a regular basis after a set interval |
Select the required schedule and click Next.
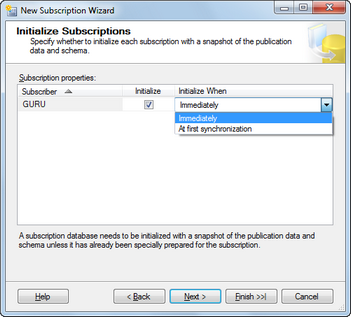
8. This step lets you initialize the subscription, i.e. fill the subscription database with data from the publisher database snapshot. To perform this, the database snapshot needs to be already created. You can select from the following two options defining when will the synchronization be performed:
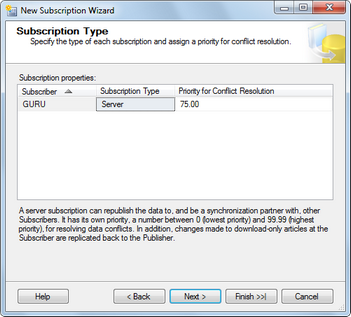
9. The Subscription Type step lets you decide if you want the subscription to be of the Server or Client type. For the purposes of our example, leave the default values (Server subscription with 75.00 priority) and click Next.
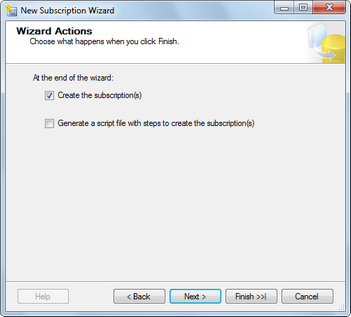
10. The Wizard Actions step lets you decide what happens when you finish the wizard. You have the following two options:
| • | Create the subscription(s) - if enabled, the subscription(s) will be created as defined throughout the wizard |
| • | Generate a script file with steps to create the subscription(s) - if enabled, the wizard generates a script which, when executed, creates the subscription(s) as defined throughout the wizard |
Click Next.
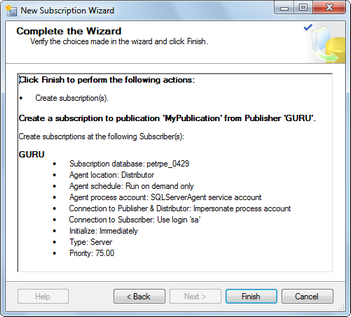
11. The final step is only informational. It gives you an overview of the options that you selected throughout the wizard. Click Finish to create the publication based on the listed options.
Page url: http://devnet.kentico.com/docs/devguide/index.html?db_replication_subscription.htm