|
Uploading files into media libraries |

|

|

|

|
|
Uploading files into media libraries |
|
|
|
|
There are three ways how files can be uploaded into a media library:
| • | Via the administration interface |
| • | On the live site via the Media gallery web part |
| • | Externally, directly into the file system - e.g. via FTP |
In the following examples, you will learn how to add files into media libraries via the administration interface, on the live site and via FTP.
Uploading files via the administration interface
If you choose to Edit (![]() ) a media library in CMS Desk -> Tools -> Media libraries, you can manage files in the library on the Files tab.
) a media library in CMS Desk -> Tools -> Media libraries, you can manage files in the library on the Files tab.
1. It is a good idea to keep your files organized in folders within the media library. To create a new folder, click the New folder (![]() ) button shown in the top left corner of the page.
) button shown in the top left corner of the page.
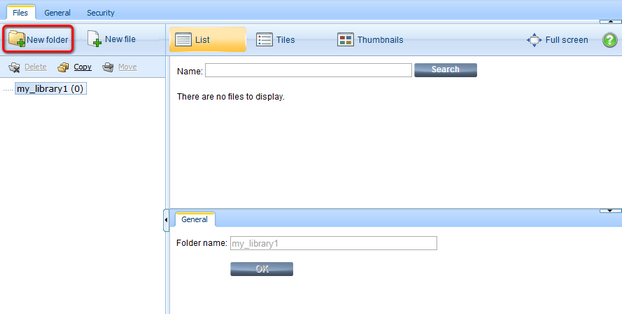
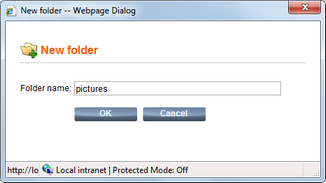
2. Enter the name of the folder, e.g. pictures, and click OK.
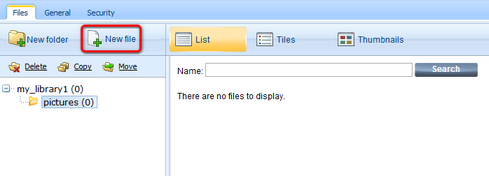
3. The folder is now created. You can upload files into the selected folder by clicking the New file (![]() ) button.
) button.
4. A dialog appears, letting you upload the file. Just select the right folder and the file to be uploaded, then click the Open button.
5. The files are now stored in the media library and displayed according to the selected view mode.The Full screen () button allows to hide the main left and top panels. Just click on the Full screen button to switch between the modes.
6. If you click the Update (![]() ) icon, you can re-upload the file. Like this, the original file will be deleted and replaced by the newly uploaded one.
) icon, you can re-upload the file. Like this, the original file will be deleted and replaced by the newly uploaded one.
7. You may also have noticed the Edit (![]() ) icon next to the listed items. This icon appears only with images and when clicked, the image gets opened in the built-in image editor.
) icon next to the listed items. This icon appears only with images and when clicked, the image gets opened in the built-in image editor.
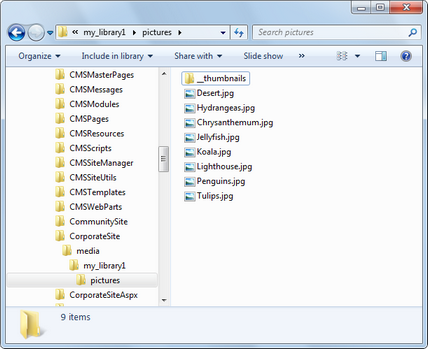
8. Now if you go to the site folder in your file system, you will find the media library under the media folder, as you can see the screenshot below. The location of the folder may be customized as described here.
On-site upload via the Media gallery web part
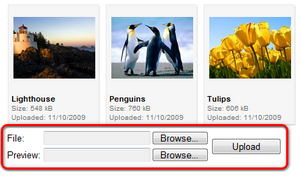
The Media gallery web part has the following two properties enabling on-site file upload:
| • | Allow upload - enables on-site upload of files |
| • | Allow upload preview - enables on-site upload of file previews |
If these properties are enabled, the controls highlighted in the screenshot below will be displayed in the web part, letting users upload the files or previews:
External upload
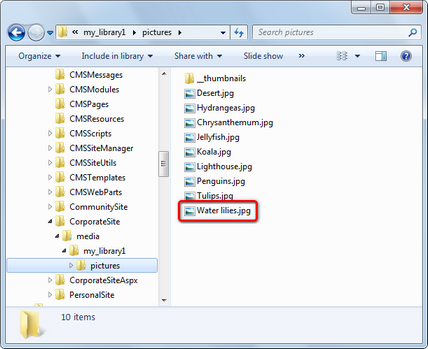
9. Files can also be uploaded externally, without any use of Kentico CMS administration interface or on-site web parts, e.g. using FTP. To do this, you simply need to copy the files into the appropriate folder of the media library.
For the purposes of this example, try uploading another file into the pictures folder by copying it using Windows Explorer or any other file manager.
10. If you go back to the Media library administration interface, you will see the file present in the list. As you can notice, this file is marked with the warning (![]() ) icon indicating that the file has not been imported yet. This means that the file has not yet been registered in the database. Such files can not be used on the site and have to be registered first. This happens only to externally uploaded files, files uploaded via the administration interface are registered in the database automatically.
) icon indicating that the file has not been imported yet. This means that the file has not yet been registered in the database. Such files can not be used on the site and have to be registered first. This happens only to externally uploaded files, files uploaded via the administration interface are registered in the database automatically.
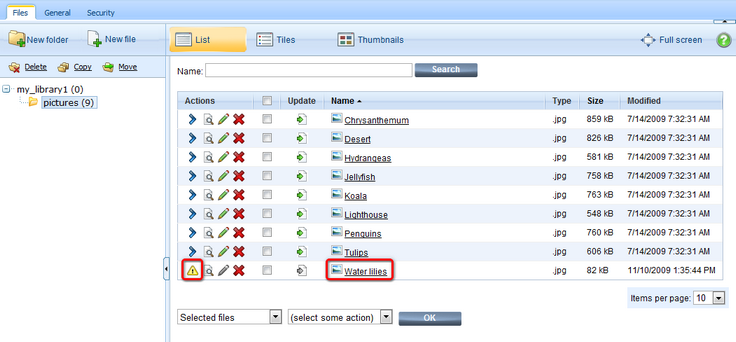
To register the file, you have to click the Import (![]() ) icon, which creates the file's record in the database. Batch file import can be done by either selecting more files by the check-boxes for the individual files; or the check-box in the list header for selecting all the files displayed on the current page; or selecting All files: from the drop-down list below. The selected files are then imported by selecting Import from the actions drop-down list and clicking OK.
) icon, which creates the file's record in the database. Batch file import can be done by either selecting more files by the check-boxes for the individual files; or the check-box in the list header for selecting all the files displayed on the current page; or selecting All files: from the drop-down list below. The selected files are then imported by selecting Import from the actions drop-down list and clicking OK.
For each file a file import dialog appears, allowing to change the file name and file title, as well as to add a description for the file to be imported. The same description can be used for all imported files when Apply description to all files check-box is checked.
Page url: http://devnet.kentico.com/docs/5_0/devguide/index.html?uploading_files_into_media_libraries.htm

