|
Web Installer |

|

|

|

|
|
Web Installer |
|
|
|
|
Kentico CMS Web Installer allows you to create a new project and (optionally) configure Microsoft IIS web server.
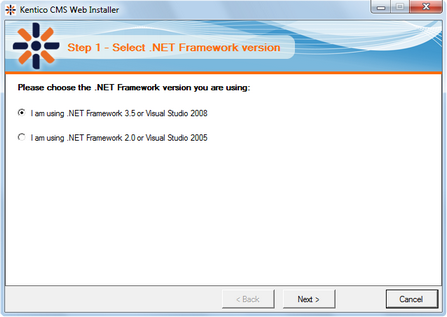
Step 1 - Select .NET Framework version
First, you need to choose whether you use Visual Studio 2005 or Visual Studio 2008. Depending on your choice, the installer will use appropriate web.config and webproject.sln files. The binaries and code are same for both options; they are compiled for .NET 2.0 and can be used with .NET 3.5 as well.
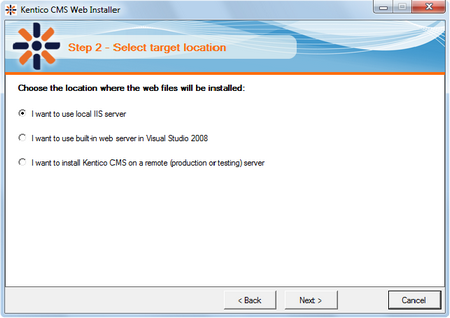
Step 2 - Choosing the target location
Choose one of the options:
- installation on IIS server - you must have local IIS server installed, configured for ASP.NET 2.0 and running
- Visual Studio built-in web server - you must have Visual Studio or Visual Web Developer Express Edition installed on your local machine
- remote server - this option only copies the project files to a temporary folder on your disk and you need to copy the files to your production server manually (e.g. over FTP)
Option 1 - Installation on your local IIS server
If you run local IIS server on your machine, choose the first option in Step 2 and click Next. In step 3, you need to choose one of the web sites configured on your IIS and choose disk folder where files will be placed. Please make sure that the web site you choose is running.
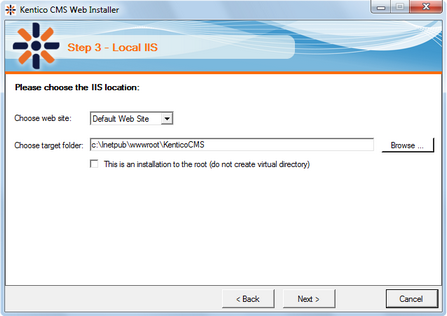
Please note: if you're installing Kentico CMS into the root of your web site (such as http://www.domain.com) and do not wish to create a virtual directory (such as http://www.domain.com/cms), please check the box This is an installation to the root.
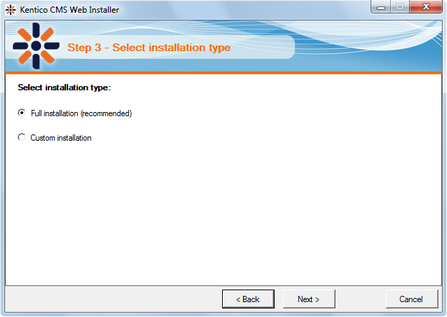
Now you need to decide between the following options:
| • | Full installation - performs full installation of all |
| • | Custom installation - lets you choose which components will be installed |
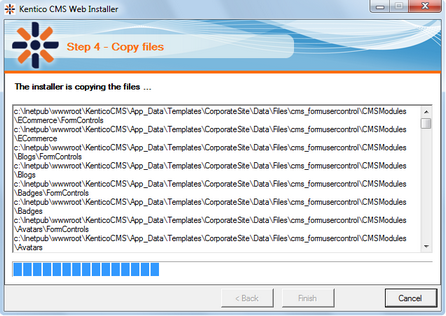
Now the installer copies the project files to the specified folder:
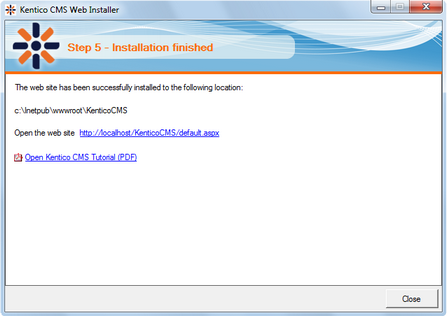
At the end, you're displayed with URL of the new Kentico CMS installation. Please put down this URL for future use.
Option 2 - using the built-in Visual Studio web server
If you want to use only the built-in web sever in Visual Studio (or Visual Web Developer), choose the appropriate option and click Next. You will need to enter the target location of the files on your disk:

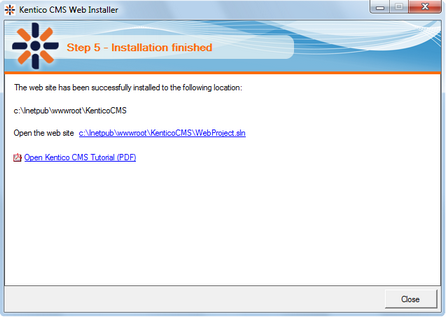
After the files are copied to the folder, you can open the solution in Visual Studio by clicking the link:
The project will open in Visual Studio:

Choose Debug -> Start without debugging from the main menu. The site is displayed in the new browser window, using the built-in VS web server.
|
When you cannot open the web site in Visual Studio
If the link for opening the project in Visual Studio doesn't work, you may need to start Visual Studio manually and choose File -> Open -> Web Site... and locate the project folder on your disk manually. |
Option 3 - Installation on the remote server
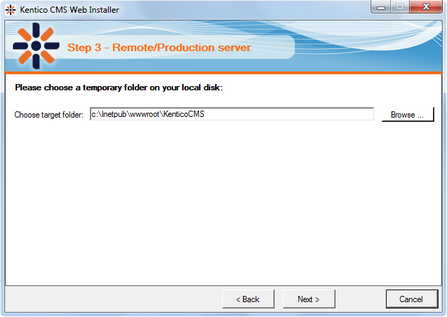
If you need to install Kentico CMS on a remote web server where you cannot run the setup directly (e.g. a shared hosting server), you can choose the last option - installing Kentico CMS on a remote (production) server. You will need to specify a temporary folder on your local disk where the web project will be created:
Click Finish. Now the web project is created on your disk and a confirmation message is displayed:
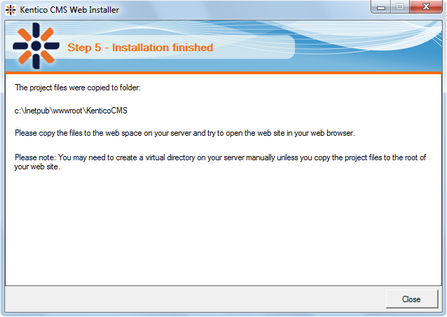
You need to copy the web site to your server (e.g. over FTP). If your web project isn't placed in the root of the remote web site, you may need to create a virtual directory as described in Creating a virtual directory.
Now you can continue to Database setup wizard.
Page url: http://devnet.kentico.com/docs/devguide/index.html?web_installer.htm


