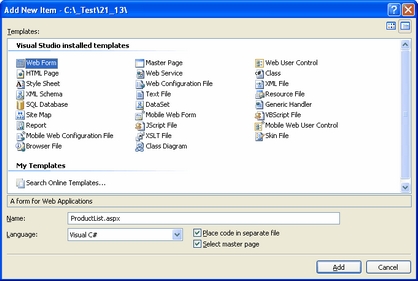
Now we get to the final step of this chapter: publishing computer specifications on your web site. Go to Visual Studio and choose to create a new ASPX page in folder CMSTemplates\MySite. Call the page ProductList.aspx and check the box Select master page:
Choose the CMSTemplates\MySite\MyMaster.master page on the next dialog:

Switch to the Design tab and you will see a preview of the page, including the inherited master page. Drag and drop the CMSBreadCrumbs and CMSDataList controls on the page:
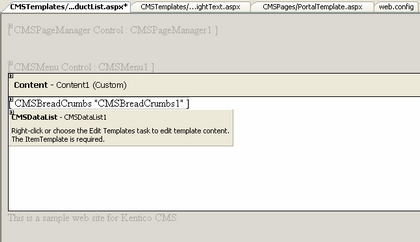
Set the following properties of the controls:
CMSDataList
| • | ClassNames: custom.computer (the document types to be displayed) |
| • | OrderBy: ComputerName ASC |
| • | TransformationName: custom.computer.preview |
| • | SelectedItemTransformationName: custom.computer.default |
| • | RepeatColumns: 2 |
Switch to the code behind and add reference to the CMS.UIControls namespace:
[C#]
using CMS.UIControls; |
[VB.NET]
Imports CMS.UIControls |
You also need to change the class definition so that it inherits from the TemplatePage class:
[C#]
public partial class CMSTemplates_MySite_ProductList : TemplatePage |
[VB.NET]
Partial Class CMSTemplates_MySite_ProductList Inherits TemplatePage |
Save all changes.
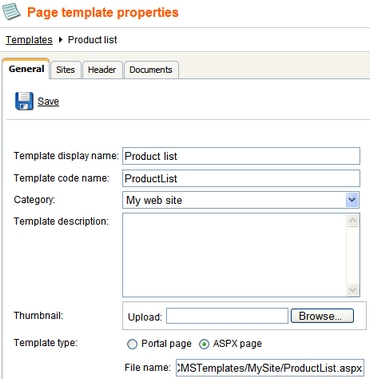
Now we need to register our new page template. Go to CMS Site Manager -> Development -> Page Templates and click My Web Site and click New template. Enter the following values:
| • | Template display name: Product list |
| • | Template code name: ProductList |
Click OK. Enter the following values on the General tab:
| • | Template type: ASPX page |
| • | File name: ~/CMSTemplates/MySite/ProductList.aspx |
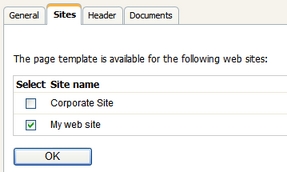
Switch to the Sites tab and assign the template to your web site:
Now that we created the page template, we can start adding new pages based on this template. Go to CMS Desk -> Content, click the root and click New. Choose to create a new Page (menu item) and enter the following values:
| • | Page name: Products |
| • | Use page template: My web site/Product list |
Click Save.
Now we need to enter some computer details. Click /Products in the content tree and click New. Choose to create a new computer. Enter the following value:
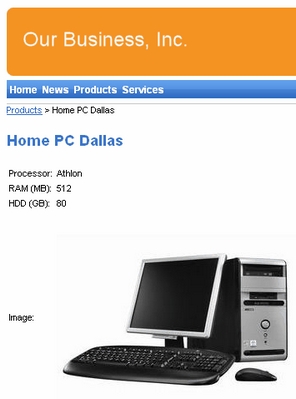
| • | Computer name: Home PC Dallas |
| • | Processor type: Athlon |
| • | RAM (MB): 512 |
| • | HDD (GB): 80 |
| • | Image: upload some image (you can find sample images in folder <Kentico CMS installation>\CodeSamples\SampleWebTemplate\Computer_Images) |
| • | Publish from/to - leave the values blank |
Click Save and create another and enter:
| • | Computer name: Office PC Houston |
| • | Processor type: Pentium Core 2 Duo |
| • | RAM (MB): 1024 |
| • | HDD (GB): 120 |
| • | Image: upload some image (you can find sample images in folder <Kentico CMS installation>\CodeSamples\SampleWebTemplate\Computer_Images) |
| • | Publish from/to - leave the values blank |
Click Save.
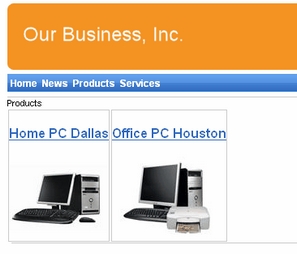
Now, when you click /Products you will see a page like this:
When you click on some link, you will see computer details:
You have learned how to define a new document type and how to publish its documents on the web site.