The following chapters assume that you have previously installed a sample CorporateSite on your computer. We will leave the existing web site and add a new web site that will run on http://127.0.0.1.
|
Multiple sites and VS2005 built-in web server
If you're using the built-in web server in Visual Studio instead of IIS, you need to stop the CorporateSite site in the Site Manager -> Sites dialog first and then you can continue. Since the built-in web server doesn't support other domain than localhost, you will use the localhost domain again. |

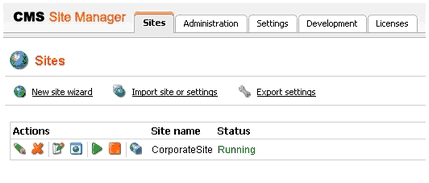
Sign in as Administrator to Site Manager -> Sites. Click New site wizard on the home page.
In the first step, choose to create a new site using a wizard.

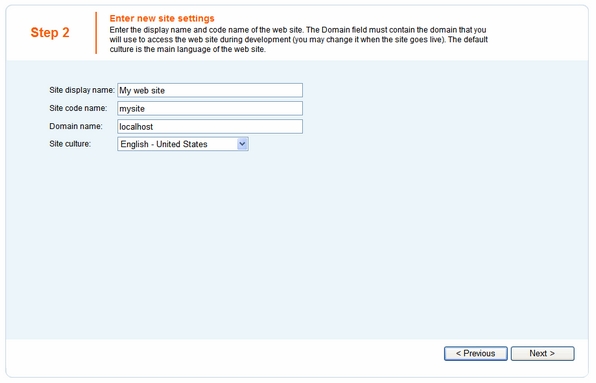
In the second step, enter the following details:
| • | Site display name: My web site |
| • | Site code name: mysite |
| • | Domain: 127.0.0.1 - if you're using Visual Studio built-in web server, set the default value to localhost |
| • | Default culture: English - United States (by choosing a different default culture, you can achieve displaying date, time and numeric values in culture-specific format) |
Click Next.
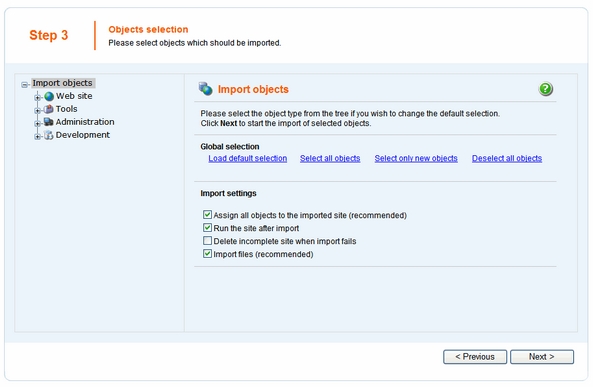
In the third step, you're asked to select objects which should be imported to your new site. Do not change anything and click Next.
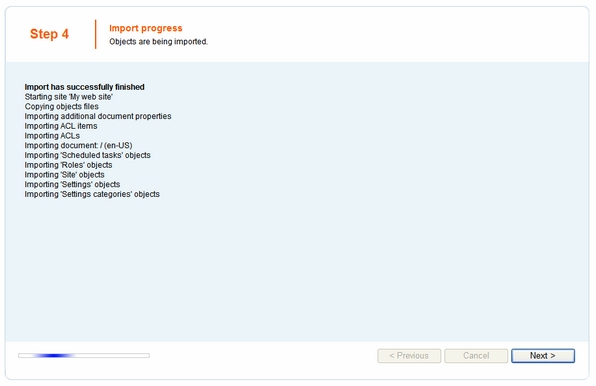
In the fourth step, the progress of objects import is displayed. Click Next after Import has successfully finished appears.
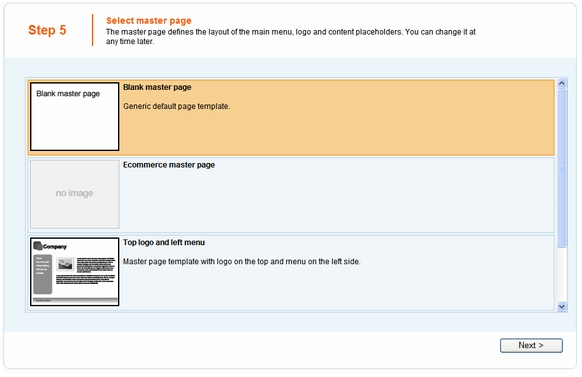
In the fifth step, you can choose the master page. You can change or modify it at any time later. For now, please choose the Blank master page option.
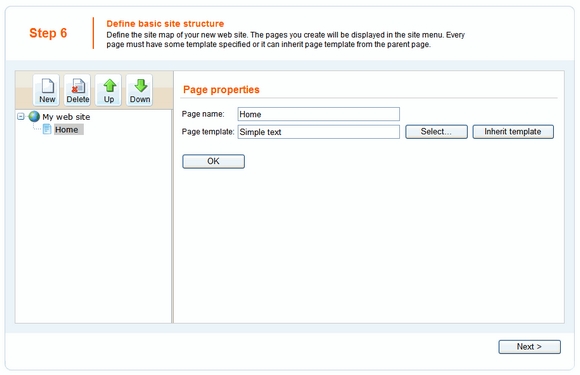
Click Next. In the sixth step, you can design the site map of your new web site. Click New and add a new page called Home and choose page template Templates with editable regions -> Simple text. Click OK to save it.
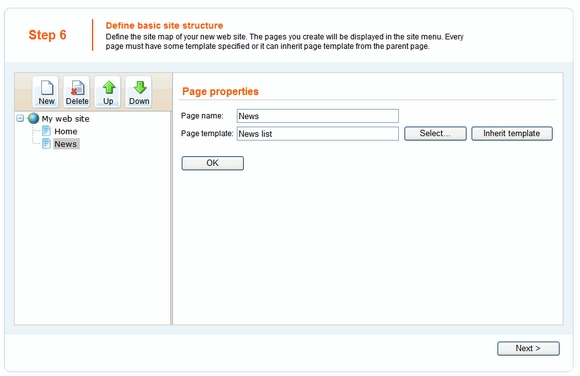
Click My web site and click New. Add a new page called News and choose page template News -> News list. Click OK to save it. Use the Down button to move it down under the Home page.
Click Next. You will see a confirmation message:
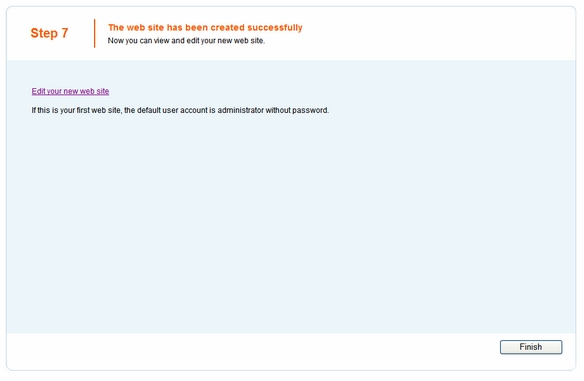
Click the Edit your new web site link. A new window with Kentico CMS Desk opens at domain 127.0.0.1. You need to sign in again (user name administrator, blank password) since the authentication is not shared over different domains. After you sign in, you will see your new, empty web site:
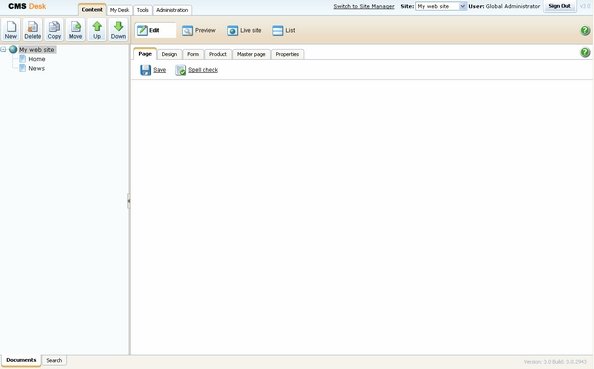
You have created the base for your new web site. In the next chapters, you will learn how to implement the required design.