Modularization improvements in Kentico 8.2
We introduced the Modules application in Kentico 8. The purpose of the application is to help you create custom modules with ease on the Kentico platform. Kentico 8.2 will bring an even bigger update to this Modules application – the ability to package modules using NuGet technology. This blogpost will guide you through all the details.
Many of you have already started to write your own custom modules using the Modules application. One of the things that’s still a little bit challenging is the deployment to the other Kentico instance since your module can contain various resources (web parts, resource strings, third party DLLs). So far, the only way to do it with Kentico 8 or Kentico 8.1 is to use our Import/Export module, which typically works well. However, if you want to include various resources together with the module, you must select them all in Import/Export UI - some resources (such as third-party DLLs) must be handled through your custom code using Import/Export handlers. For this reason, Kentico 8.2 brings a new way in which you can deploy your custom module to a different environment. You have the ability to package the whole module, its custom files and data into a single NuGet package.
How-to
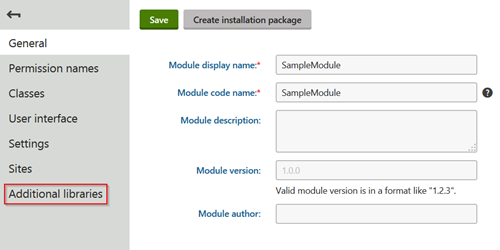
First, create your module in the same way as you would with the current versions of Kentico. You can also add third party libraries through additional libraries when you edit a particular module. You can also add additional components to your module via naming conventions. For example, if you want to include a web part in your module you have to add the web part code files to the ~/CMSWebParts/<module code name>/ folder and the web part codename must start with code name of the module. A file with resource strings must be placed in the ~/CMSResources/<module code name>/ folder and so on. You can also add totally custom SQL scripts to the package if you’d like.

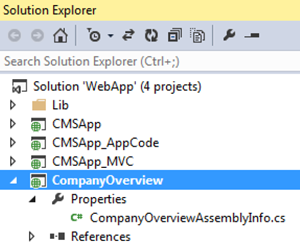
Once you are done creating your module and are ready to package it, you need to create a separate web application project (empty web application) – this is the main module project. The name of the project equals to the name of the module. The Info and the Provider classes should be part of this project as well (instead of a main CMSAppProject).

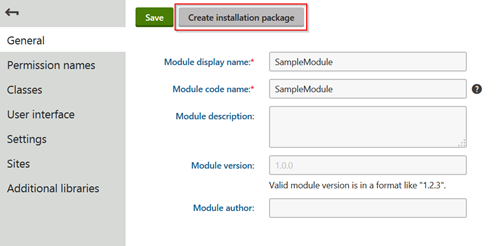
Now you need to go to the Kentico UI and create a package by clicking on the Create Installation package in the module edit UI.

And your package is done! Now you need to add it to a NuGet feed (you can create a new feed if you don't have one) and then install it from there to the other instances.
The above is just a brief explanation that illustrates the improvements that have been made thus far – of course more detailed information will be included in our documentation.
Looking Ahead
The current solution offered here in this post has certain limitations to it (e.g. you can create only data driven UI for modules you want to package). But, we are definitely not going to stop here – there will be even better support for packaging and deploying modules coming soon. We will also improve other parts of the module application in the future as well.
Your feedback is crucial! Please let me know what challenges you’re facing today when you are building your modules. You can contact me directly at dominikp@kentico.com.