Implementing multi-level responsive navigation using a hierarchical transformation
Many times you need to follow some strict HTML structure provided by your web designer or by some on-line tutorial, so today we learn how to achieve required HTML structure by using a hierarchical transformation.
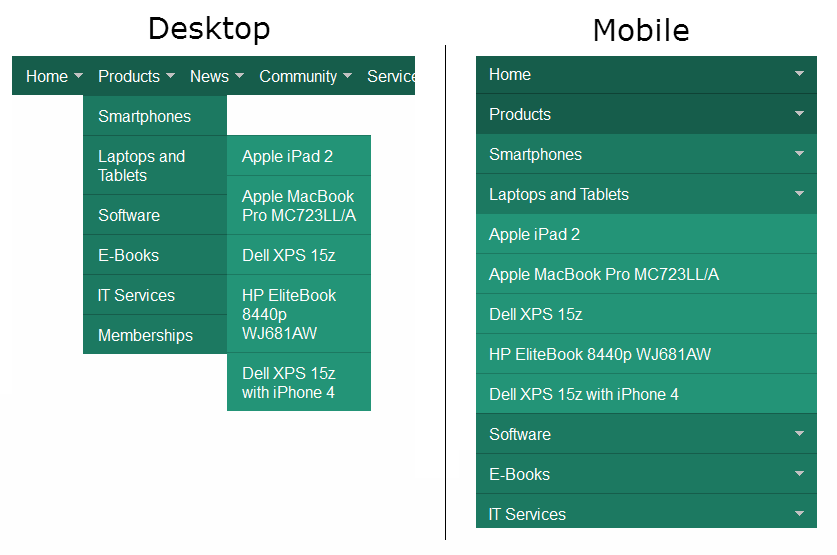
Let’s say you have received developed menu by your web designer or you have found this tutorial about implementing a responsive menu (Big Menus, Small Screens: Responsive, Multi-Level Navigation, Demo) and you want to implement it to your site.
Below are the steps to achieve it:
- Download a package from the tutorial (download) and extract it
- Create a new hierarchical transformation with following transformations in it (all of them as Text/XML type):
- Open the style.css file from downloaded package and copy styles over to your system (either to your site stylesheet or as an extra stylesheet)
- Place images from the images folder from downloaded package to some location within your project folder (most probably within the App_Themes folder) and update path to them in the stylesheet
- Place the Hierarchical viewer web part on a page where you want to render your menu and configure it according your needs, but do make sure you have following properties as shown below:
- Maximum nesting level: 3
- Where condition: DocumentMenuItemHideInNavigation = 0
- Columns: DocumentName, NodeAliasPath
- Hierarchical transformation: {created hierarchical transformation}
- Load hierarchical data: Yes
- Content before:
<a class="toggleMenu" href="#">Menu</a>
- Content after:
<script type="text/javascript" src="http://code.jquery.com/jquery-1.7.2.min.js"></script>
<script type="text/javascript">
{content of the script.js file from downloaded package}
</script>
Tips and tricks:
- If you want to apply a different css class to selected menu item, you can update the Item transformation to:
<li {%IsCurrentDocument()?"class='selected'":""#%} ><a href="{%GetDocumentUrl()%}">{%HTMLEncode(DocumentName)%}</a>{^SubLevelPlaceHolder^}</li>
- If you want to get the Menu caption instead of the Document name if there is any defined, you can update the Item transformation to (Do not forget to extend the Columns property by the DocumentMenuCaption column):
<li><a href="{%GetDocumentUrl()%}">{%HTMLEncode(DocumentMenuCaption.ToString()==""?DocumentName?DocumentMenuCaption)#%}</a>{^SubLevelPlaceHolder^}</li>