How to Create Users with the Kentico REST Service
The Kentico REST service is a great feature of the platform and allows developers to integrate with other systems using a standard Web API interface. Providing the ability to read and write data, the service is a convenient resource for retrieving and manipulating content and data within a Kentico site using only code. Recently I was asked how to create users with the service. In this blog, I will show you how to configure your service, create the accounts, and assign them to roles.
This blog follows many of the steps defined in the Kentico Documentation. You can check out the prerequisites here:
1. Configure your service
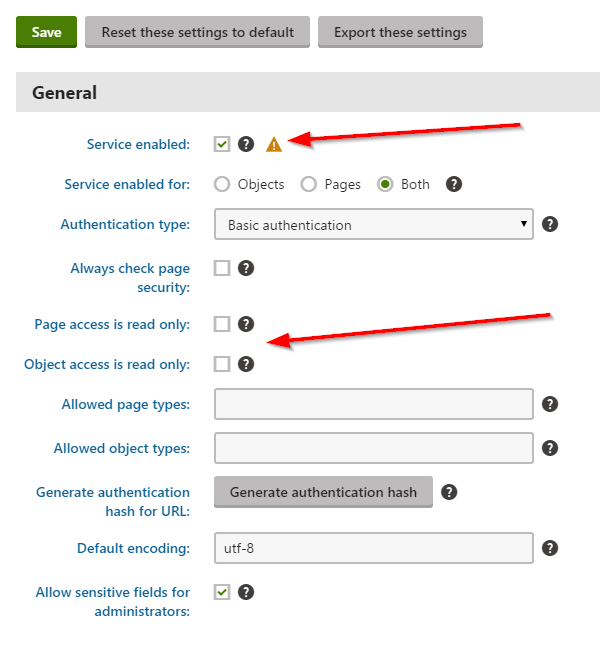
The first step is to make sure your REST service is configured correctly and running. In the Admin/Settings/Integration/REST settings, you will want to make sure you set the following:
Service Enabled
Make sure the service is enabled on your site!
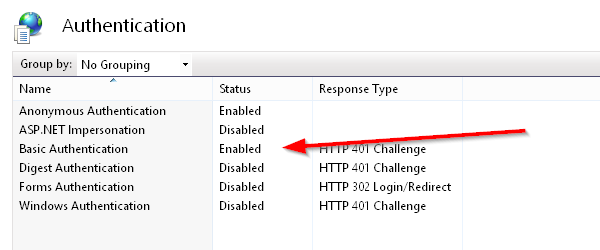
Authentication mode
In my example, I will be using “Basic Authentication.” You can also choose Forms Authentication, as well as set a hash for the URL.
Object access is read only
This will determine if users will be able to create objects, rather than only reading them. You will want to make sure that “objects” are NOT set to read only.
Allow sensitive fields for administrators
This setting will allow us to set the password for the new user account. Only Global Administrators are allowed to do this action.
2. Configure your server
Now that you have your service ready to go, you need to make sure the server can run it. This is usually a pretty simple process, but you want to make sure of the following:
WCF Installed
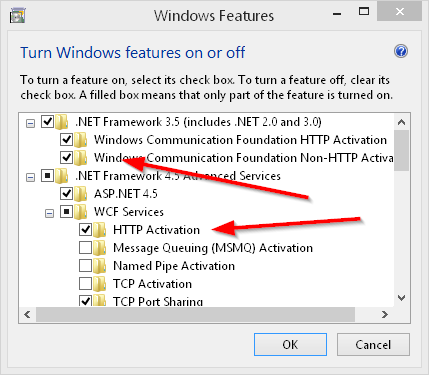
Authentication mode matches your service configuration
Note
If you’re running in Azure or another hosting provider, you probably already have the configuration set. If not, contact your network admins and provide them with the steps.
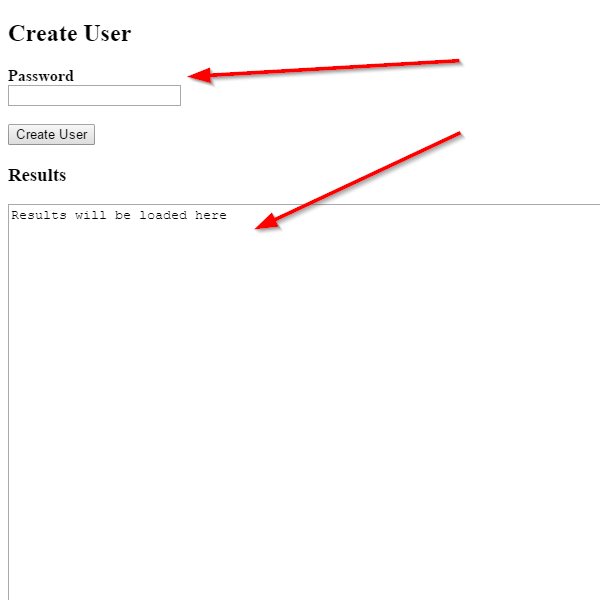
3. Creating the external site
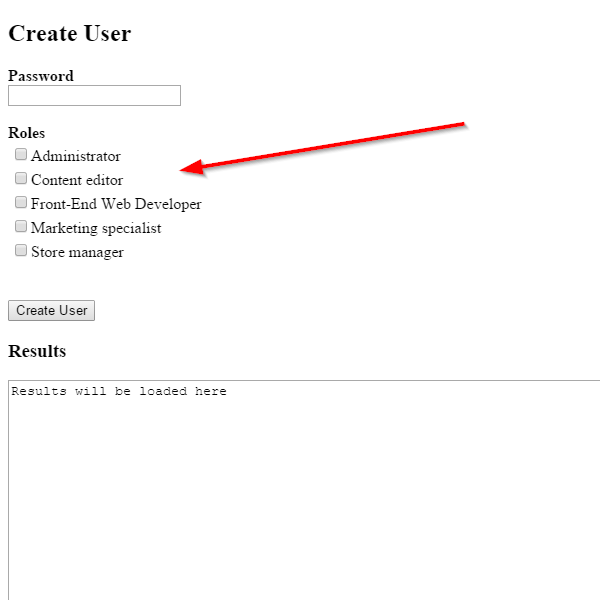
For this example, I need an external site that will call the REST service and make the request against it. In my awesomely complex site, I have a simple page with a button that calls the service. This could be a console app, or anything else that can consume a Web API. I’ve added a text box to display the result from the call. Lastly, I’ve added a password field that will be used to set the password for the new user account.
4. Preparing your create user code
OK, after all of that housekeeping we are finally ready to code! The code that consumes the service is standard .NET logic and allows you to make an HttpWebRequest call against the service and get the response. The RequestData contains my new user information. You can populate any fields needed in the POST.
HttpWebRequest Code
StringBuilder sb = new StringBuilder();
//Create the User
string requestFullUrl = requestBaseUrl + "/cms.user/currentsite"; // The URL of the REST request (base URL + resource path)
requestData = String.Format(
    @"
    <CMS_User><UserName>Sample{0}</UserName>
    <FullName>Content editor</FullName>
    <Email>{0}@localhost.local</Email>
    <UserEnabled>true</UserEnabled>
    <UserIsEditor>true</UserIsEditor>
    <UserPassword>{1}</UserPassword>
    </CMS_User>
    ",
    DateTime.Now.Millisecond,
    pwPassword.Text
);

// Creates the REST request
HttpWebRequest request = (HttpWebRequest)WebRequest.Create(requestFullUrl);
Next, we call the REST service, set up the authentication headers, and determine what type of request we want to make. For a “write” we will use POST. Note that the request URL is specific to what we want to work with so we will use [domain]/rest/cms.user/site/currentsite.
POST Code
// Sets the HTTP method of the request
request.Method = "POST";

// Authorizes the request using Basic authentication
request.Headers.Add("Authorization: Basic " + Base64Encode(strAuithentication));

// Submits data for POST or PUT requests
if ((request.Method == "POST") || (request.Method == "PUT"))
{
    request.ContentType = "text/xml";
    Byte[] bytes = Encoding.GetEncoding("utf-8").GetBytes(requestData);
    request.ContentLength = bytes.Length;

    using (Stream writeStream = request.GetRequestStream())
    {
        writeStream.Write(bytes, 0, bytes.Length);
    }
}
Note
Some objects can be worked with directly while others must have the site specified in the request. If you get 404 errors from your URLs, try adding “/site/currentsite” or ‘/site/[sitename]” at the end of the URL.
After we get the response back, we need to make sure the request was successful. Examine the HttpWebResponse to see if you have the right response.
Response Code
// Gets the REST response
HttpWebResponse response = (HttpWebResponse)request.GetResponse();

// Stores the description of the response status
responseDescription = (Int32)response.StatusCode + " - " + response.StatusDescription;

// Gets the response data
using (Stream responseStream = response.GetResponseStream())
{
    if (responseStream != null)
        using (StreamReader reader = new StreamReader(responseStream))
        {
            sb.Append(reader.ReadToEnd());
        }
}

//Get the new user id from the response
string strUserID = "";
XDocument document = XDocument.Parse(Convert.ToString(sb));

foreach (XElement role in document.Descendants("CMS_User"))
{
    strUserID = role.Element("UserID").Value;
}
The response should like the following:
Sample Response
<cms_user>
    <userid>[New User ID]</userid>
    <userguid>{New User GUID]</userguid>
</cms_user>
5. Adding the Roles logic
The next part of the process is to add the user to specific roles. In my example, I am loading all of the roles for the site into a CheckBoxList to get the RoleIDs. Creating the user will look at the selected roles and add the new user to each one.
Get Roles Code
requestBaseUrl = requestBaseUrl + "/cms.role/site/DancingGoat?format=xml"; // The URL of the REST request (base URL + resource path)

// Creates the REST request
HttpWebRequest request = (HttpWebRequest)WebRequest.Create(requestBaseUrl);

// Sets the HTTP method of the request
request.Method = "GET";

// Authorizes the request using Basic authentication
request.Headers.Add("Authorization: Basic " + Base64Encode(strAuithentication));

// Gets the REST response
HttpWebResponse response = (HttpWebResponse)request.GetResponse();

// Stores the description of the response status
responseDescription = (Int32)response.StatusCode + " - " + response.StatusDescription;

// Gets the response data
using (Stream responseStream = response.GetResponseStream())
{
    if (responseStream != null)
        using (StreamReader reader = new StreamReader(responseStream))
        {
            //responseData = HttpUtility.HtmlEncode(reader.ReadToEnd());
            responseUserData = reader.ReadToEnd();
        }
}

XDocument document = XDocument.Parse(responseUserData);

foreach (XElement role in document.Descendants("CMS_Role"))
{
    cblRoles.Items.Add(new ListItem(role.Element("RoleDisplayName").Value, role.Element("RoleID").Value));
}
Next, I need to figure out what roles to add the user to and make a request to the service for each one. This section will be called after the new user is created and the strUserID value is set.
Set Roles Code
foreach (ListItem li in cblRoles.Items)
{
    if (li.Selected)
    {
        requestData = String.Format(
            @"
            <CMS_UserRole>
            <UserID>{0}</UserID>
            <RoleID>{1}</RoleID>
            </CMS_UserRole>
            ",
            strUserID,
            li.Value
        );

        // Creates the REST request
        request = (HttpWebRequest)WebRequest.Create(requestFullUrl);

        // Sets the HTTP method of the request
        request.Method = "POST";

        // Authorizes the request using Basic authentication
        request.Headers.Add("Authorization: Basic " + Base64Encode(strAuithentication));

        // Submits data for POST or PUT requests
        if ((request.Method == "POST") || (request.Method == "PUT"))
        {
            request.ContentType = "text/xml";

            Byte[] bytes = Encoding.GetEncoding("utf-8").GetBytes(requestData);
            request.ContentLength = bytes.Length;

            using (Stream writeStream = request.GetRequestStream())
            {
                writeStream.Write(bytes, 0, bytes.Length);
            }
        }

        // Gets the REST response
        HttpWebResponse response2 = (HttpWebResponse)request.GetResponse();

        // Stores the description of the response status
        responseDescription = (Int32)response2.StatusCode + " - " + response2.StatusDescription;

        // Gets the response data
        using (Stream responseStream = response2.GetResponseStream())
        {
            if (responseStream != null)
            {
                using (StreamReader reader = new StreamReader(responseStream))
                {
                    sb.Append(reader.ReadToEnd());
                }
            }
        }
    }
}
Note
I couldn’t seem to pass a collection of roles in a single POST, so I had to set up a loop for each of the selections. I just add the response to my StringBuilder and return that for the final response.
6. Test It!
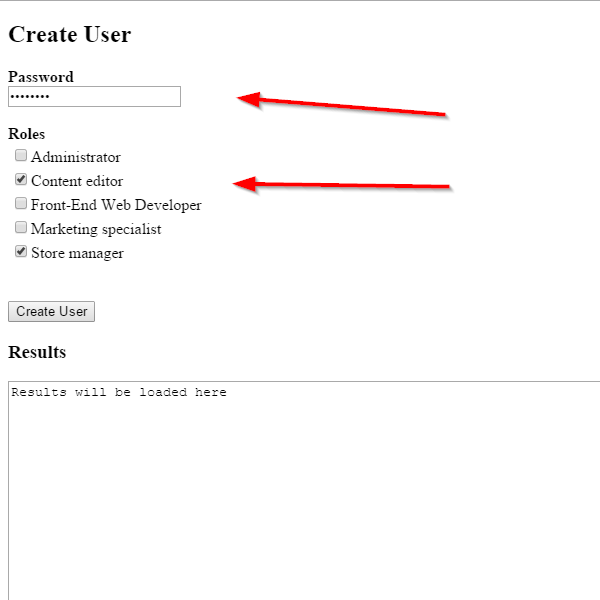
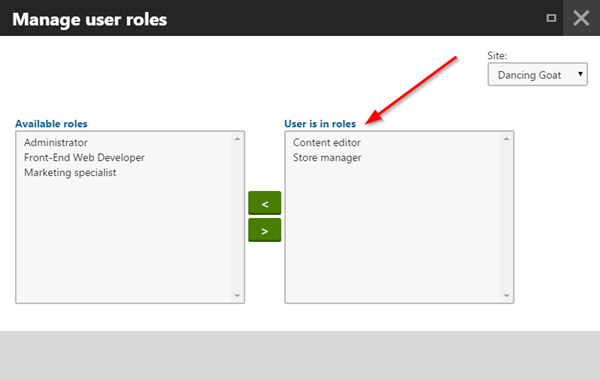
Now that everything is in place we are ready to test our code. I pick a few roles to assign the user to and submit.
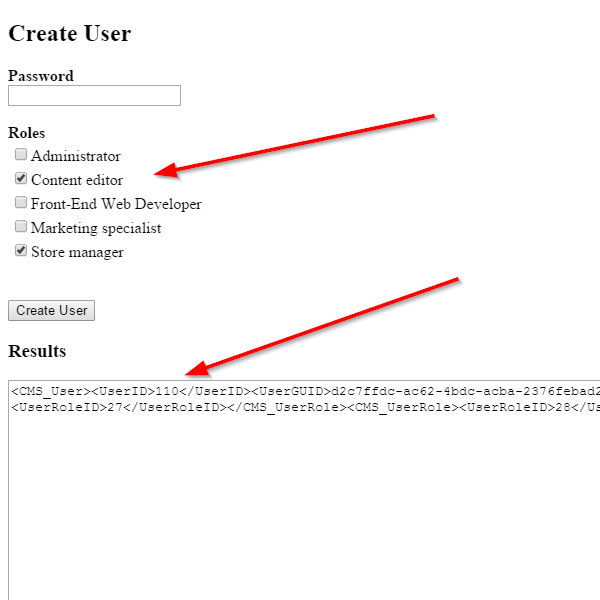
After posting to the service, I can see in the response where the user was created and assigned to roles.
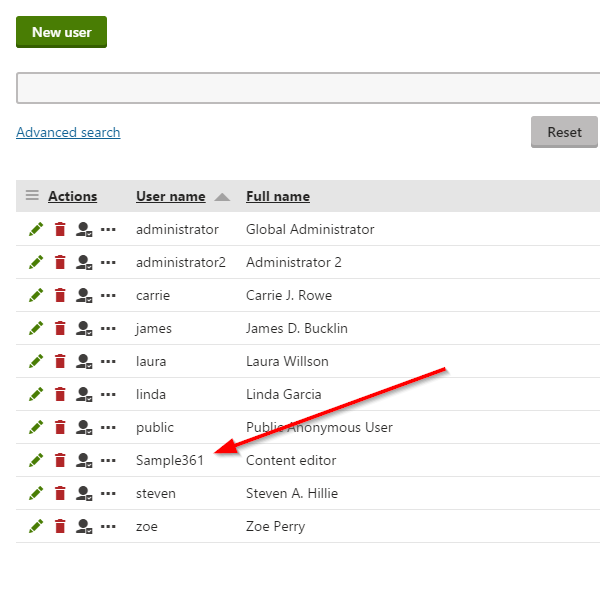
In my Kentico site, I can see the new user.
I can then view it to make sure the user was assigned to the correct roles.
Wrapping Up
That’s all there is to it! Integrating with the REST service is a simple process that exposes a ton of functionality to your external systems. Just be sure you have the correct settings to allow the actions you want to do, your authentication is in place, and you know exactly what your integration does. Good luck!
This blog is intended to demonstrate one of many ways to accomplish this task. Always consult the Kentico Documentation for best practices and additional examples.