Develop Team-Built Websites More Efficiently!
Did it ever happen to you that you were working on a new website in cooperation with colleagues, you edited your CSS, saved it, and then in a few minutes your changes were lost because one of your co-workers had overwritten them with their changes? … If the answer is “yes”, then the brand new Team Development feature of Kentico v7 is what you need!
Team Development is one of the new features for developers. Not only does it support object-locking (for the objects in which you edit code, like Page layouts, CSS, Transformations, etc.), but it also supports enhanced possibilities for usage of external editors and, more importantly, source control software such as Team Foundation Server, Subversion and others.
Object-locking
Object-locking prevents developers from simultaneously overwriting each other's code modification of objects. When the feature is enabled, only one developer is able to modify a certain object at a time. It is, however, essential that you do not use the same user account; you need to be signed in with different user accounts to utilize this feature.
To enable this feature, go to Site Manager / Settings / Object versioning and check the “Use check-in/check-out for objects” option.
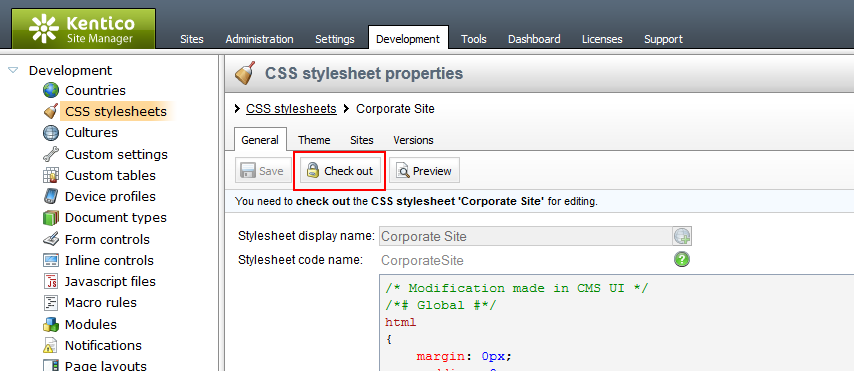
Once the setting is turned on, the UI of objects which supports object-locking (CSS, Page layouts, etc.) will be disabled for any changes until you check out (lock) the object. No other user will be able to check out the object while it is checked out with you. (Note that global administrators can undo the check-out of any object, regardless of who has locked it.)
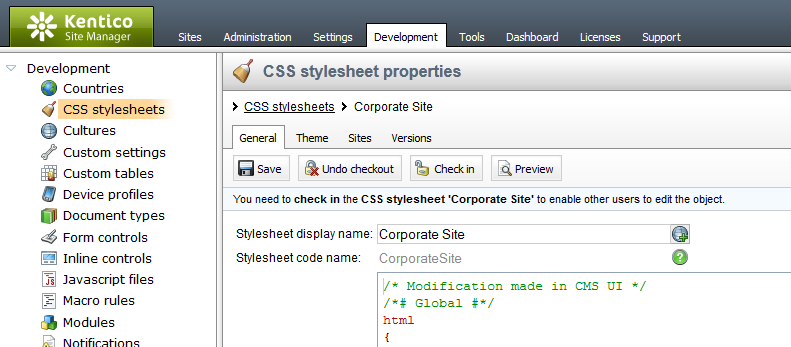
Once you have made your changes, you confirm them using the check in button. This will save the changes and unlock the object so that someone else can lock it for their changes. Use the “Undo check out” button to discard your changes and unlock the object. (Note that the changes can be rolled back only if Object Versioning is turned on).
Using source control
In this section I’ll show you how to use Subversion source control for CSS stylesheets.
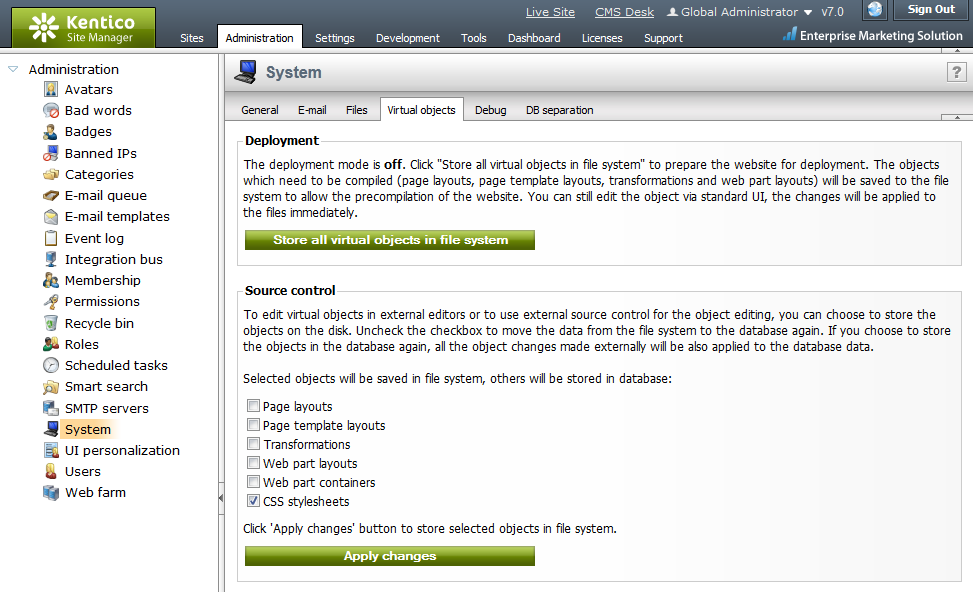
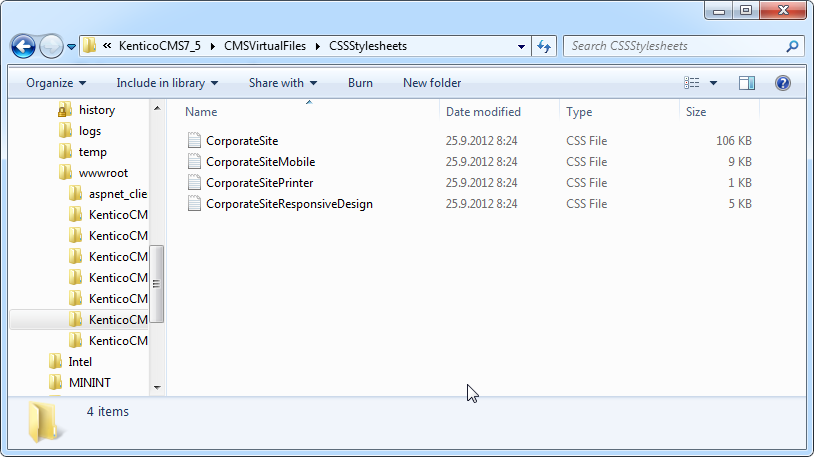
First you need to save the stylesheets to the disk using Site Manager / Administration / System. Using the “Source control” section of the Virtual objects tab, check the CSS stylesheets checkbox and click “Apply changes”. This will cause all the stylesheets to be saved externally to the file system, to the ~/CMSVirtualFiles/ folder. (Note that all newly created stylesheets will be stored in FS as well.)
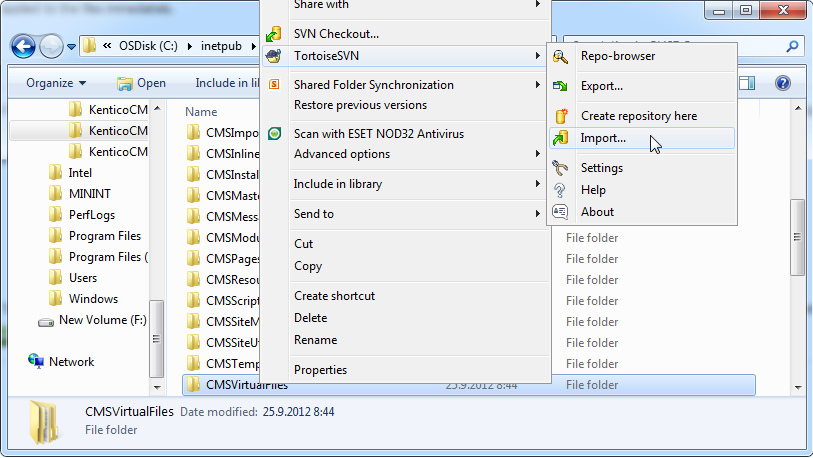
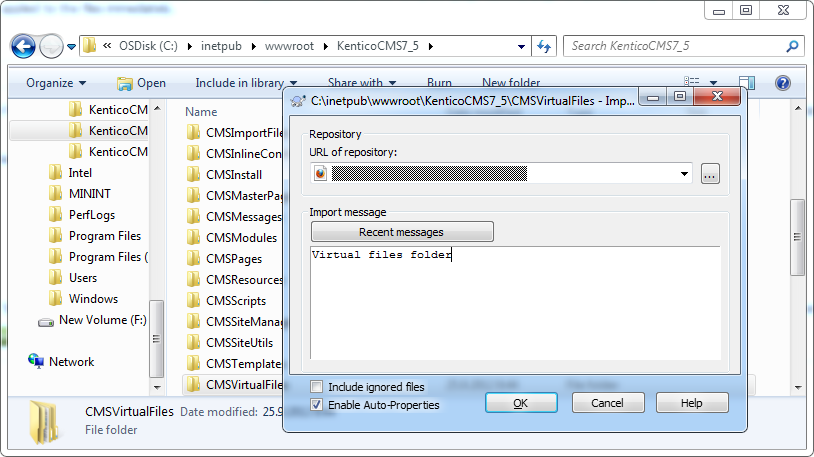
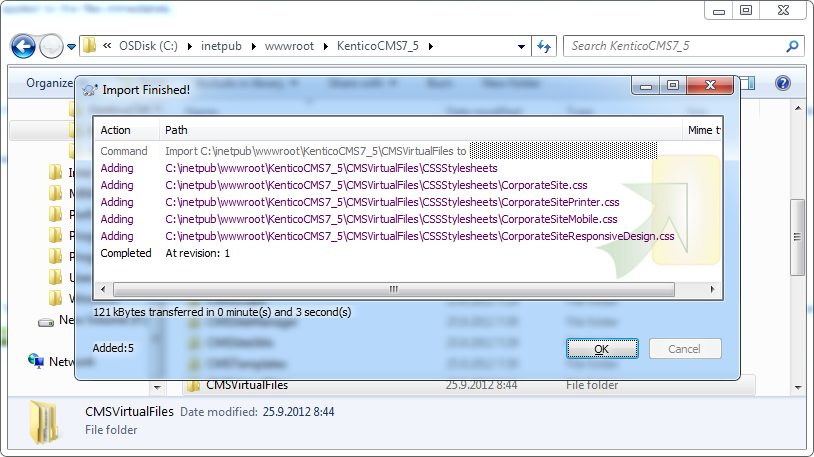
Now, import the files to the SVN repository using free SVN client for Windows TortoiseSVN. Right-click the CMSVirtualFiles folder and select the “Import…” option from the menu. Then enter the URL of your repository and click OK. The CMSVirtualFiles folder content should now be versioned within your repository. The process is depicted in the following screenshots.
Now you can either edit the stylesheets using your favorite CSS editor or you can use CMS UI to do it and combine the usage of Subversion along with the CMS object locking feature!
If you decide to use the external editor, you might want to synchronize the changes with the CMS database as well. CMS UI notifies you once the object has been modified externally and the version in the database is different from the version in file system.
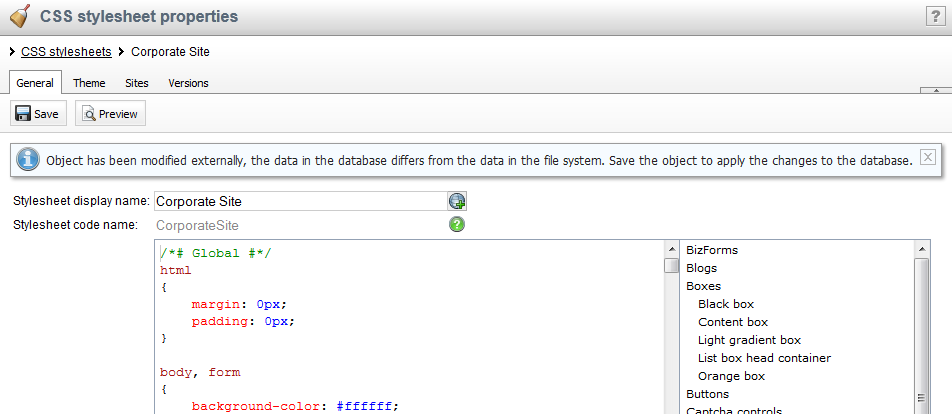
You can either click “save” in the UI to synchronize the data, or you can use the “Synchronize changes to database” button in the Virtual objects tab in the System section which will synchronize changes of all the externally stored objects.
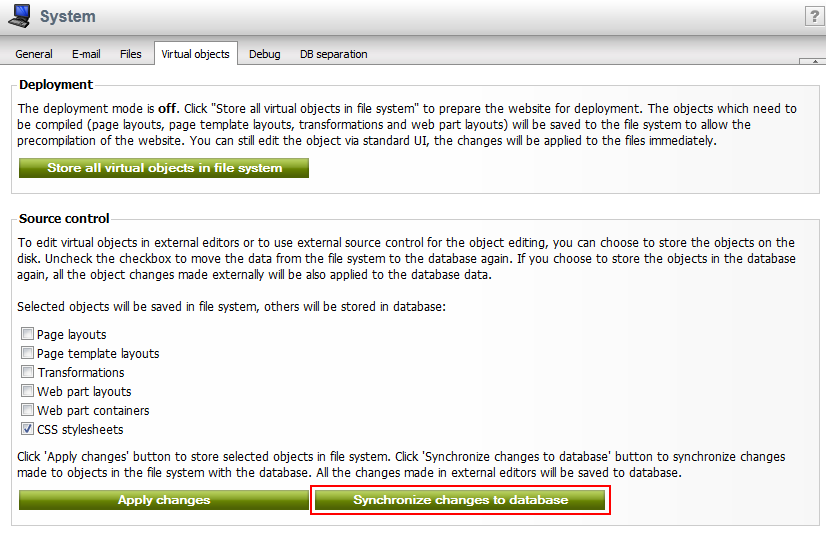
Once you decide to stop using external editors or source control, you can uncheck the “CSS stylesheets” checkbox and click “Apply changes”. This will automatically synchronize the changes made externally to the database and deletes all the CSS files from the file system.
If you have any feedback or suggestions for improving the Team Development feature, let us know!