Creating a Workflow Enabled Twitter Document
Combing a custom document, workflow and Twitter provides a powerful set of features that can be used within a Kentico site. This combination allows for the creation of a custom solution that allows you to use Kentico directly as your Twitter posting engine and provide content administrators the ability to control and workflow enable twitter posts. In this post I will create a custom document that is placed under workflow and then extend the global event handler to post a tweet once the document is approved.
In order to create this sample we need to follow these steps
1. Create the Tweet document type
The document type contains the following fields:
|
Field Name
|
Type
|
Note
|
|
TweetID
|
Integer (Number)
|
Default field
|
|
Date
|
Date and Time
|
Date tweet was entered
|
|
Tweet
|
Text (140 Characters)
|
The Tweet that will be sent
|
The exported document type is available here
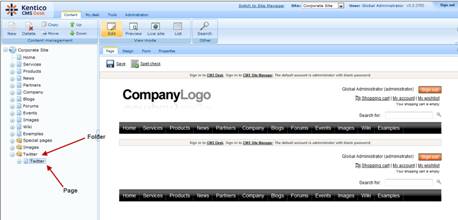
2. Create the folder for the documents
Within CMS Desk create a new folder and a Page as shown below
3. Create the workflow
Create a new workflow for the /Twitter folder that contains a single step called Approve as shown below
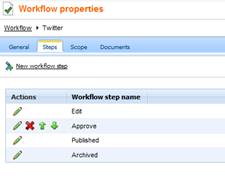
The exported workflow is available here
4. Extend the Global Event
In the CustomWorkflowHandler modify the OnAfterPublish method to include the following code that posts the Tweet document once it is approved
/// <summary>
/// Fires after publishing the document. Performs the additional actions after the document is published.
/// </summary>
/// <param name="treeNodeObj">TreeNode object that has been published</param>
/// <param name="tree">TreeProvider object to use</param>
public override void OnAfterPublish(object treeNodeObj, object tree)
{
// INSERT YOUR CUSTOM AFTER-PUBLISH CODE
// INSERT YOUR CUSTOM AFTER-INSERT CODE
// type the document as TreeNode
TreeNode newsDoc = (TreeNode)treeNodeObj;
switch (newsDoc.NodeClassName.ToLower())
{
case ("cms.news"):
// handler for news item
break;
case ("custom.tweet"):
//handler for tweet document type
//Form the post text used for the tweet - remember can only be 140 characters
//tweet document type has field called Tweet that is used
string postText = (string)newsDoc.GetValue("Tweet")
// Create the Yedda object
Yedda.Twitter t = new Yedda.Twitter();
t.Update("yourusername", "Yourpassword", postText, Yedda.Twitter.OutputFormatType.XML);
break;
default:
break;
}
}
More information on using the Yedda Twitter library within the global event handlers is available here
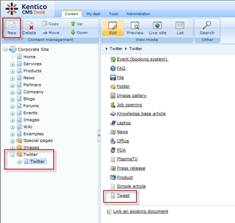
Running the sample:
1. Log into CMS Desk, select Twitter folder, Twitter Page, select New and then Tweet document as shown below
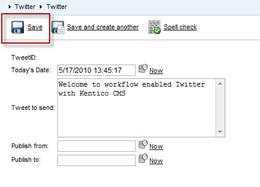
2. Enter the following information in the Tweet form and select Save
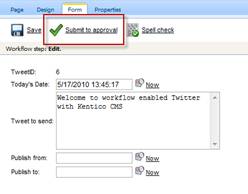
3. Select Submit to approval as shown below
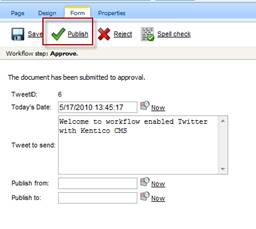
4. Using an account authorized Select Publish as shown below
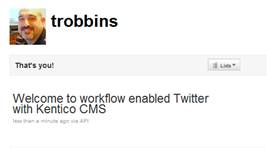
5. Validate the tweet was sent as shown below