Building Restful User Controls with Kentico CMS
Representational state transfer (REST) is a style of software architecture for building distributed applications and services. The term REST is credited to Roy Fielding who was one of the principal authors of the HTTP 1.0 specification. Fundamentally REST is an application architecture based on clients and servers. A client initiates the request to the server and the server process the request and returns the appropriate resources. Resources are the data and information that is returned to the client. At any time a client can either be transitioning between application states or at rest. A client in a rest state is able to interact with users, but creates no load and consumes no per-client storage on the servers or network. The client begins sending requests when it is ready to transition to a new state. While one or more requests are outstanding, the client is considered to be transitioning states.
The representation of each application state contains links (URLs) that may be used the next time the client chooses to initiate a new state transition. Basically, each URL is a representation of some object. An application gets the contents of that object using a request. An application that conforms to REST is considered RESTFul.
REST style services are becoming very common on the Web today and are surpassing traditional WSDL and SOAP. While the concept of REST isnt a standard it does use standards like HTTP, URL, XML/HTML/GIF/JPEG/etc (Resource representations), text/xml, text/html, image/gif, image/jpeg, etc (MIME Types) There are many examples of RESTFul services that have been exposed across the Web.
In this blog post we will look at the URL shortening Service bit.ly as an example and build a simple user control that retrieves the statistics of a shortened URL and then place the user control into the Kentico CMS system.
Looking at the Server Side
Bit.ly is a URL shortening service that takes long URLs and makes them shorter. The idea is extremely useful in combination with something like Twitter that limits the length of a post. Bit.ly also provides a simple tracking capability that allows you to see how many clicks to a shortened URL has received. Bit.Ly exposes a set of REST apis that you can use to access your data. There is both documentation and a discussion group available for more information. Accessing the API requires an API key which you can find within your account information page.
Note: For the examples in this post I replaced my login and API Key with XXXX.
Fundamentally, the Bit.ly API consists of the following
One of the clear benefits of REST based services is that all calling parameters are passed as part of a URL string. No need for proxies!
For example to retrieve the list of error codes (/errors) the following is used.
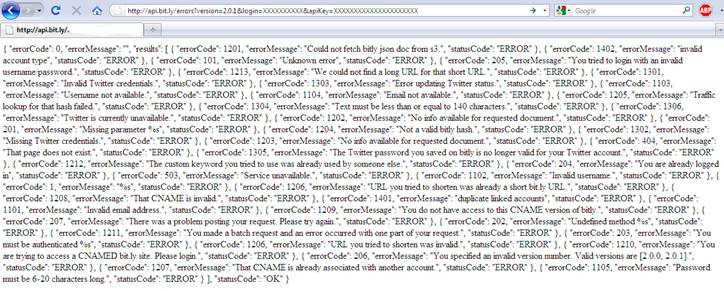
If you want to retrieve the statistics (/stats) for a shortened URL the following is used.

Consuming REST
REST is fundamentally based on HTTP. While that makes it easier than traditional Web Services it also means that there is no single best way to consume a REST service. Consumption is often based on what you are trying to accomplish within your application. One method is to create a client that uses the Windows Communication Foundation (WCF) that was introduced starting with the .NET Framework 3.0. WCF offers some advanced features that we will look at separately in a blog post. Another method is take advantage of the of the WebClient and HTTPRequest objects in the .NET Framework. For a simple example we can create an ASCX user control within the Kentico project that calls the /stats API of bit.ly.
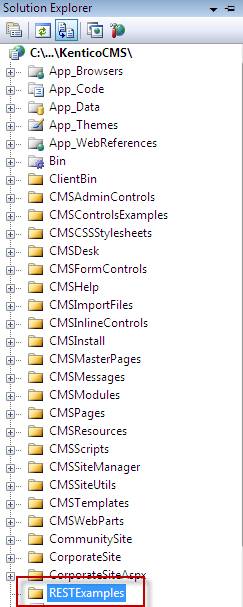
1. Create a folder in the Kentico Website project called RESTExamples that will contain the User Control
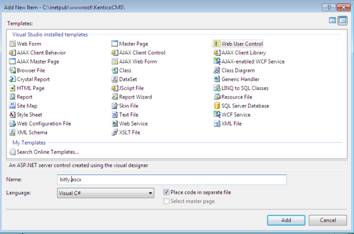
2. In the RestExamples folder create a new user control called bitly
3. In the source tab enter the following markup

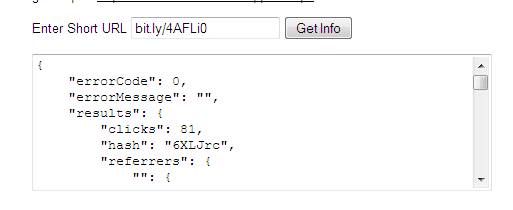
When rendered shows the following interface
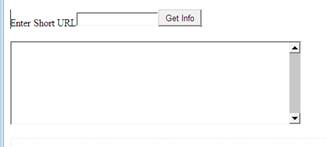
4. The heart of the control is the bgetInfo_Click event that retrieves the data from bit.ly API using the short URL and places the results in the txtinfo textbox

As a User Control we can add it to the Kentico CMS design page using the User Control Web Part as shown below.
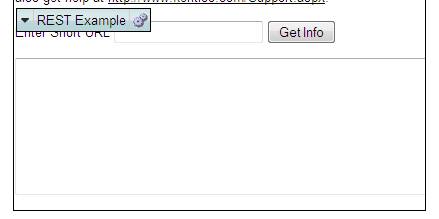
Once added to the Kentico CMS page we can then test it out using a short link to retrieve the information about that link
