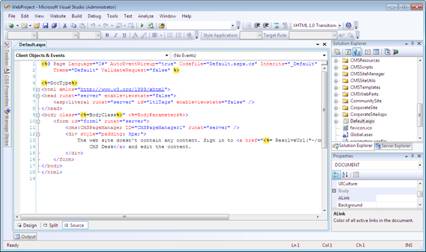
The first thing that any developer interested in Kentico CMS will want to do is set up their development machine. In this post I will cover the steps that you can use to install the Kentico CMS 4.1 trial version onto your development machine.
The first thing that any developer interested in Kentico CMS will want to do is set up their development machine. In this post I will cover the steps that you can use to install the Kentico CMS 4.1 trial version onto your development machine. Before starting this install make sure that your development machine has the following minimum requirements.
- Visual Studio 2005/2008 (Any Edition)
- SQL Server (If using SQL Server Express I would recommend that you download the SQL Server Management Studio Express which can be found here)
1. Download the Kentico CMS trial from here
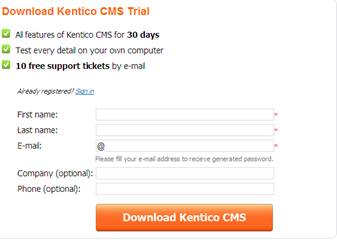
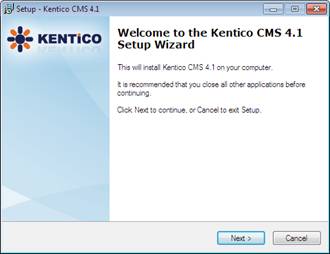
2. Run the installation
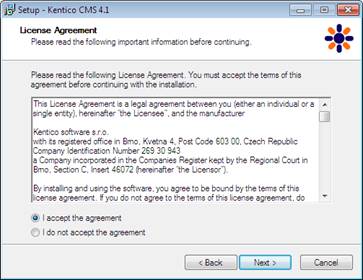
3. Accept the license agreement
4. Install the program files
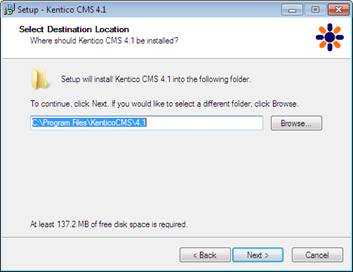
5. Confirm the installation
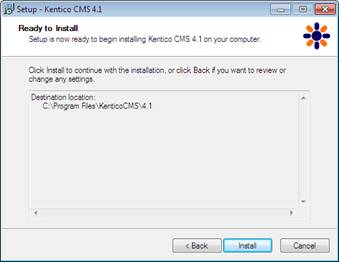
6. Complete the installation
Note: If you uncheck the Launch Kentico CMS Web Installer you will not have your developer web site automatically configured. You will need to run the Kentico CMS Web Installer from the Start Menu.
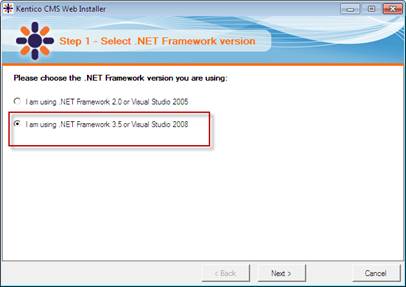
7. Select the version of the framework you are using

Note: Within the installer directory there are two version of the Kentico CMS project (VS2005 and VS2008). This option selects the version that is copied into your working project directory.
8. Select your Server location
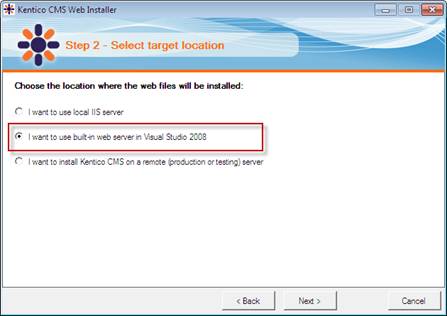
Note: For testing purposes I would use the built in Web Server. However, you can make your own choice and may see additional dialogues based on your selection.
9. Select the source file install location
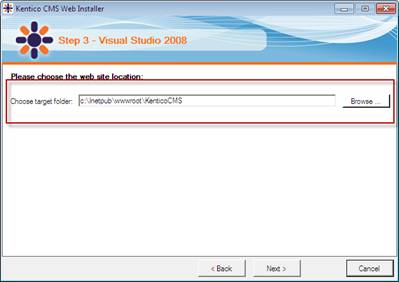
Note: By default the install places the files into the Inetpub directory. You can certainly place the files anywhere that you want on your local machine.
10. Select Installation Type
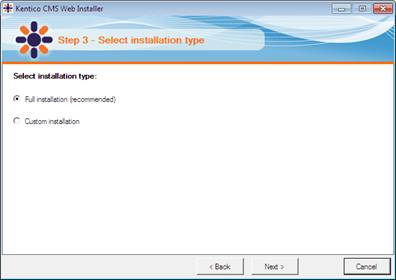
11. Finalize the installation
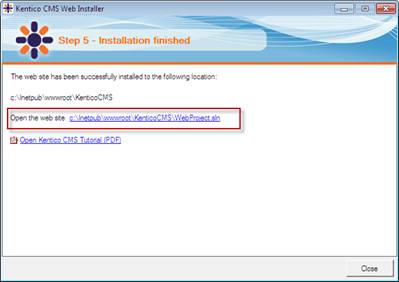
Note: Select the SLN file to open Kentico in Visual Studio
14. When the solution file is selected this will open Visual Studio.
